Christmas 2025 nail trends are officially here, and they’re stunning! Chrome red finishes, minimalist gold bows, and festive ombre gradients are dominating Instagram and Pinterest right now — see the full roundup at nail trends 2025.
I’ve personally tested all seven of these trending designs to see which ones are actually worth your time.
In this post, I’ll walk you through 7 hot Christmas nail designs for 2025—complete with step-by-step tutorials, time estimates, and difficulty ratings. Whether you’re a total beginner or a nail art pro, you’ll find designs that fit your skill level.
Plus, I’m sharing quick 30-minute options for busy schedules!
You can create salon-quality holiday nails at home without spending $50+ at the salon. With basic supplies from Ulta or Target, you’ll have gorgeous festive nails in under an hour. I timed each design myself so you know exactly what to expect—no surprises!
Top 7 Trending Christmas Nail Designs for 2025
These 7 designs top Pinterest and Instagram for Christmas 2025, ranked by popularity and ease of DIY recreation. Each includes time estimates based on my personal testing. I’ve included difficulty levels so you can pick what works best for your skill level!
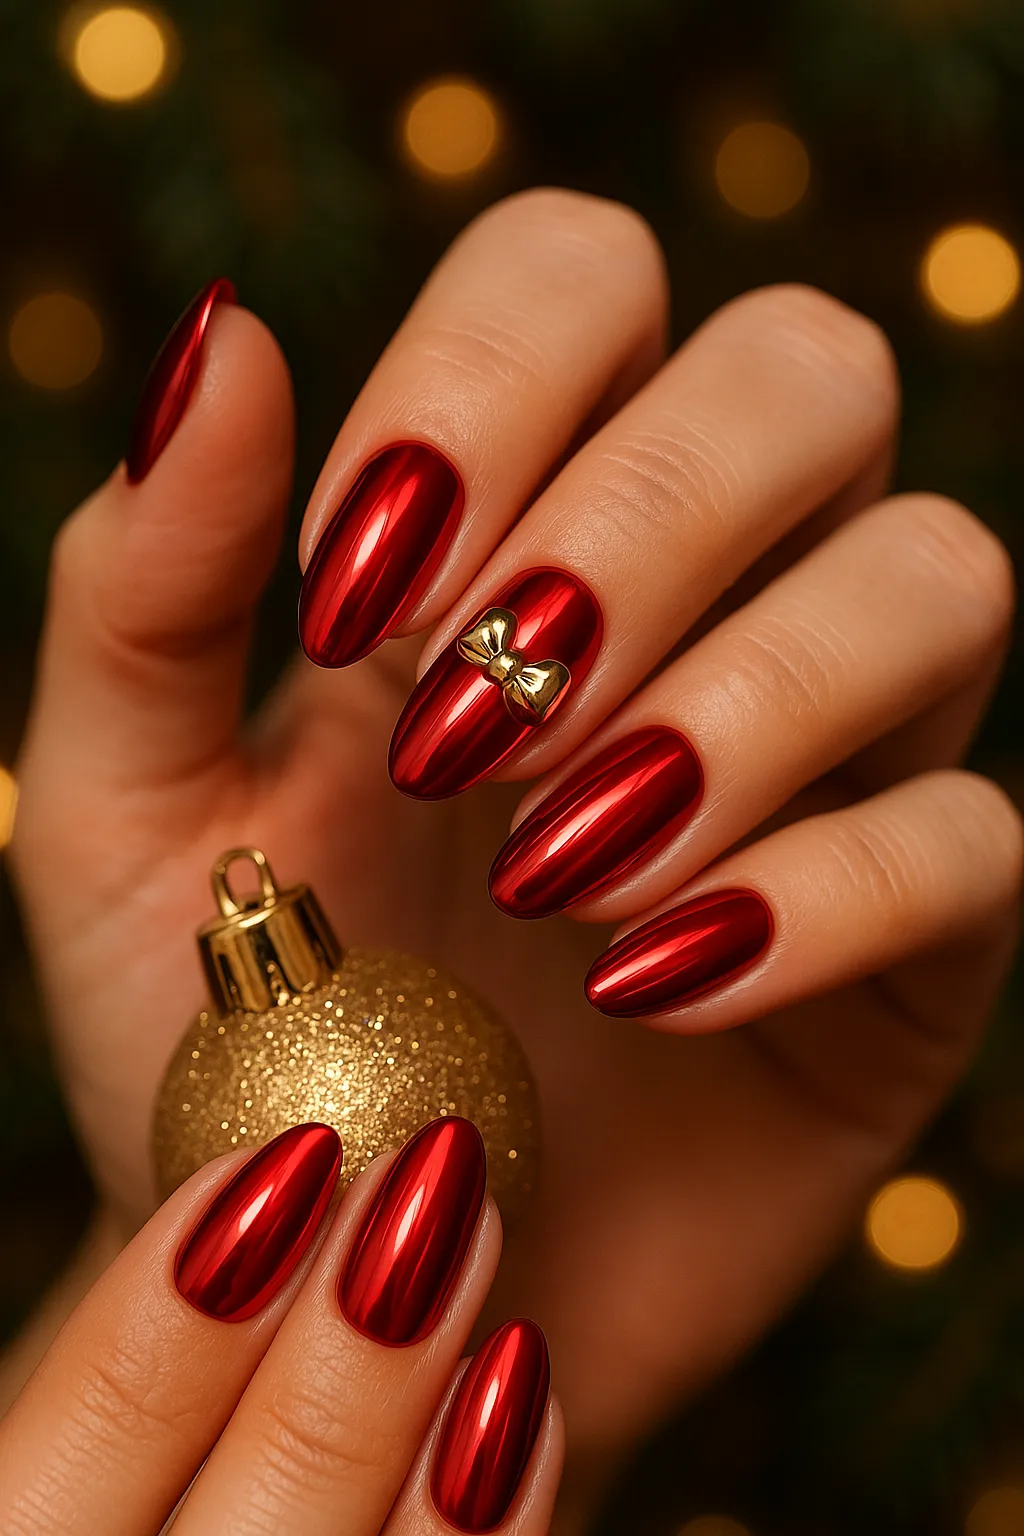
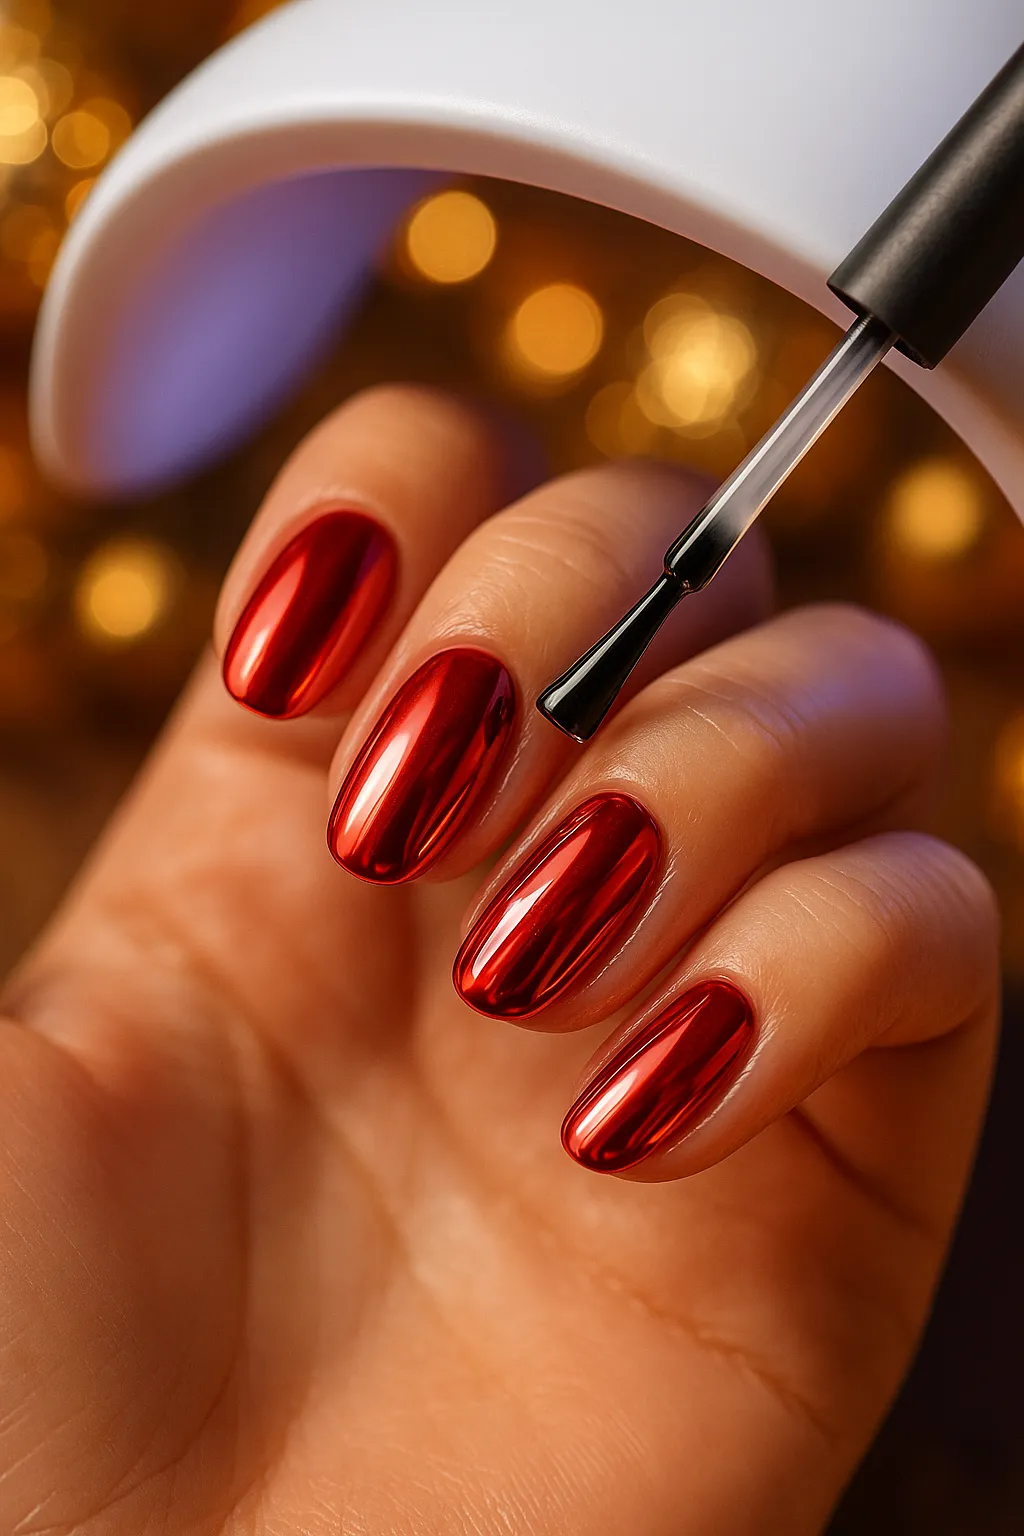
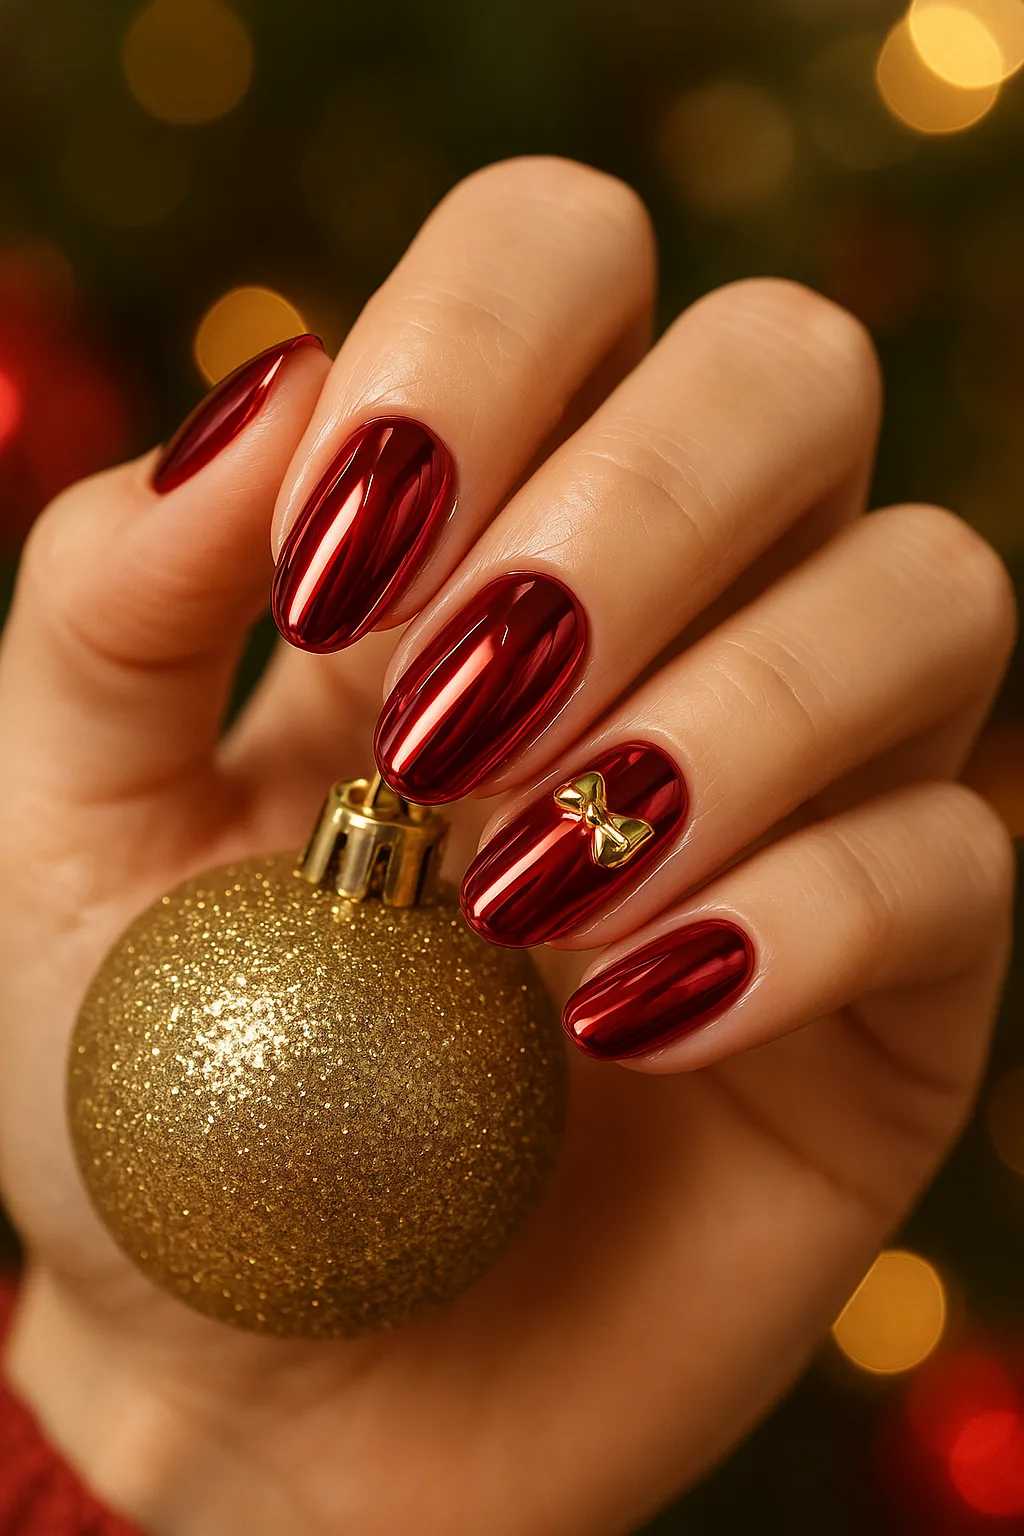
1. Chrome Red with Gold Bows (Trending #1)
This design features a high-shine chrome red base with a delicate 3D gold bow accent on the ring finger.
It’s rated medium difficulty and takes 45-60 minutes to complete. Best for holiday parties and formal events where you want to make a statement.
Why it’s trending: Chrome finishes are THE 2025 nail trend, and bows are everywhere in fashion right now. This combo is pure holiday glamour.
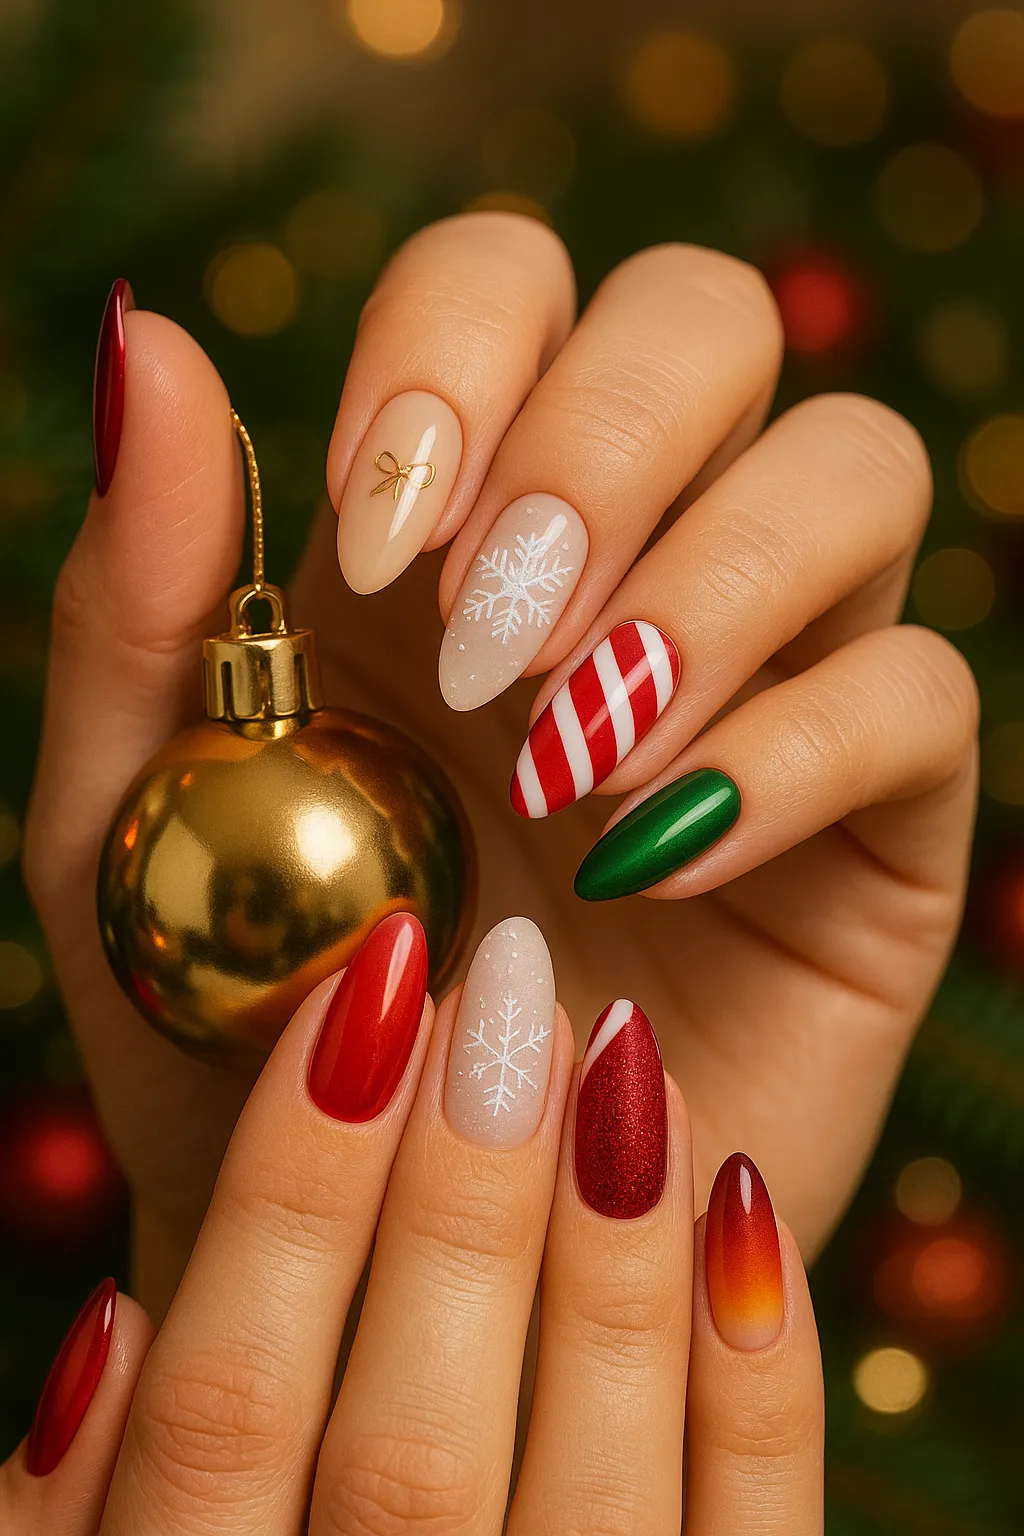
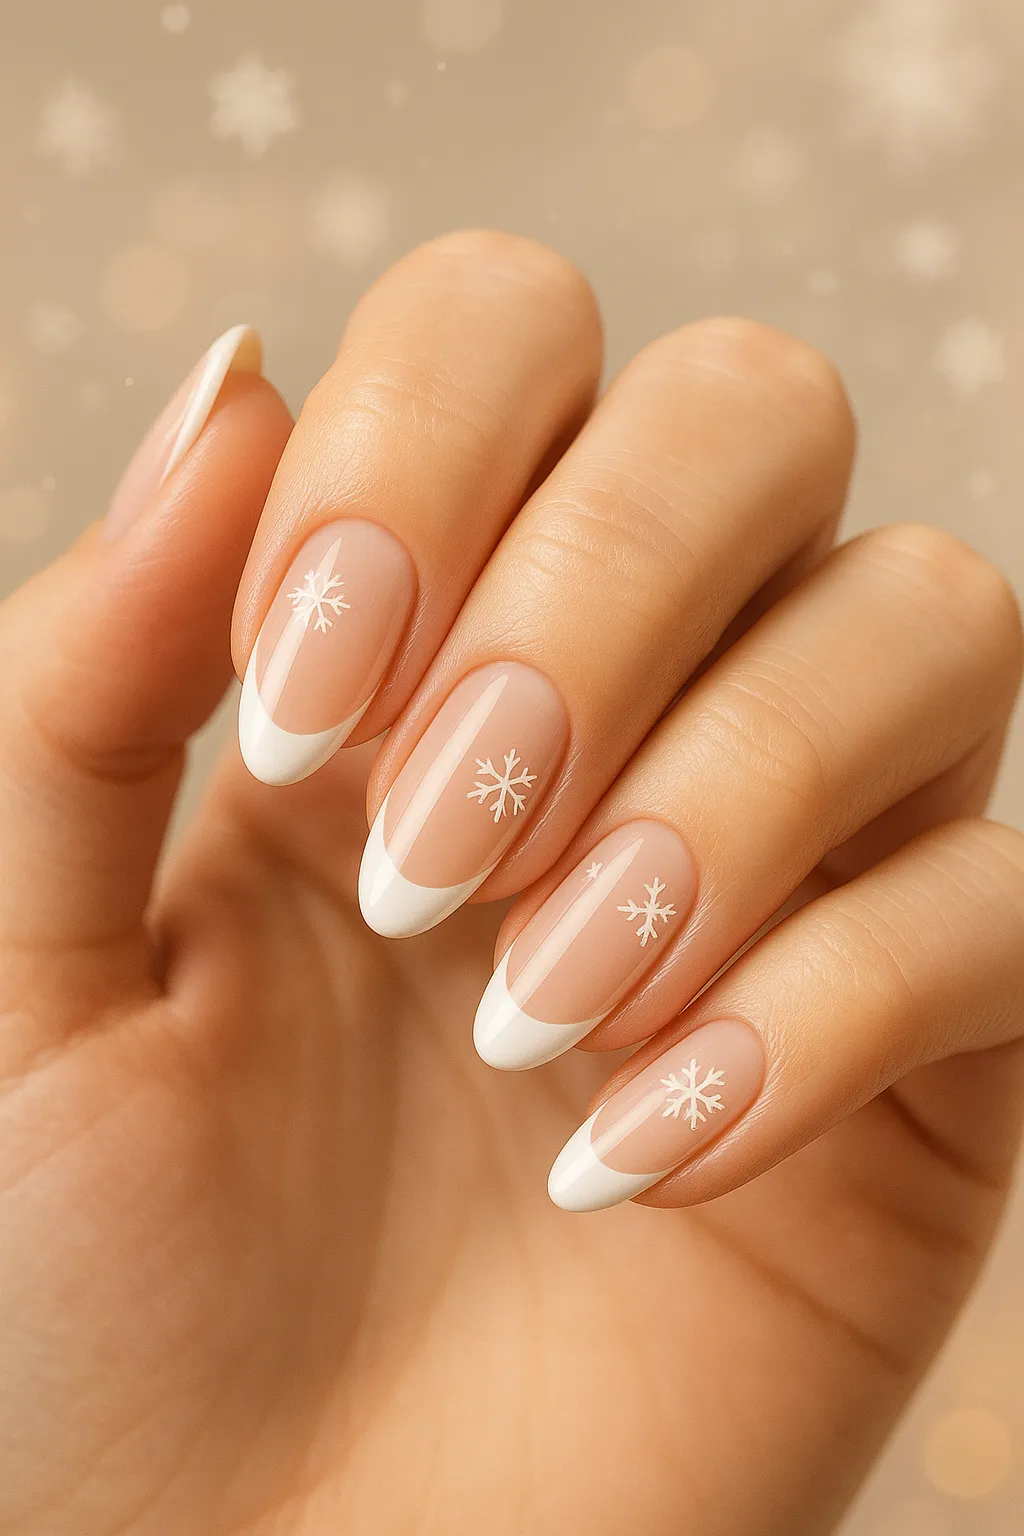
2. Minimalist Snowflake French Tips
You’ll love this if you prefer subtle festive vibes. It uses a nude or sheer base with white French tips and tiny hand-painted snowflakes. Difficulty level is easy, and it takes just 30-40 minutes.
Best for office-friendly looks and anyone who wants Christmas nails without going overboard. Why it’s trending: Minimalism plus classic French equals timeless elegance that works for any occasion — see similar simple ideas at simple nail designs.
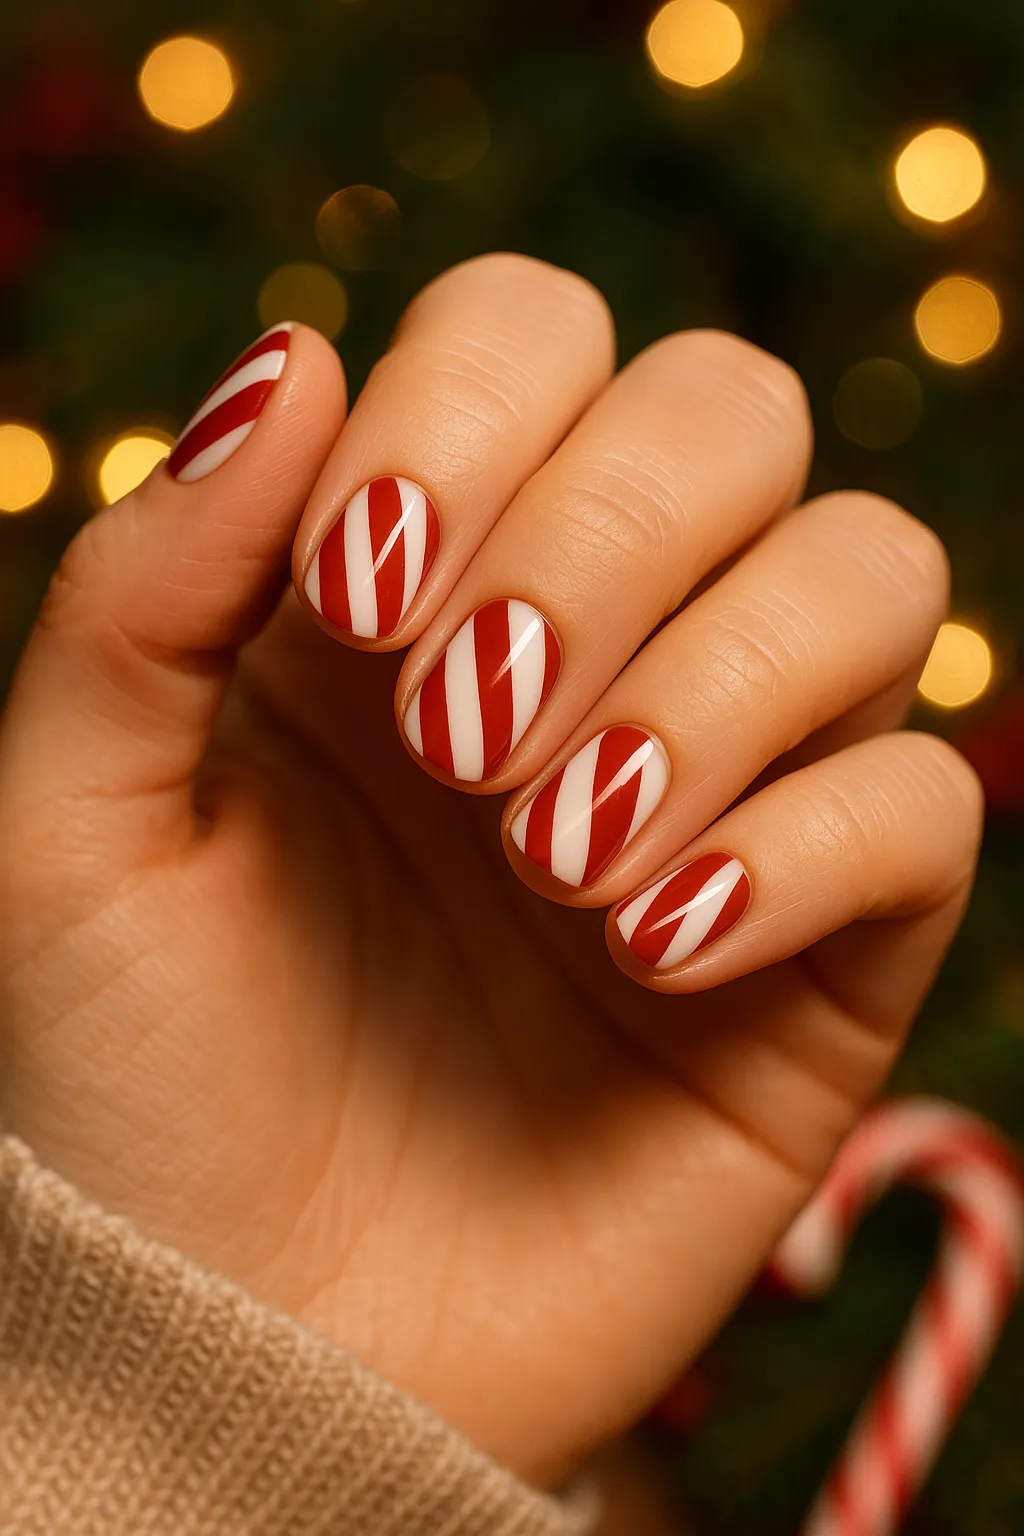
3. Candy Cane Stripes (Short Nails Friendly)
Red and white diagonal or vertical stripes create that nostalgic candy cane look. This is super easy and takes only 25-35 minutes—perfect for beginners! Works beautifully on short nails, which makes it accessible for everyone.
Why it’s trending: It’s a Pinterest favorite because it’s nostalgic, easy to DIY, and totally festive.
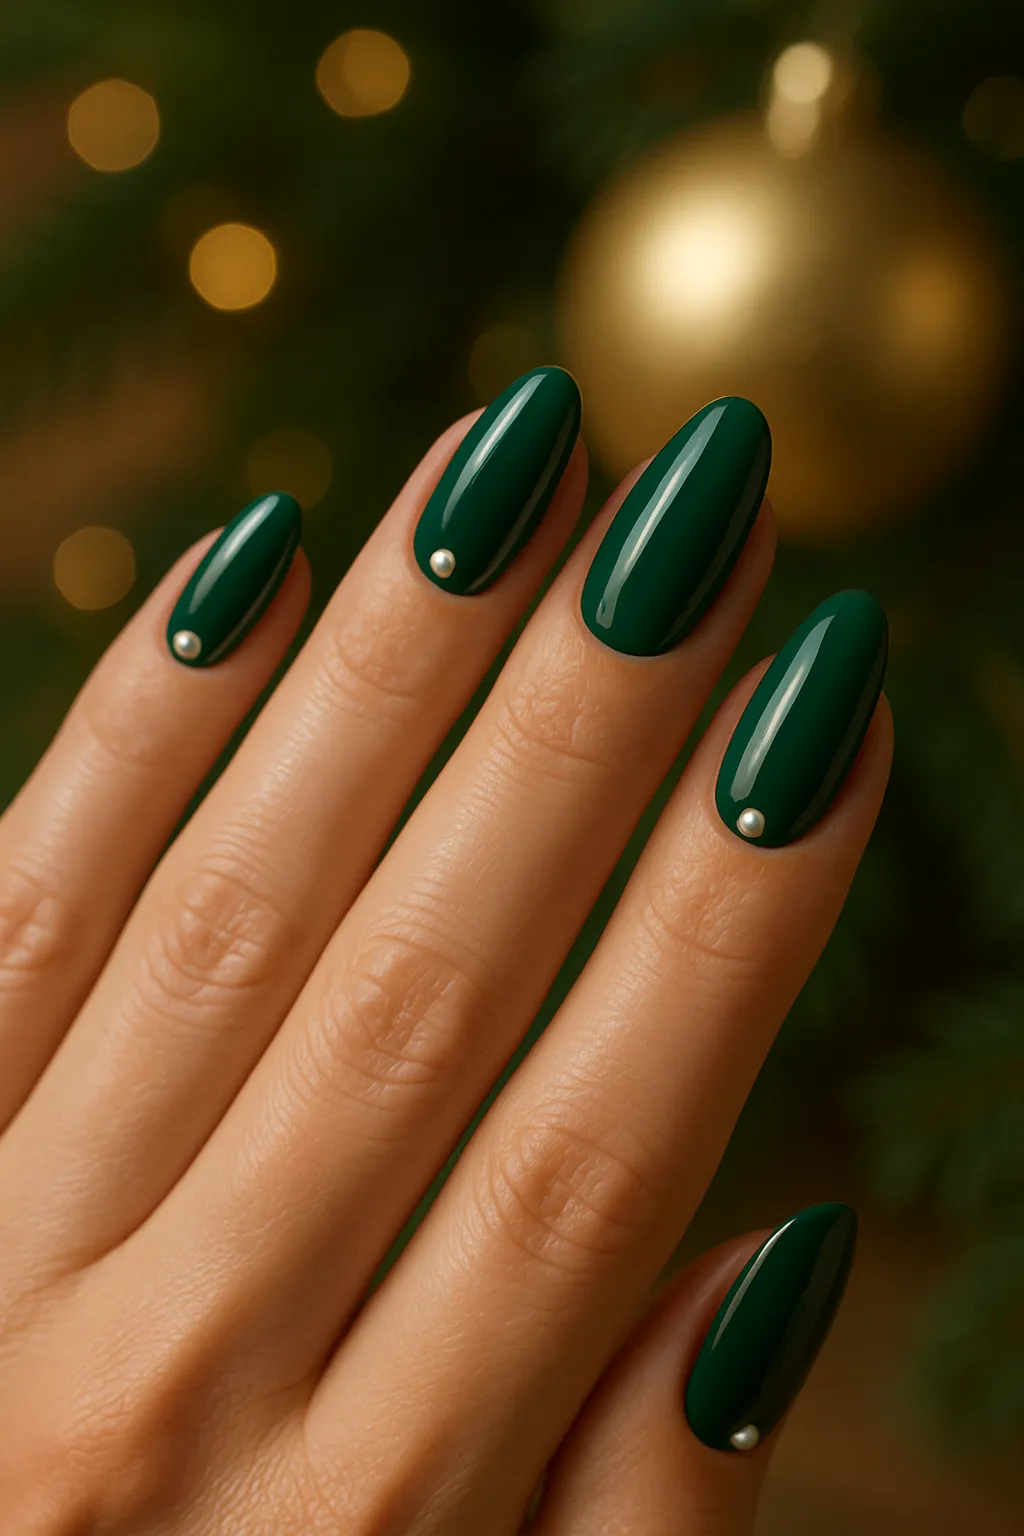
4. Forest Green with Pearl Accents
Deep emerald or forest green base polish gets elevated with small pearl embellishments. Difficulty ranges from easy to medium, taking 35-45 minutes total. This gives you a sophisticated, modern Christmas aesthetic that’s not your typical red and green combo.
Why it’s trending: Green is the unexpected Christmas color for 2025—it’s fresh and modern.
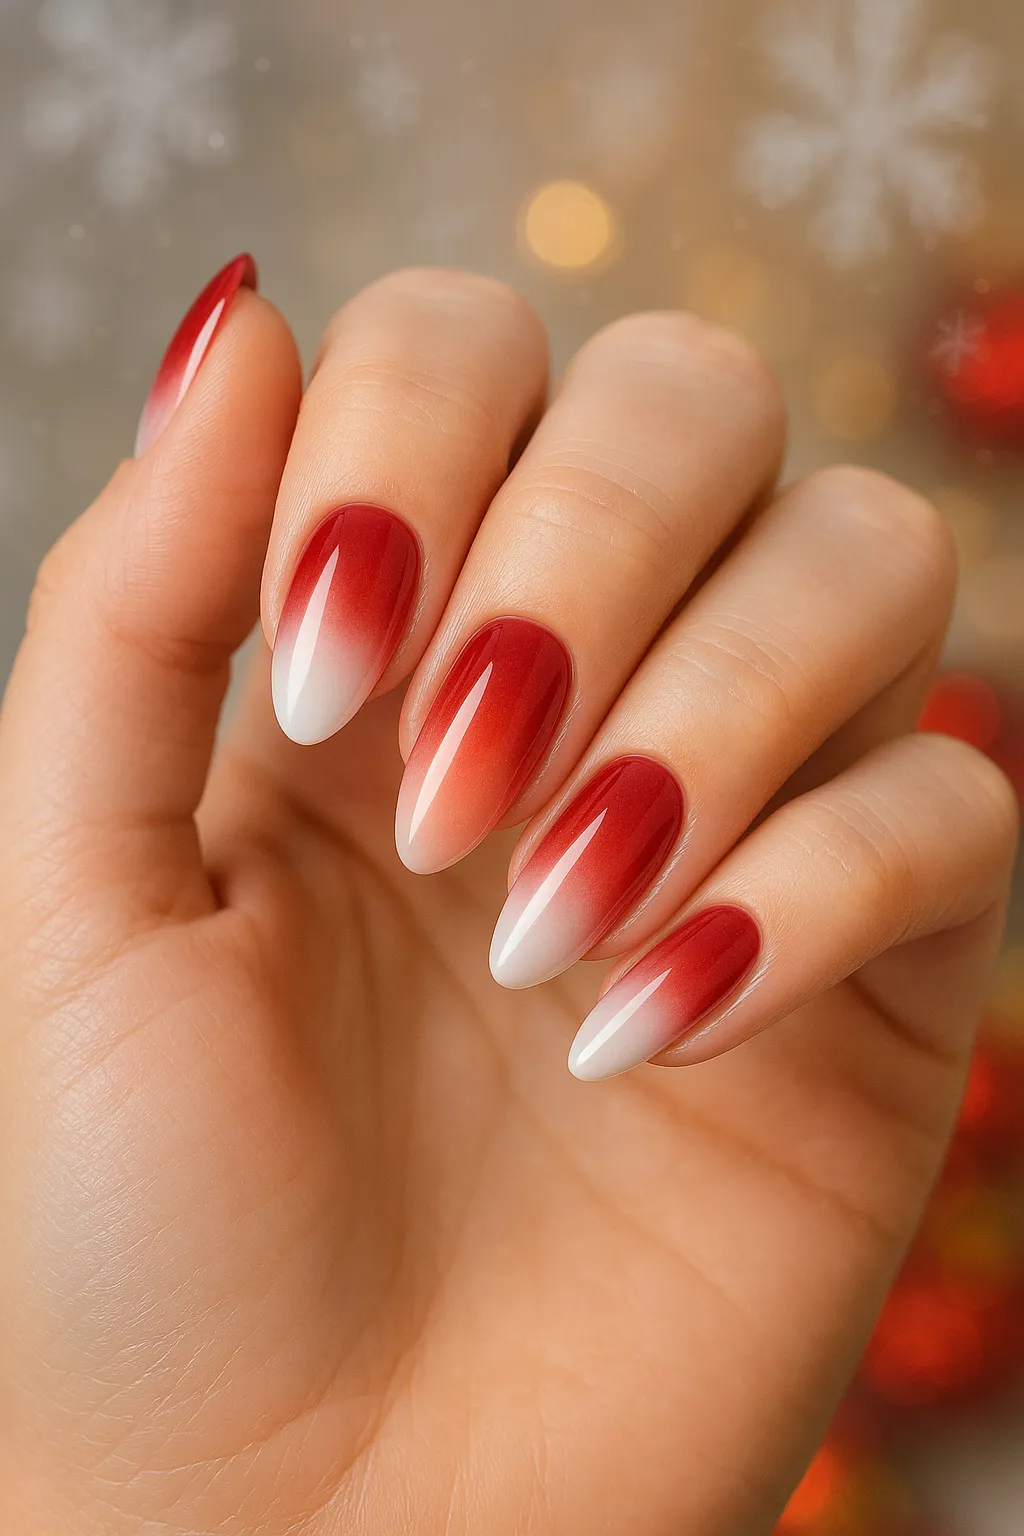
5. Red-to-White Ombre Gradient
A seamless gradient transitions from deep red at the base to white at the tips. This medium-difficulty design takes 40-50 minutes but creates serious statement nails. Perfect for Christmas Day when you want your nails to be the main event.
Why it’s trending: Ombre never goes out of style, and this festive color combination is stunning in person — see more winter looks at winter nail designs.
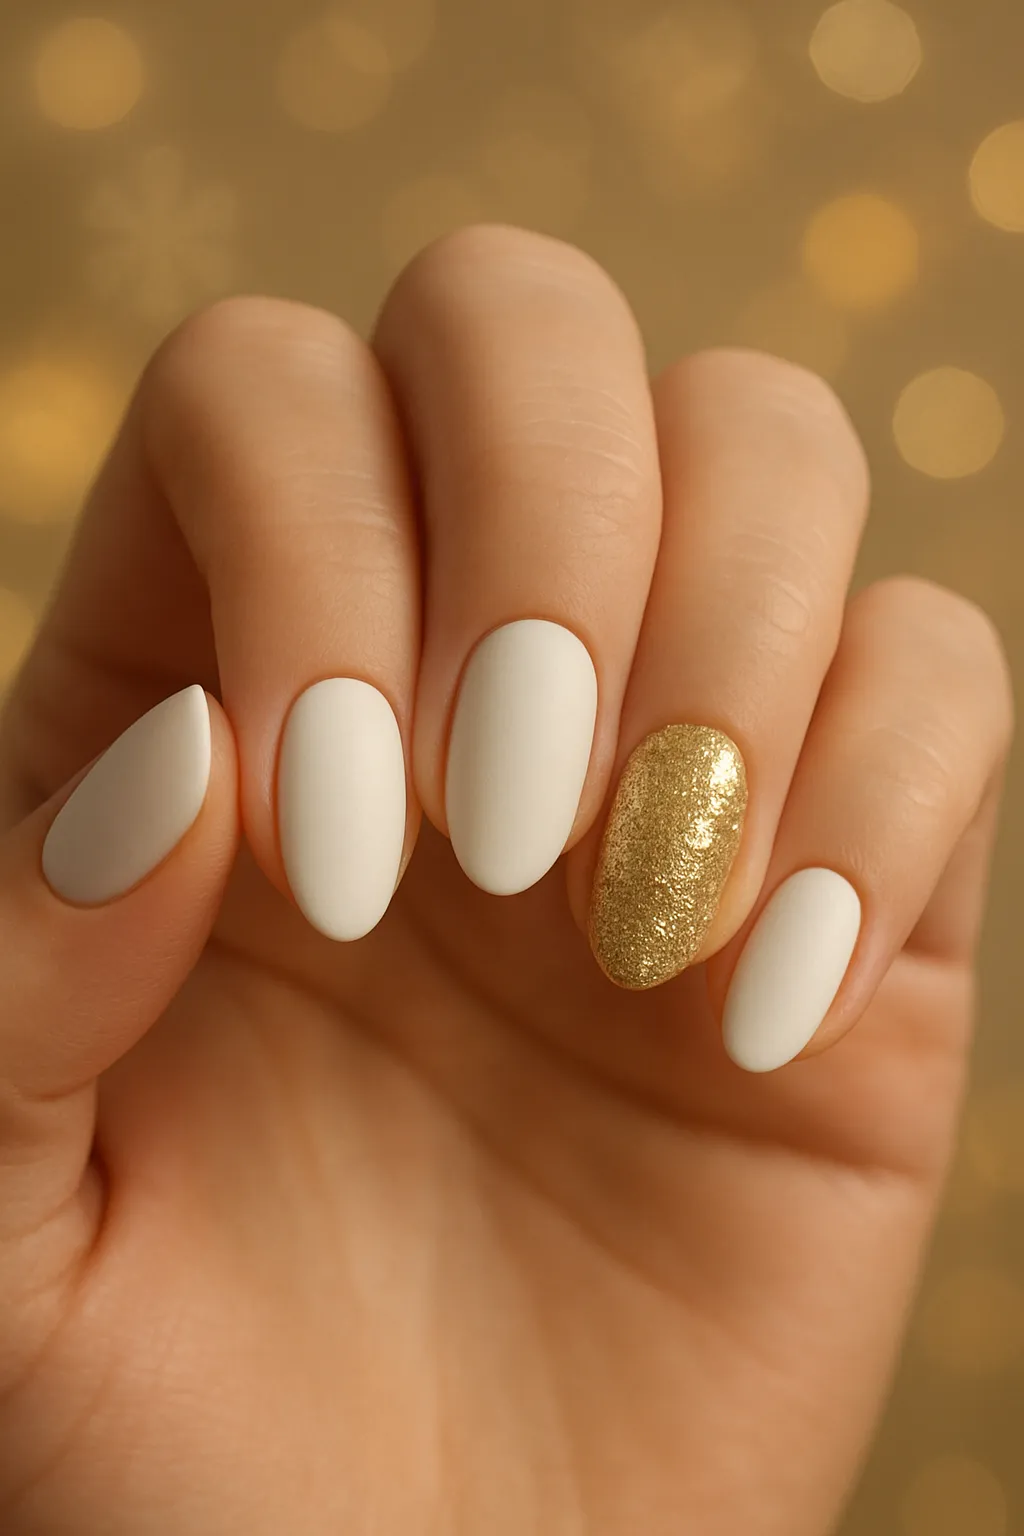
6. Matte White with Gold Glitter Accent
Matte white polish covers all nails except one accent nail featuring chunky gold glitter. Easy difficulty and 30-40 minutes total time make this a winner. The clean, modern, winter-themed look is super Instagram-worthy.
Why it’s trending: Matte finishes are huge in 2025, and the single glitter accent keeps it from looking too plain.
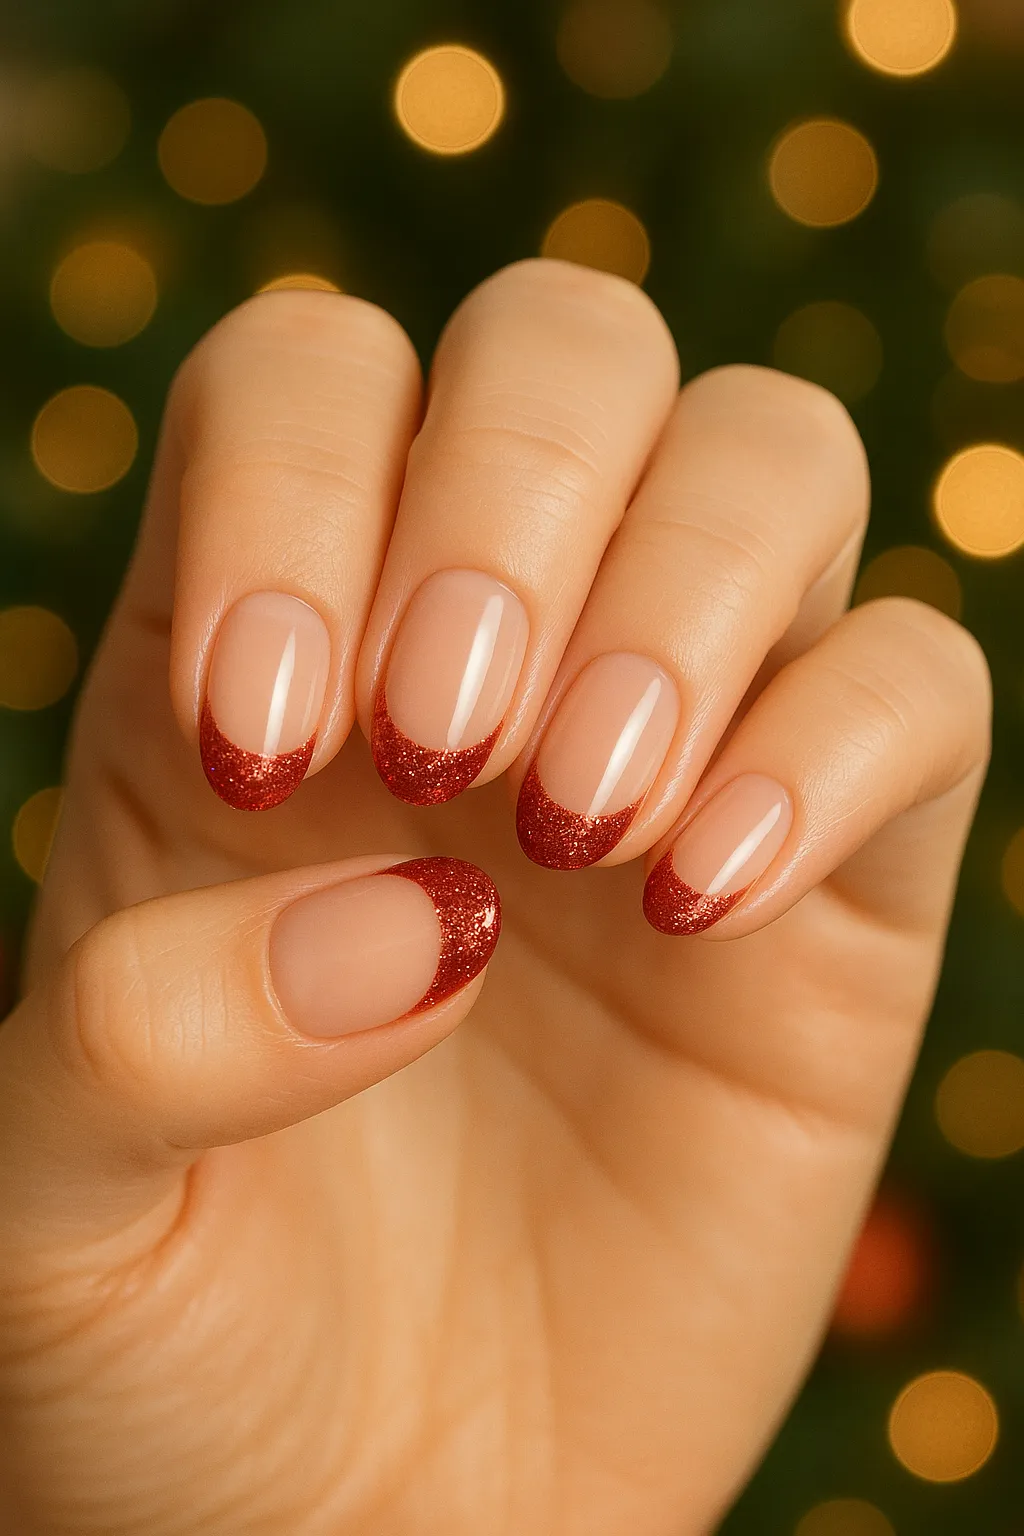
7. Classic Glitter French Tips
A nude or pink base with red or gold glitter French tips is timeless. This easy design takes just 25-30 minutes, making it perfect for beginners who still want festive nails. It’s foolproof and always looks polished.
Why it’s trending: Classic French tips are always popular, and adding glitter makes them holiday-ready instantly.
Pro Tip: New to nail art? Start with Design #3 (Candy Cane Stripes) or #7 (Glitter French Tips)—they’re the most forgiving and take under 30 minutes. I recommend these every time someone asks me where to start.
How to Create Chrome Red Nails with Gold Bows (Step-by-Step Tutorial)
This is the #1 trending Christmas nail design for 2025. I’ve broken it down into 6 easy steps with exact timing based on my own testing. Even if you’ve never used chrome powder before, you can totally do this!
Materials You’ll Need:
- Red gel or regular polish
- Chrome powder (red or rose gold tint)
- Gold bow nail charms or gold striping tape
- Base coat
- Gel top coat (or regular top coat)
- Makeup sponge or eyeshadow applicator
- Nail glue (for 3D bows)
- UV/LED lamp (if using gel)
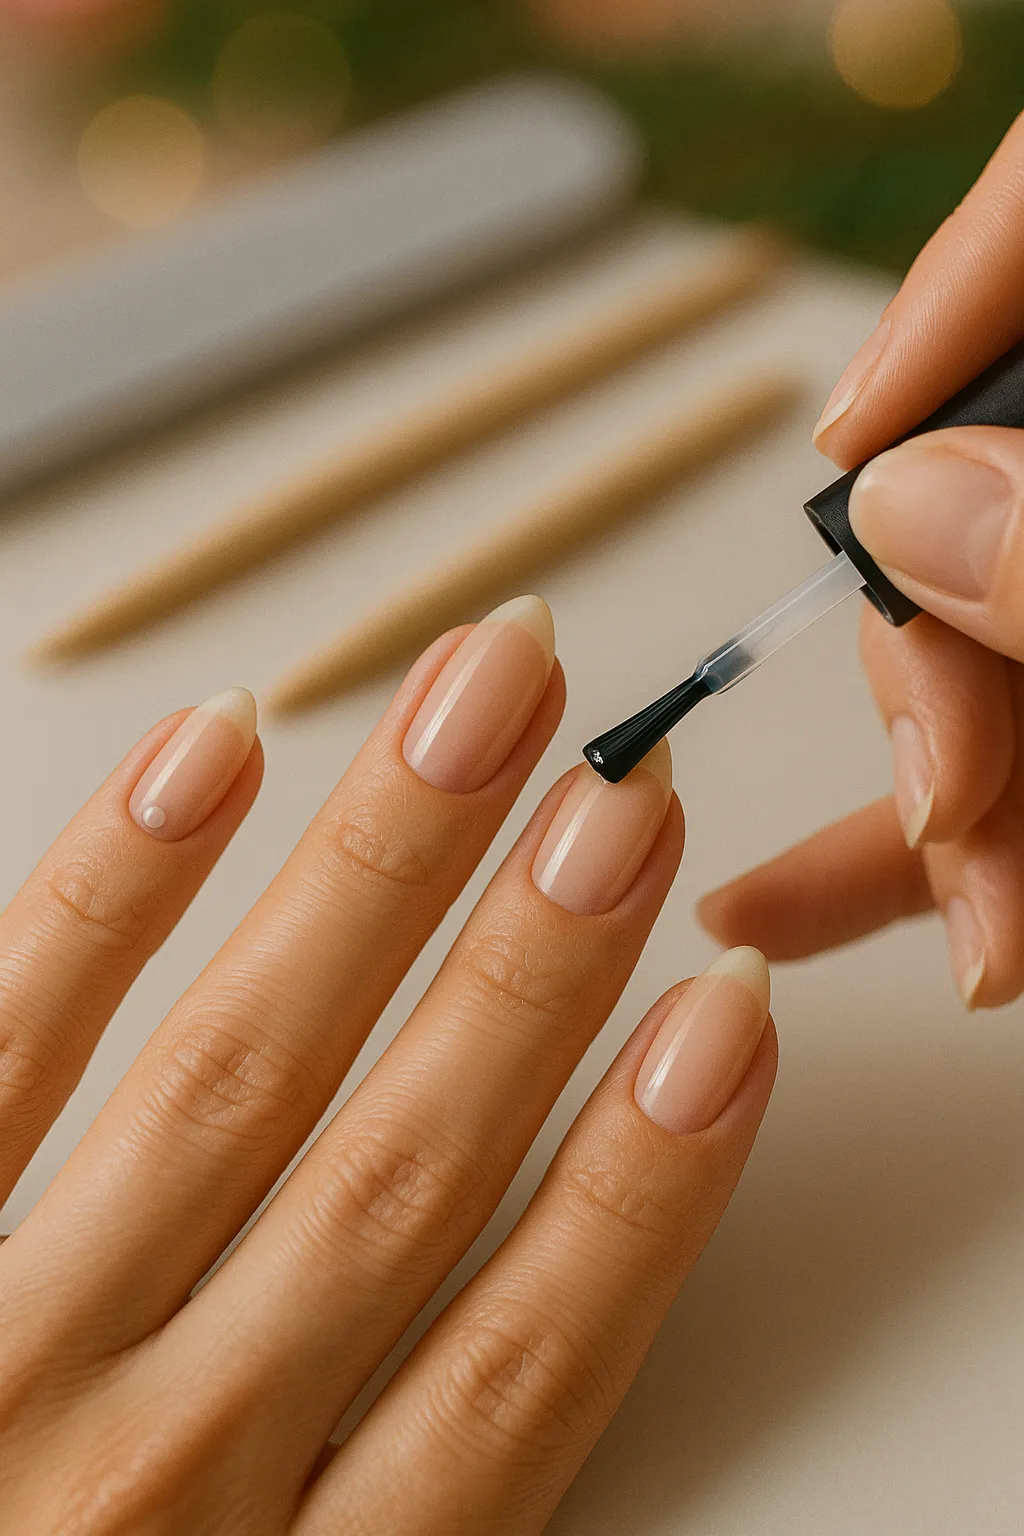
Step 1: Prep Your Nails (Time: 5-10 minutes)
File your nails to your desired shape—oval or almond works best for this design because they show off the chrome beautifully. Push back your cuticles gently with a wooden or metal cuticle pusher.
Buff the nail surface lightly for better polish adhesion. Apply your base coat and cure it completely under the lamp (60 seconds for gel) or let it dry fully (2-3 minutes for regular polish).
Step 2: Apply Red Base Color (Time: 10-15 minutes)
Paint 2 thin coats of red polish on all your nails. For gel polish, cure each coat for 60 seconds under your UV/LED lamp. For regular polish, wait 3-5 minutes between coats to prevent smudging.
Make sure you get full coverage with no streaks or bald spots. The smoother your base, the better the chrome will look!

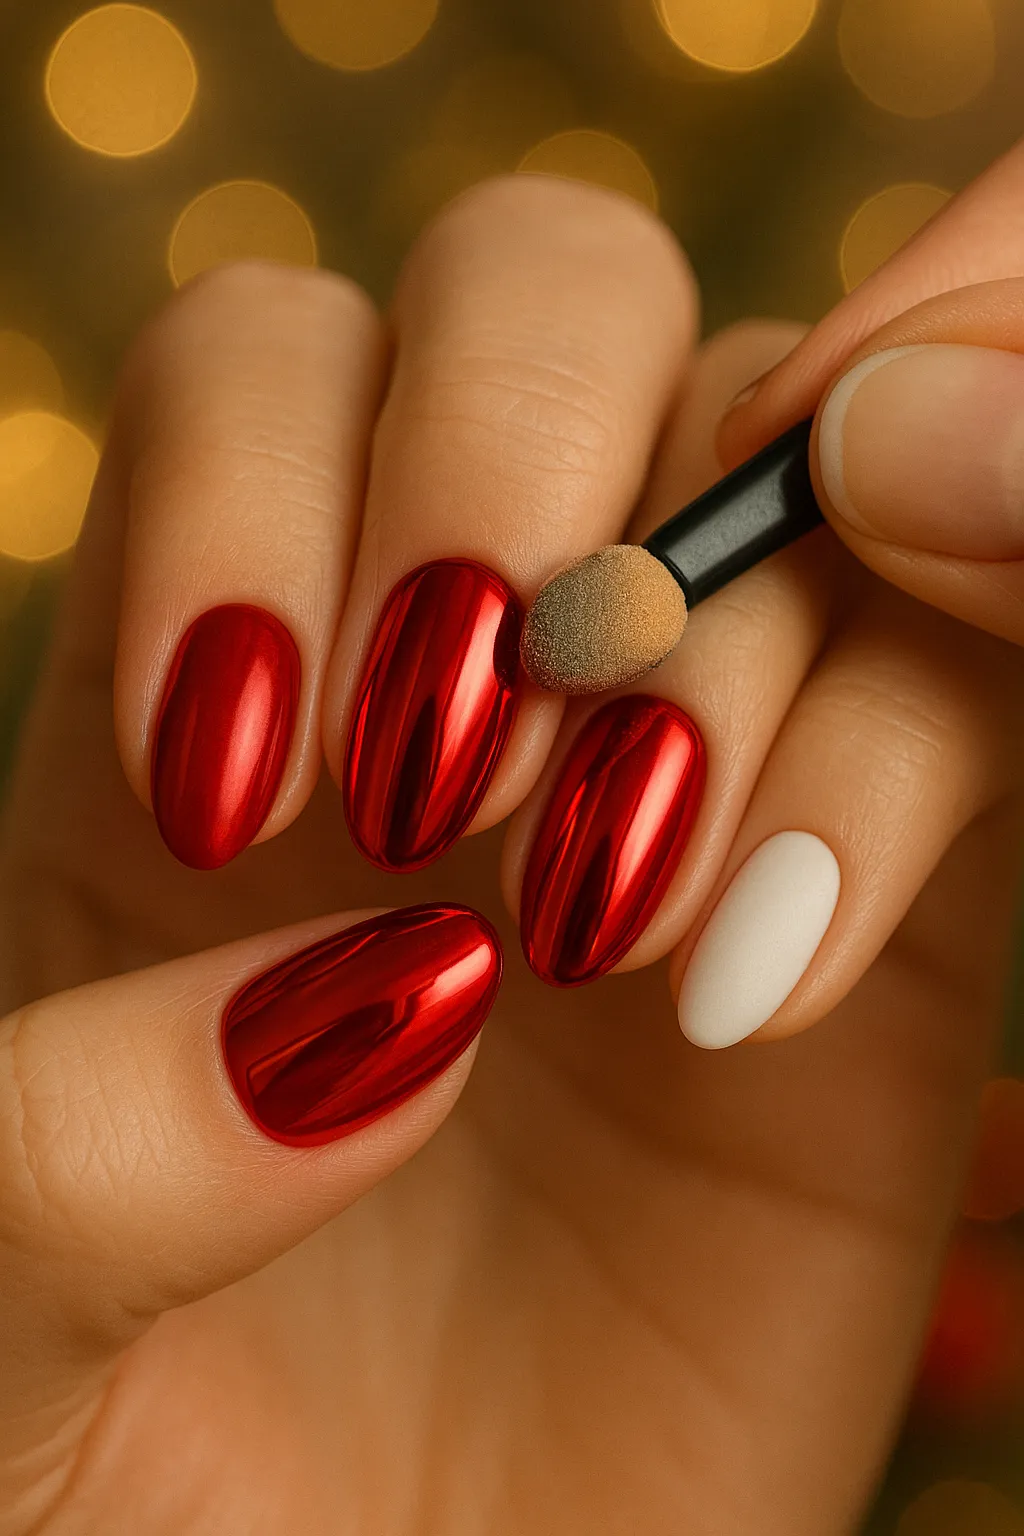
Step 3: Apply Chrome Powder (Time: 10-15 minutes)
While your top coat is still tacky (for gel) or slightly wet (for regular polish), use an eyeshadow applicator to rub chrome powder onto your nails. Use circular motions for even coverage—this is where the magic happens! See more festive nail art tutorials.
The more you rub, the shinier the chrome finish becomes. Brush off excess powder with a soft brush when you’re done.
Pro Tip: For the best chrome effect, make sure your base color is completely smooth. Any imperfections, bumps, or streaks will show through the chrome powder and ruin the mirror finish!
Step 4: Seal with Top Coat (Time: 5 minutes)
Apply your gel top coat and cure for 60-90 seconds under the lamp. For regular polish, use a quick-dry top coat like Seche Vite. Your chrome finish should be ultra glossy and reflective now—it looks like liquid metal!
This sealing step protects the chrome from rubbing off during wear.
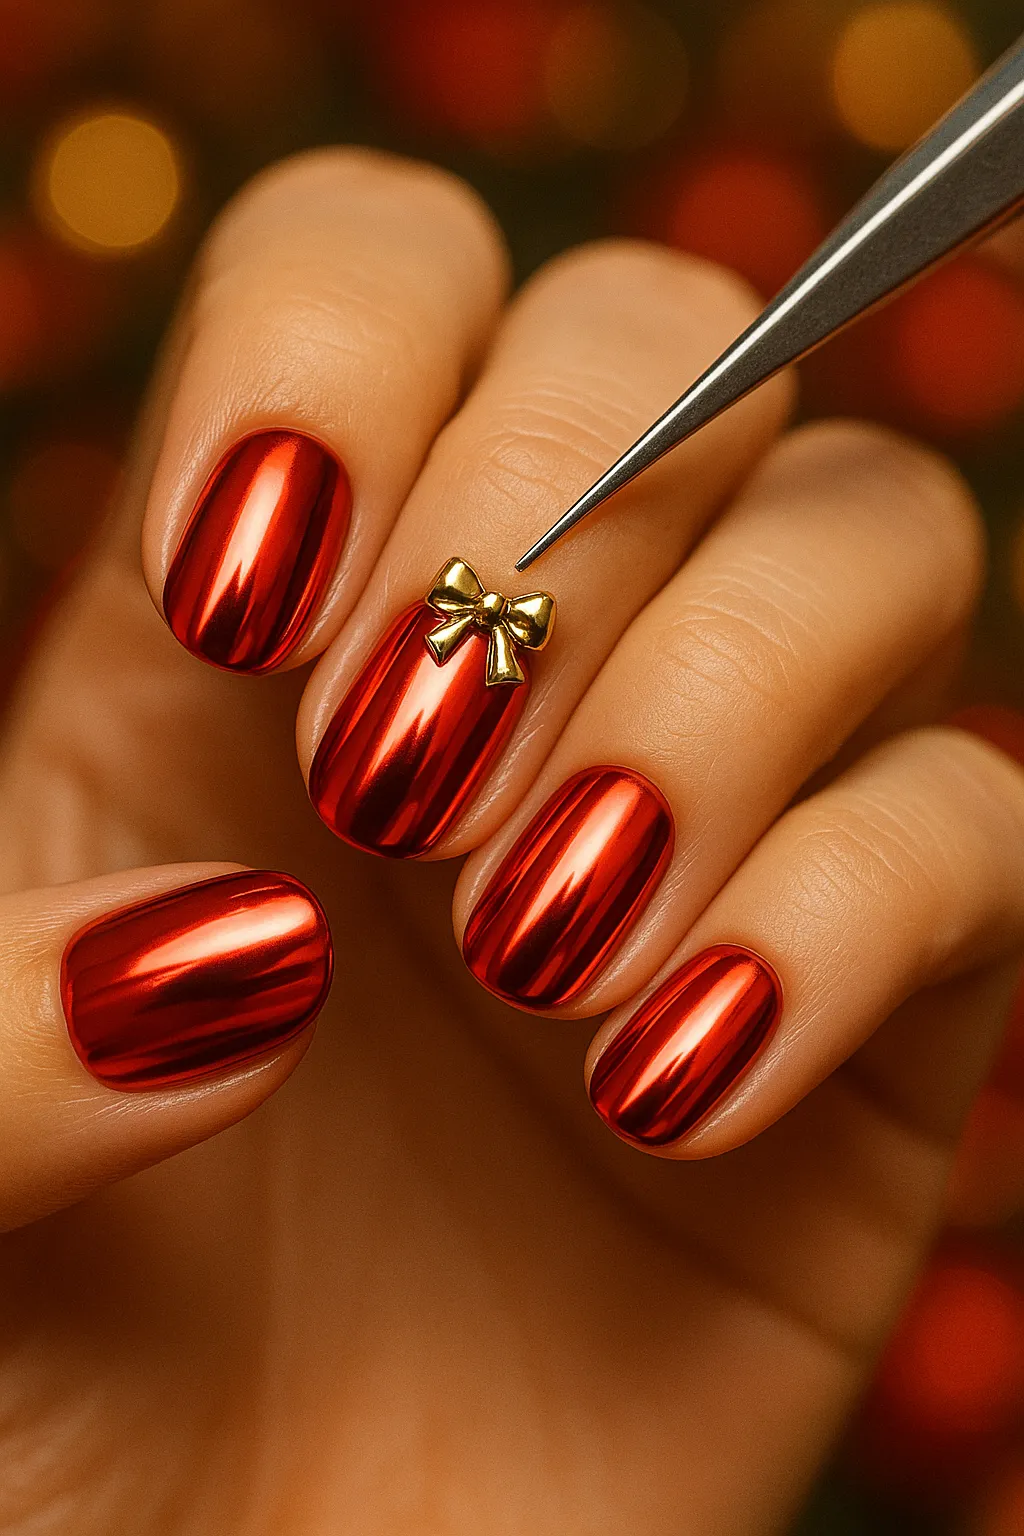
Step 5: Add Gold Bow Accent (Time: 5-10 minutes)
Choose your ring finger or any accent nail you prefer. Apply a tiny drop of nail glue—seriously, just a dot! Place your gold bow charm gently with tweezers and press down firmly for 10 seconds.
Alternatively, use gold striping tape to create a bow shape if you don’t have 3D charms. This works just as well and is actually easier for beginners.
Common Mistake: Don’t apply too much glue for the bow charm—it’ll ooze out the sides and ruin your chrome finish. A tiny dot is all you need.
Step 6: Final Seal (Time: 2-5 minutes)
Apply one more layer of top coat over the entire nail, but avoid covering the 3D bow too heavily or it’ll lose dimension. Cure or dry completely. Clean up any polish on your skin with a small brush dipped in nail polish remover.
You’re done! Total time: 40-60 minutes for a salon-quality chrome manicure.
5 Quick & Easy Christmas Nail Ideas (30 Minutes or Less)
These 5 designs are ranked by ease—all take 30 minutes or less and require tools you probably already have. Perfect for beginners or last-minute holiday prep when you forgot about that Christmas party until this morning! See more at holiday nail art.
- Red Nails with White Dot Snowflakes — 2 coats of red base; use a white nail pen or toothpick to create 5-dot snowflakes. Time: 20-25 minutes. Difficulty: Super easy.
- Green Accent Nail with Gold Striping Tape — nude or white base with a forest green accent nail and gold tape geometric pattern. Time: 15-20 minutes. Difficulty: Easy.
- Christmas Tree Nail Stickers — light base with pre-made tree stickers on 1-2 nails. Time: 15-20 minutes. Difficulty: Very easy.
- Glitter Gradient Tips — base color with glitter dabbed on tips using a makeup sponge. Time: 25-30 minutes. Difficulty: Easy.
- Simple Red and Green Color Block — alternate red and green nails with a single gold dot accent. Time: 20-25 minutes. Difficulty: Super easy.
Time-Saver Hack: Use quick-dry top coat for all these designs—it cuts drying time in half. I recommend Seche Vite or Sally Hansen Insta-Dri for fast results.
6 Pro Tips for Long-Lasting Christmas Nails
Want your festive nails to last from Christmas through New Year’s? These 6 tips are exactly what nail techs use to make salon manicures last 2+ weeks. Whether you did the chrome nails or simple stickers, these techniques work for every design.
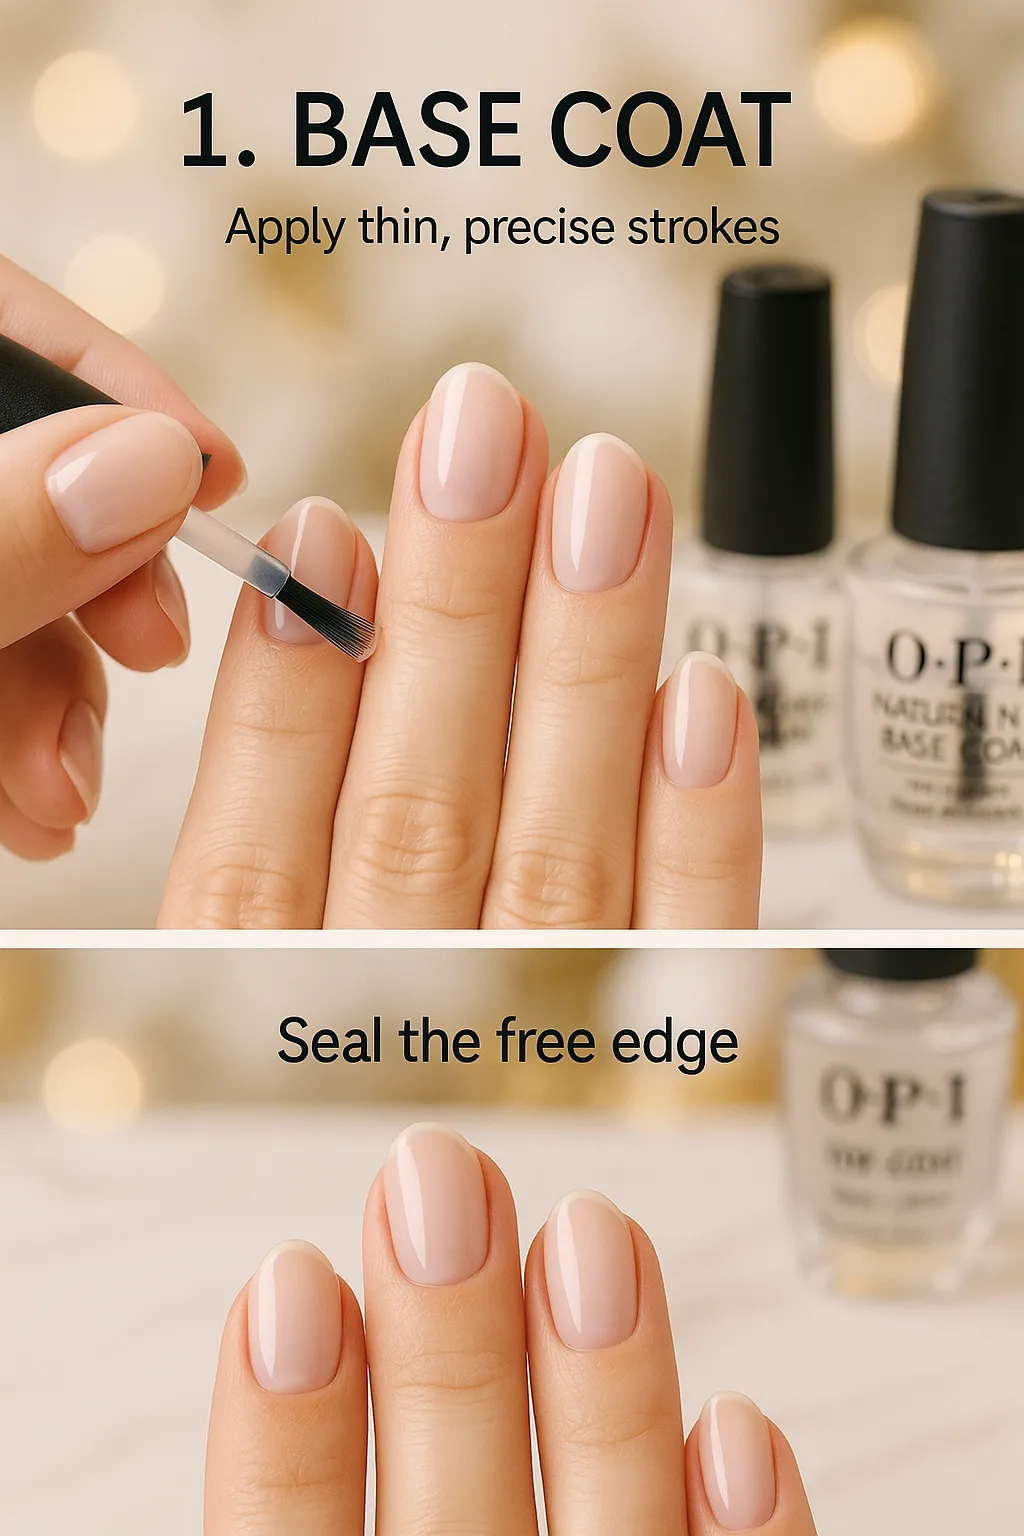
- Always Start with a Base Coat — protects nails from staining and improves adhesion. Recommended: OPI Natural Nail Base Coat or Essie First Base.
- Apply Thin Layers, Not Thick Ones — thin coats dry faster and chip less.
- Seal the Free Edge — swipe top coat across the nail tip to prevent chipping.

- Cure Gel Polish Properly — full curing (60-90 seconds) prevents peeling.
- Avoid Water for 2 Hours After Polishing — let polish harden before heavy water exposure.
- Use Cuticle Oil Daily — keeps nails flexible and prevents polish cracking.

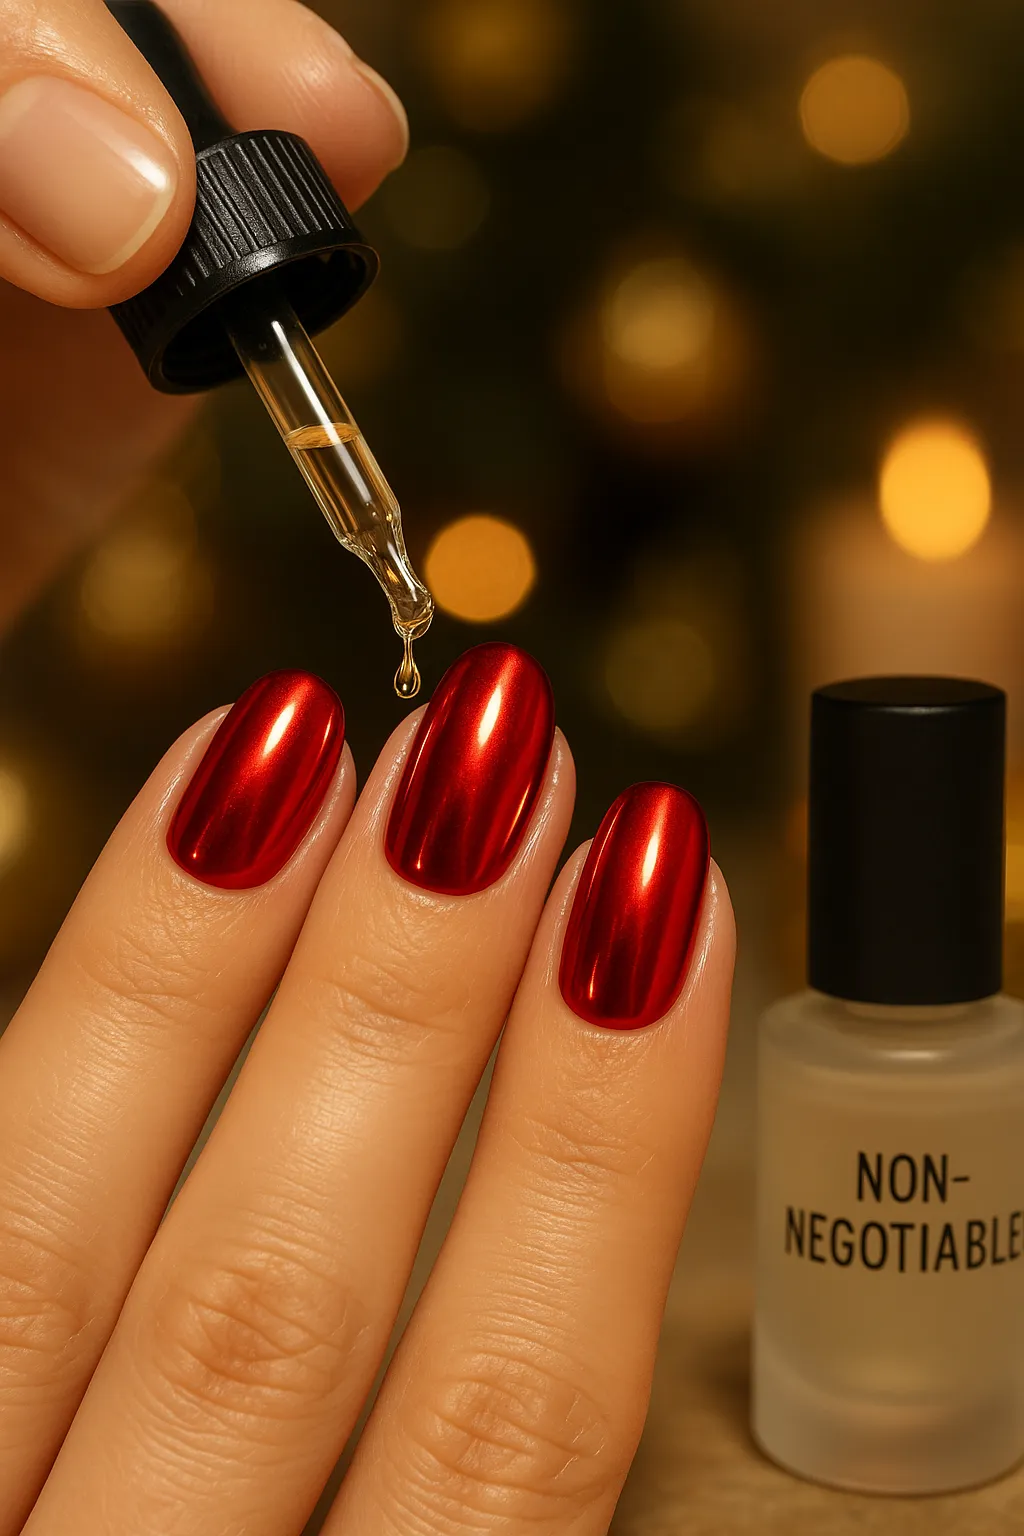
Biggest Mistake I See: Skipping the top coat. It’s absolutely non-negotiable if you want your design to survive holiday hand washing and cooking. Re-apply top coat every 3 days for extra durability.
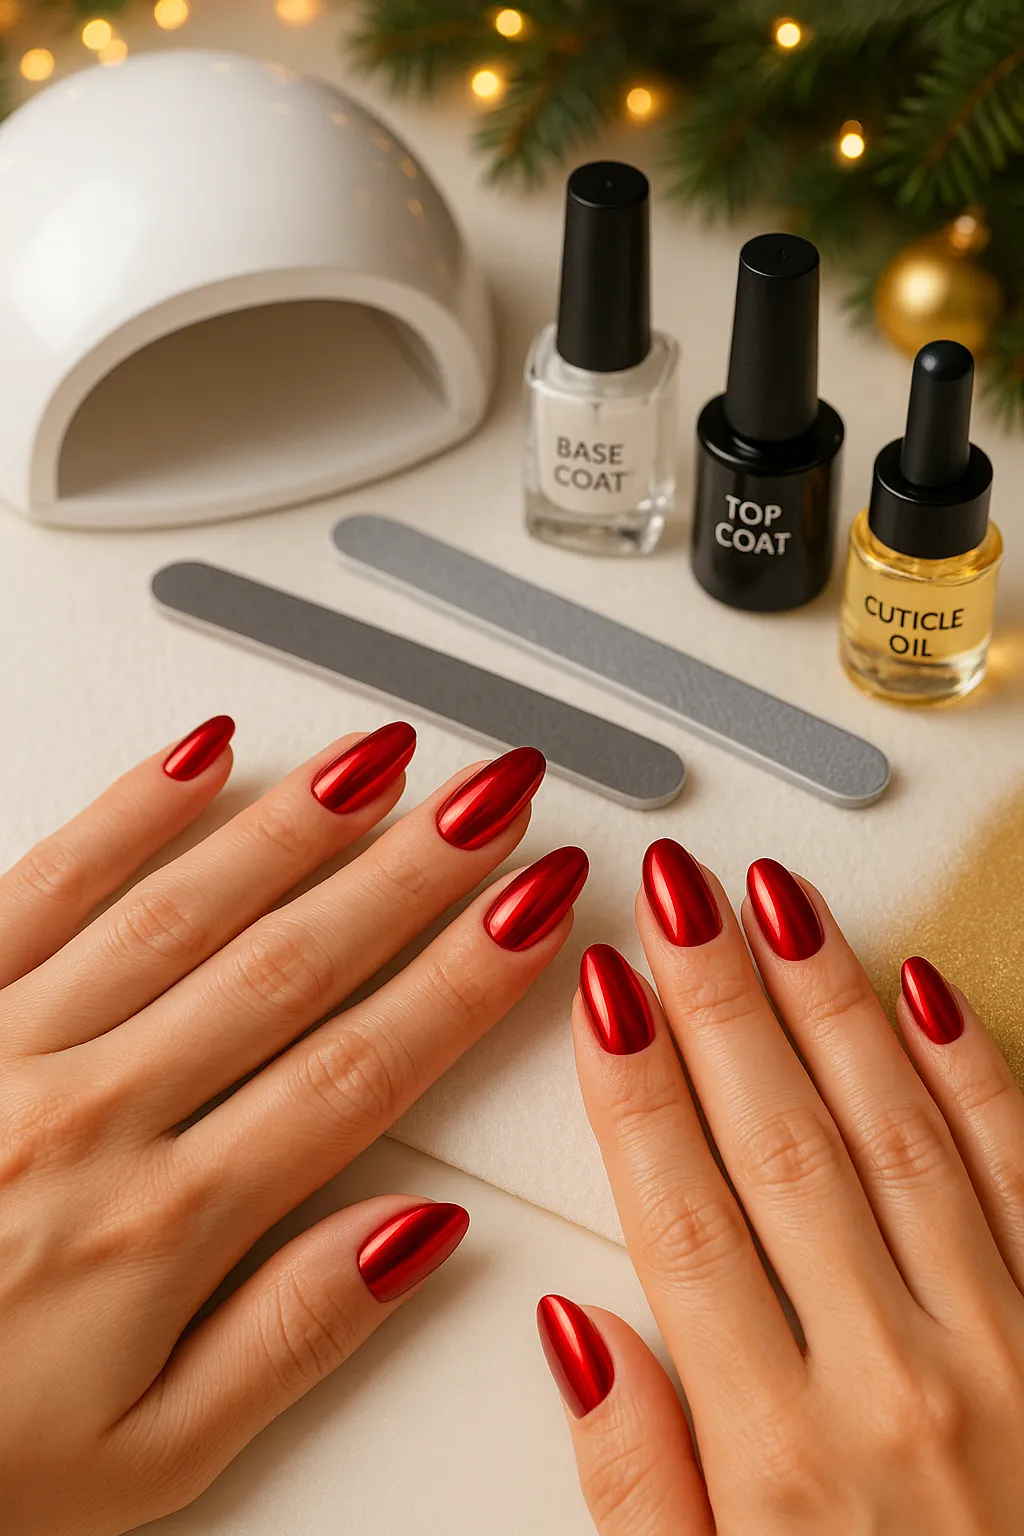
Essential Tools & Products for Christmas Nail Designs
You don’t need a professional nail salon setup! Here are the exact products I use for all 7 designs, organized by budget. Start with the basics and add special tools only if you want to try the fancier designs like chrome.
Basic Must-Haves (For All Designs):
- Base coat: OPI Natural Nail Base Coat or Essie First Base
- Top coat: Seche Vite or Essie Gel Couture Top Coat
- Nail file: Glass file 180-grit
- Cuticle pusher: Metal or wooden
Christmas Polishes (Design-Specific):
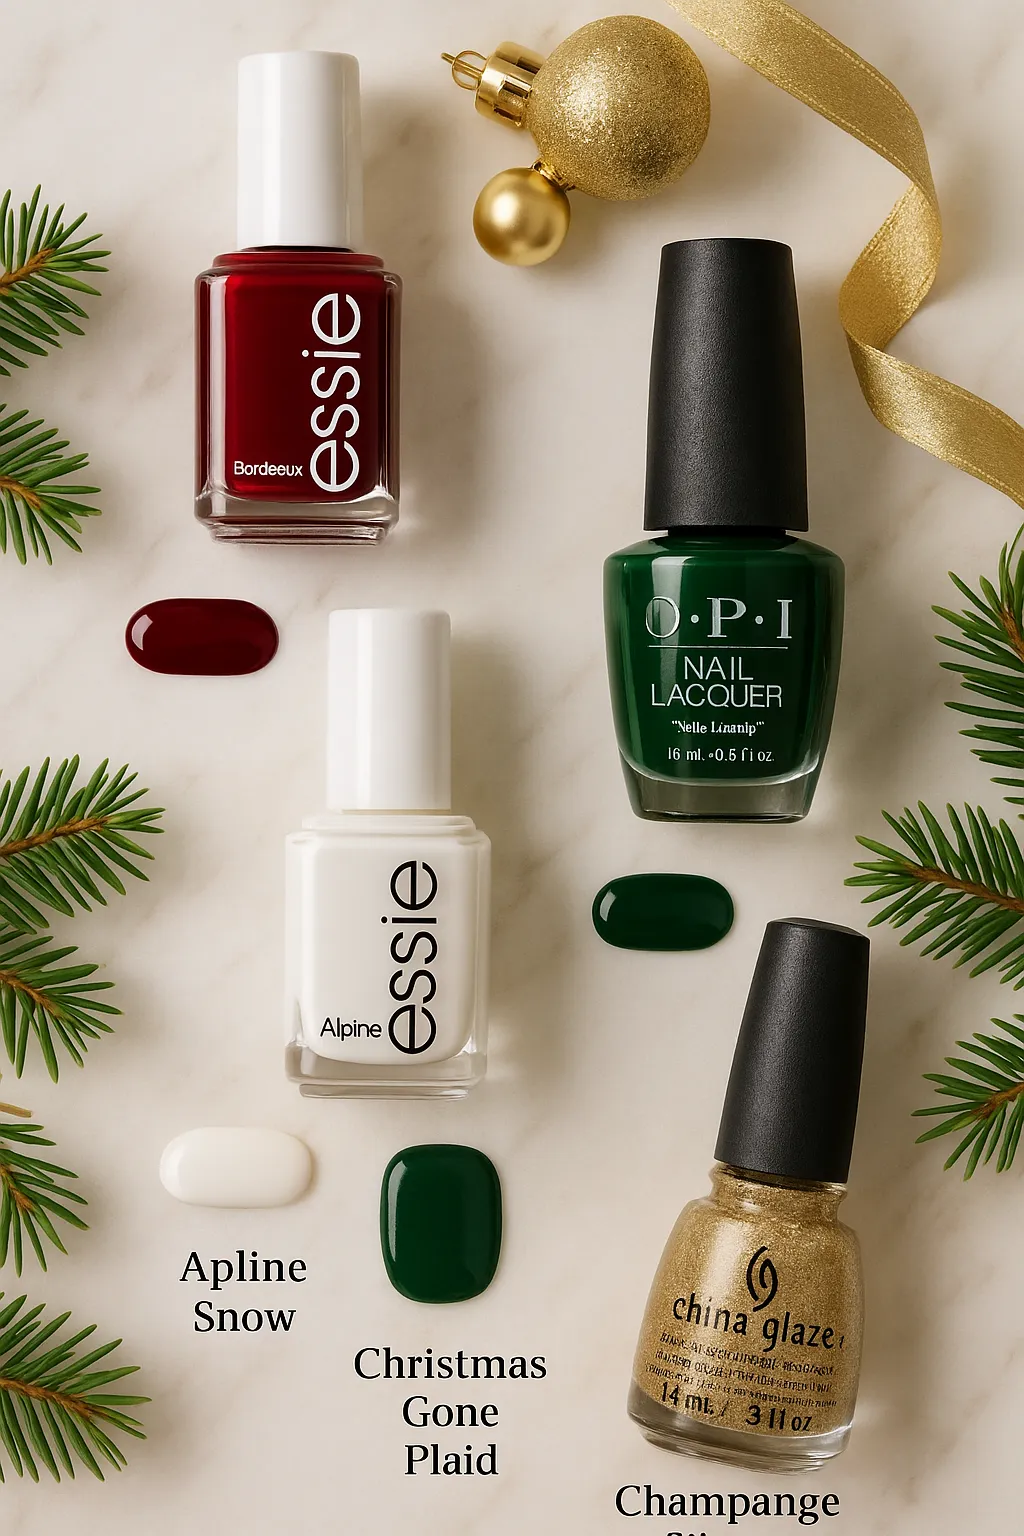
- Red: Essie “Bordeaux” or OPI “Big Apple Red”
- White: Essie “Blanc” or OPI “Alpine Snow”
- Green: OPI “Christmas Gone Plaid” or Essie “Going Incognito”
- Gold glitter: China Glaze “Champagne Kisses” — see seasonal palettes at seasonal color palettes
Special Nail Art Tools:
- Chrome powder kit
- Dotting tools set
- Striping tape
- Nail stickers/decals
- 3D bow charms
For Gel Polish Users:
- UV/LED lamp
- Gel polish remover
- Lint-free wipes
Budget Breakdown: Beginner starter kit: $40-60. Full chrome nail kit: $80-100.
Budget Tip: Start with regular polish before investing in gel. You can create all these designs with $40-50 in drugstore products from CVS or Target.
Frequently Asked Questions About Christmas Nail Designs
Q: How long do Christmas nail designs typically last?
Regular polish lasts 3-5 days with proper top coat and care. Gel polish lasts 10-14 days. Simpler designs like color blocking or stickers tend to last longer than intricate hand-painted art.
Q: Can I do these designs on short nails?
Absolutely! Designs #3 (candy cane stripes), #6 (matte white with glitter), and all 5 quick ideas work beautifully on short nails. Stick to simple patterns and single accent nails for the best look.
Q: How do I remove glitter polish easily?
Soak cotton pads in acetone, place them on your nails, and wrap each finger with aluminum foil for 10 minutes. The glitter will wipe off easily. For stubborn glitter, use gentle buffing—don’t scrape aggressively.
Q: What’s the best nail shape for Christmas designs?
Oval and almond shapes show off nail art beautifully. Square and coffin shapes work for bold, geometric designs. Round shapes are easiest for beginners to maintain at home.
Q: Can I mix regular and gel polish?
No—don’t mix them in the same manicure because they have different formulas and curing requirements. You can, however, use regular polish over gel extensions if sealed properly.
Q: How far in advance can I do my Christmas nails?
For gel: 5-7 days before your event. For regular polish: 2-3 days before. This timing gives you a fresh look and time to fix any mistakes.
Conclusion
So there you have it—7 stunning Christmas nail designs you can totally DIY at home. Which design are you trying first? I’m doing the chrome red with gold bows for Christmas Eve this year.
Tag me on Instagram when you recreate these looks and save this post for your next holiday mani session.