Festival season is officially here, and your nails deserve to be just as bold as your outfit! Whether you’re heading to Coachella, Bonnaroo, or your local music festival, festival nails are the perfect way to express yourself and stand out in the crowd.
Festival nails are special because they combine vibrant colors, durability, and creative designs that match the energy of live music and outdoor fun. These aren’t your everyday manicures—they’re bold, eye-catching, and built to last through days of dancing, hand-washing, and fun in the sun. Read more about nail trends 2025.
In this post, I’ll show you 12 stunning festival nail designs that are trending in 2025, plus an easy step-by-step DIY tutorial you can do at home. I’ve also included pro tips for making your festival nails last the entire weekend. With just basic supplies from Ulta or Amazon and about 45 minutes of your time, you’ll have Instagram-worthy nails that’ll steal the show!
12 Trending Festival Nail Designs for 2025
Ready to see the hottest festival nail trends? I tested these designs at three different festivals this year, and these 12 styles got the most compliments. Each one brings its own vibe, from futuristic chrome to bohemian patterns. See more in my festive nail art tutorials.
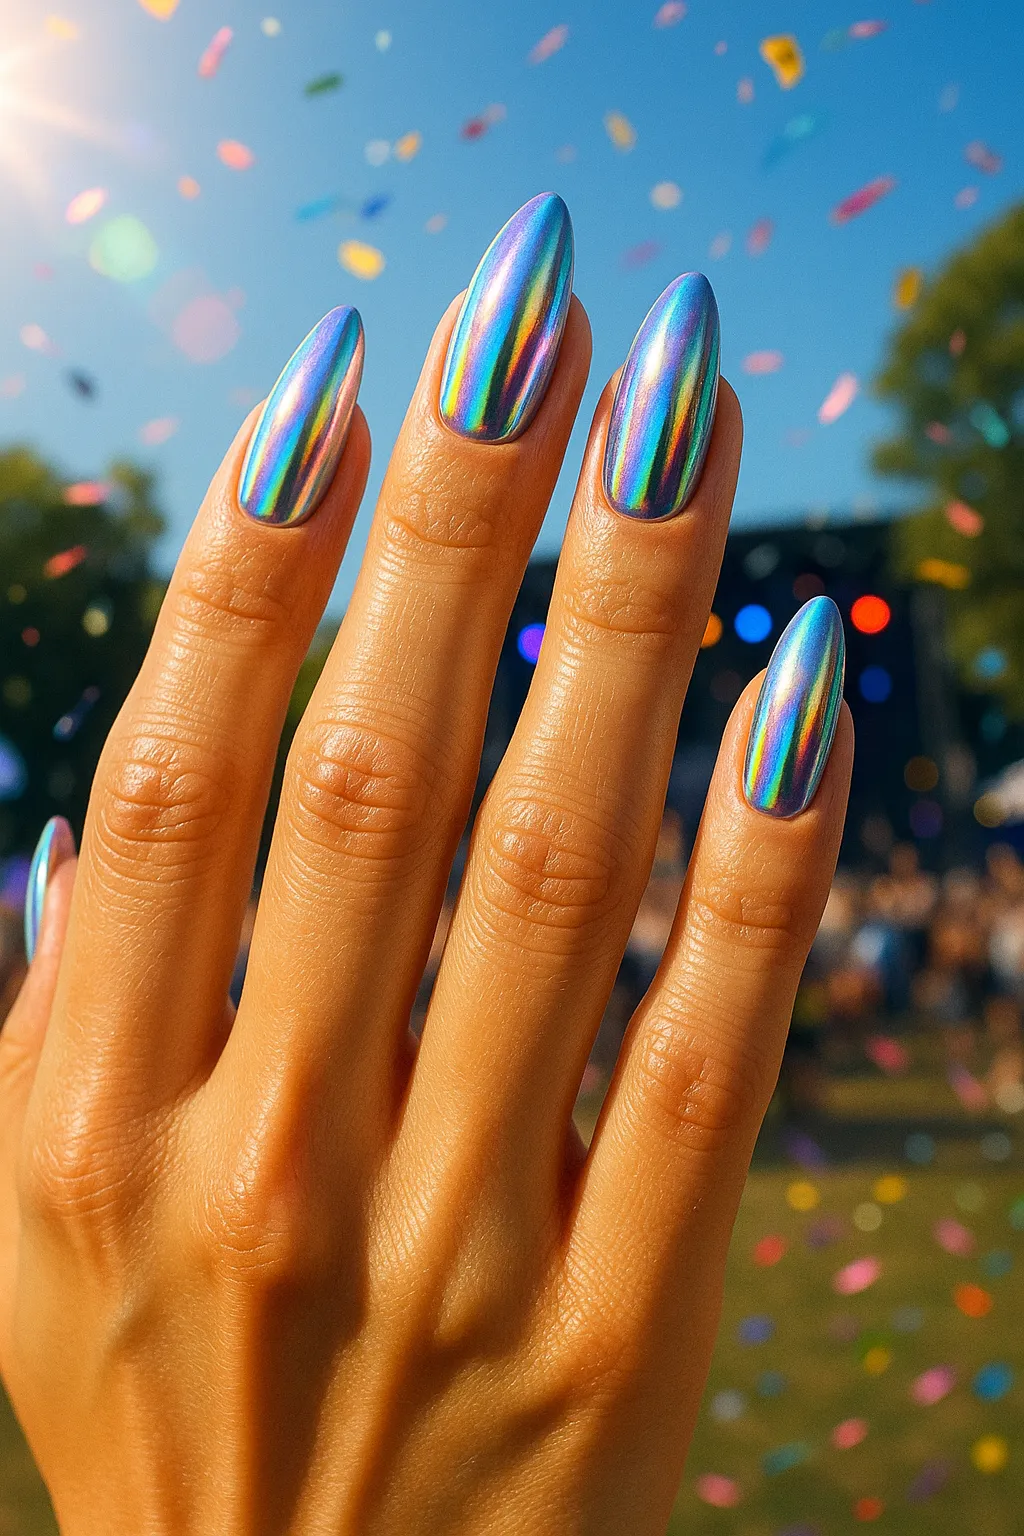
1. Holographic Chrome Nails
These futuristic metallic nails create a rainbow mirror effect that shifts with every movement. Chrome nails were the #1 saved festival nail design on Pinterest in 2025, with over 450K saves. The holographic finish catches light beautifully during both day and nighttime sets.
Best for: All nail shapes, especially almond and stiletto | Works on all skin tones | Perfect for: EDM and electronic festivals
Difficulty: Medium | Time: 45-60 minutes
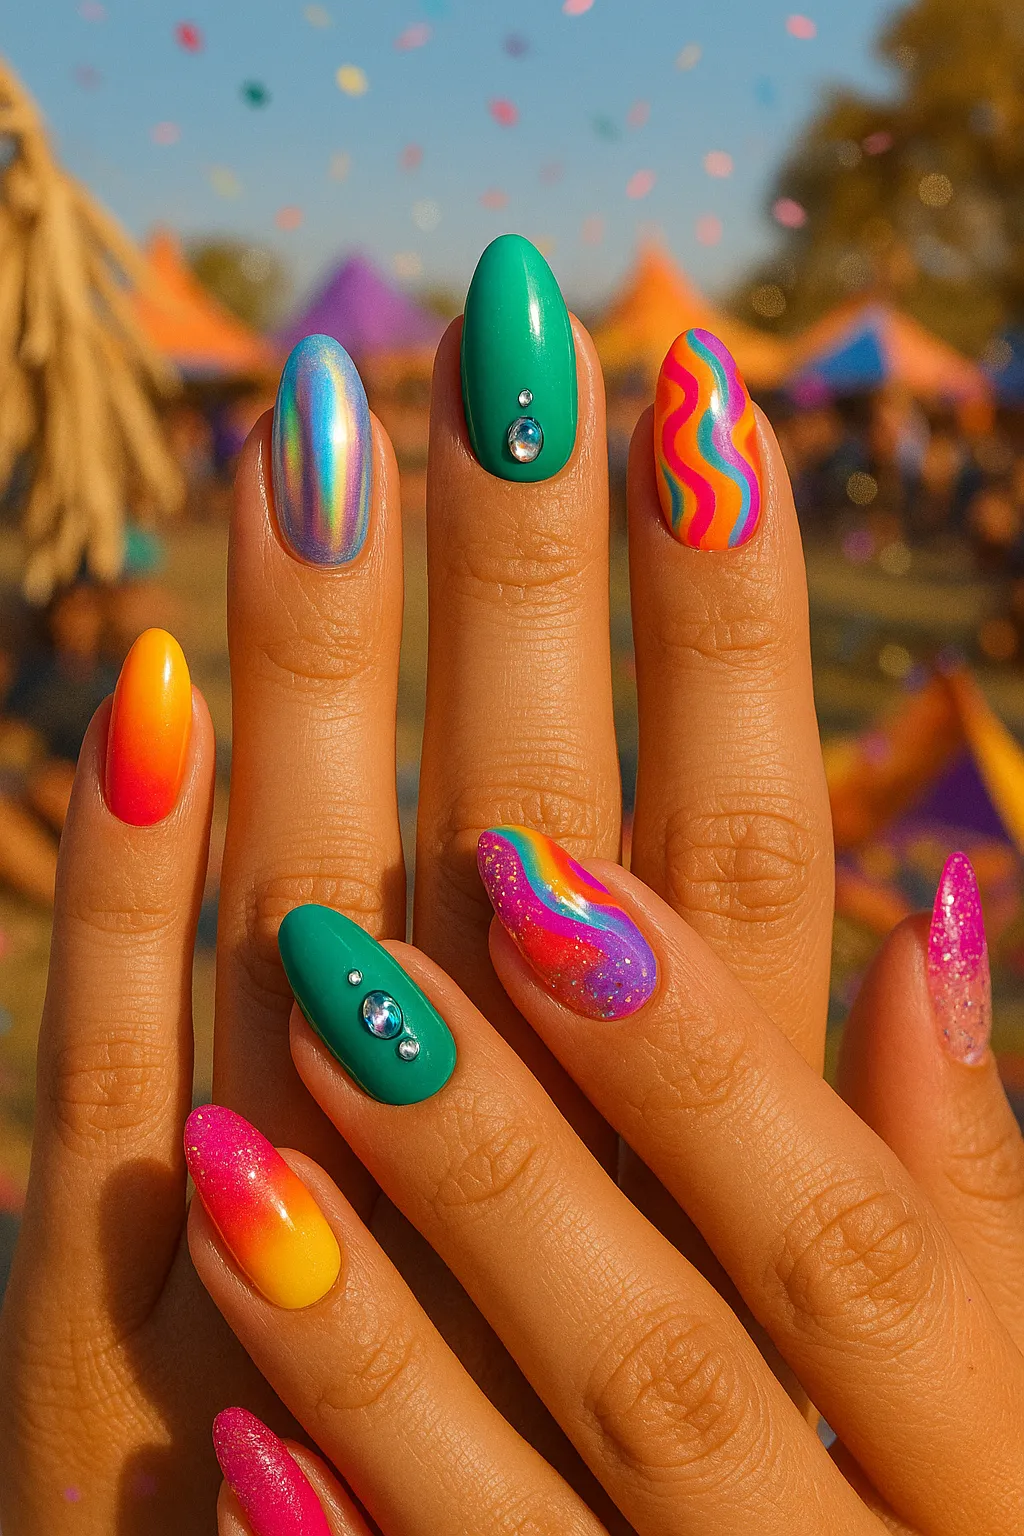
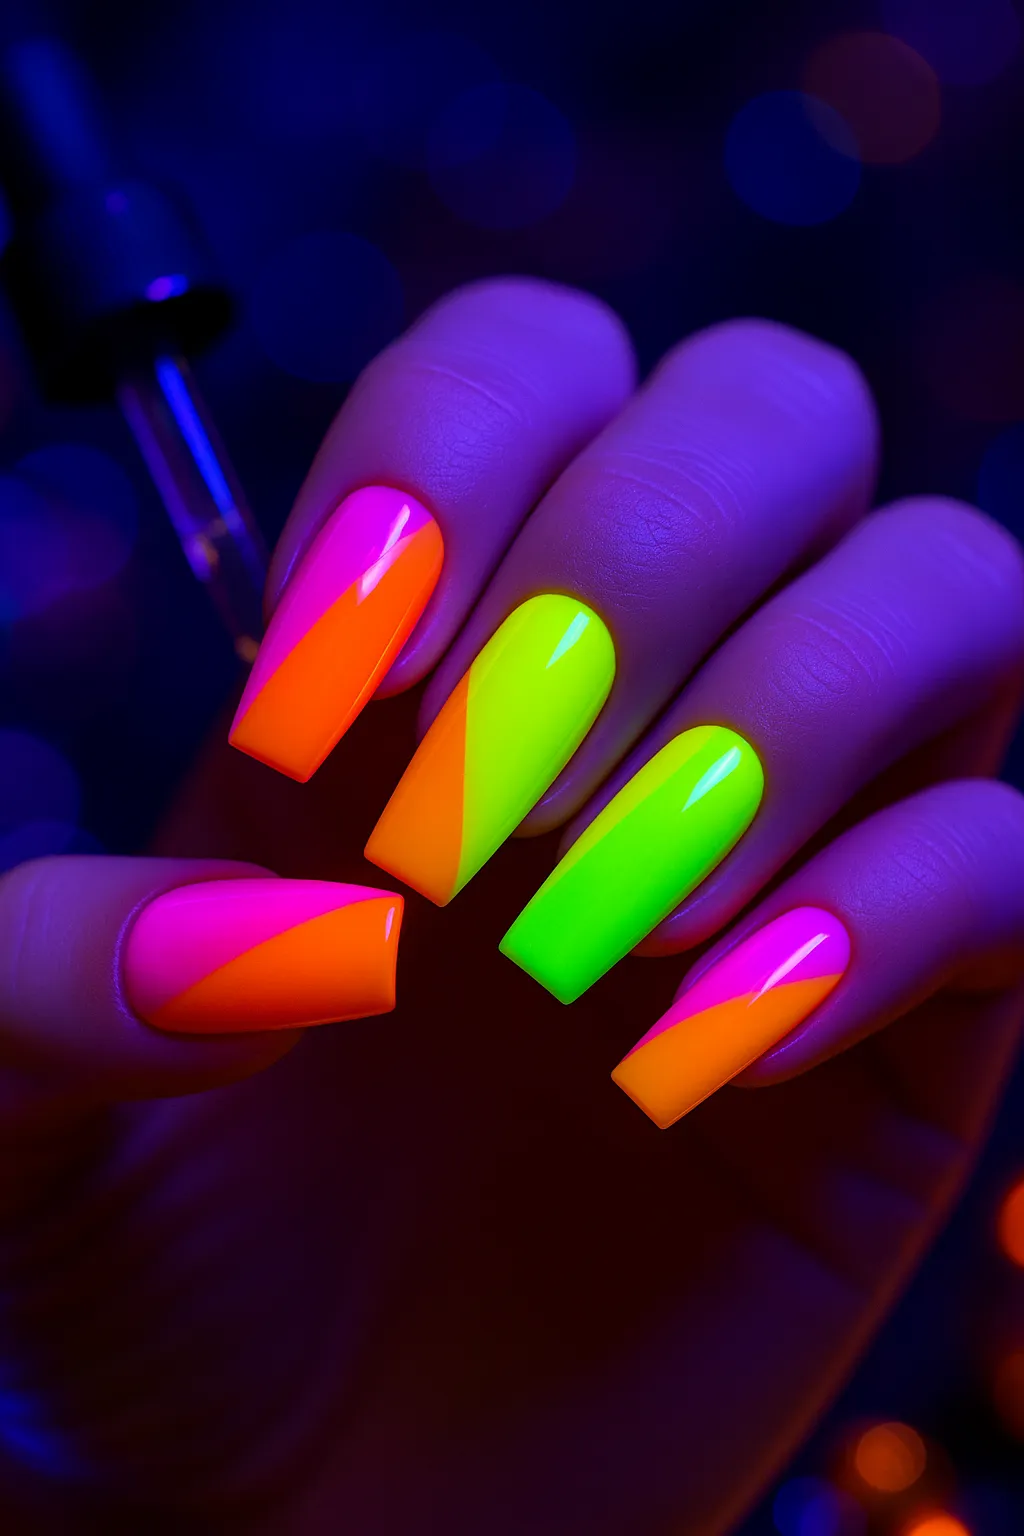
2. Neon Color Block Designs
Bright geometric patterns in electric pinks, oranges, yellows, and greens make a bold statement. These were everywhere at Coachella 2025—the sharp lines and contrasting neons photograph amazingly under blacklights.
Best for: Square and coffin shapes | Perfect for: Rave and hip-hop festivals
Difficulty: Medium | Time: 50-60 minutes
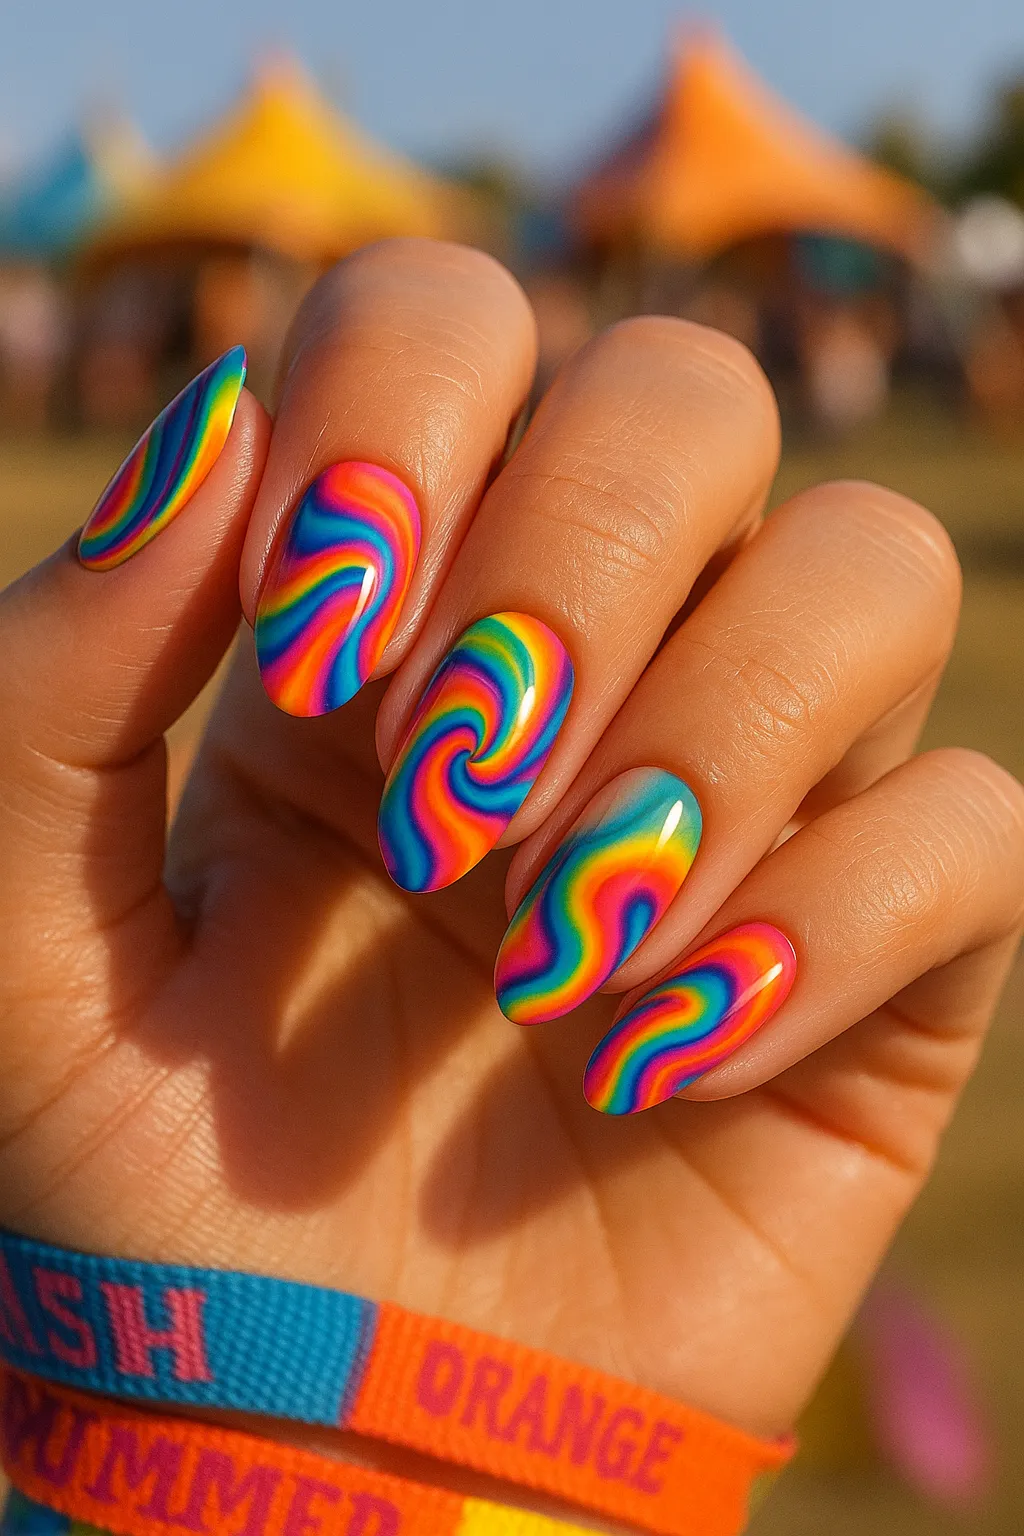
3. Psychedelic Tie-Dye Swirls
Abstract fluid art with vibrant colors creates a mesmerizing psychedelic effect on your nails. No two nails look exactly the same—it’s truly unique art.
Best for: Oval and almond shapes | Perfect for: Folk, indie, and jam band festivals
Difficulty: Easy | Time: 35-45 minutes
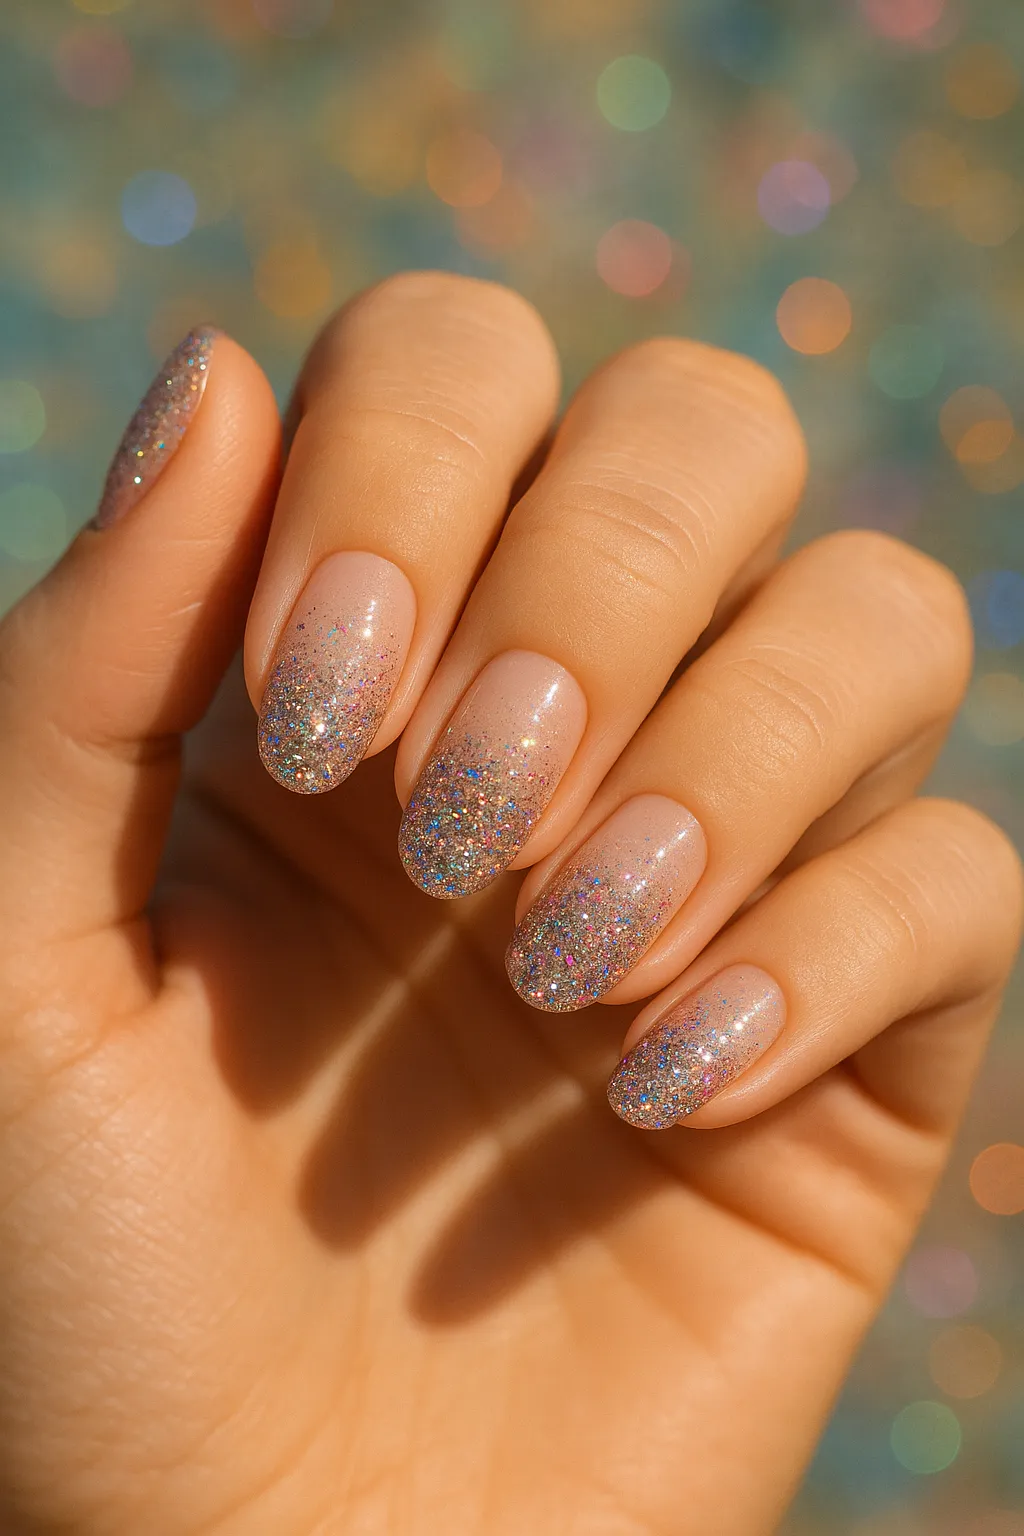
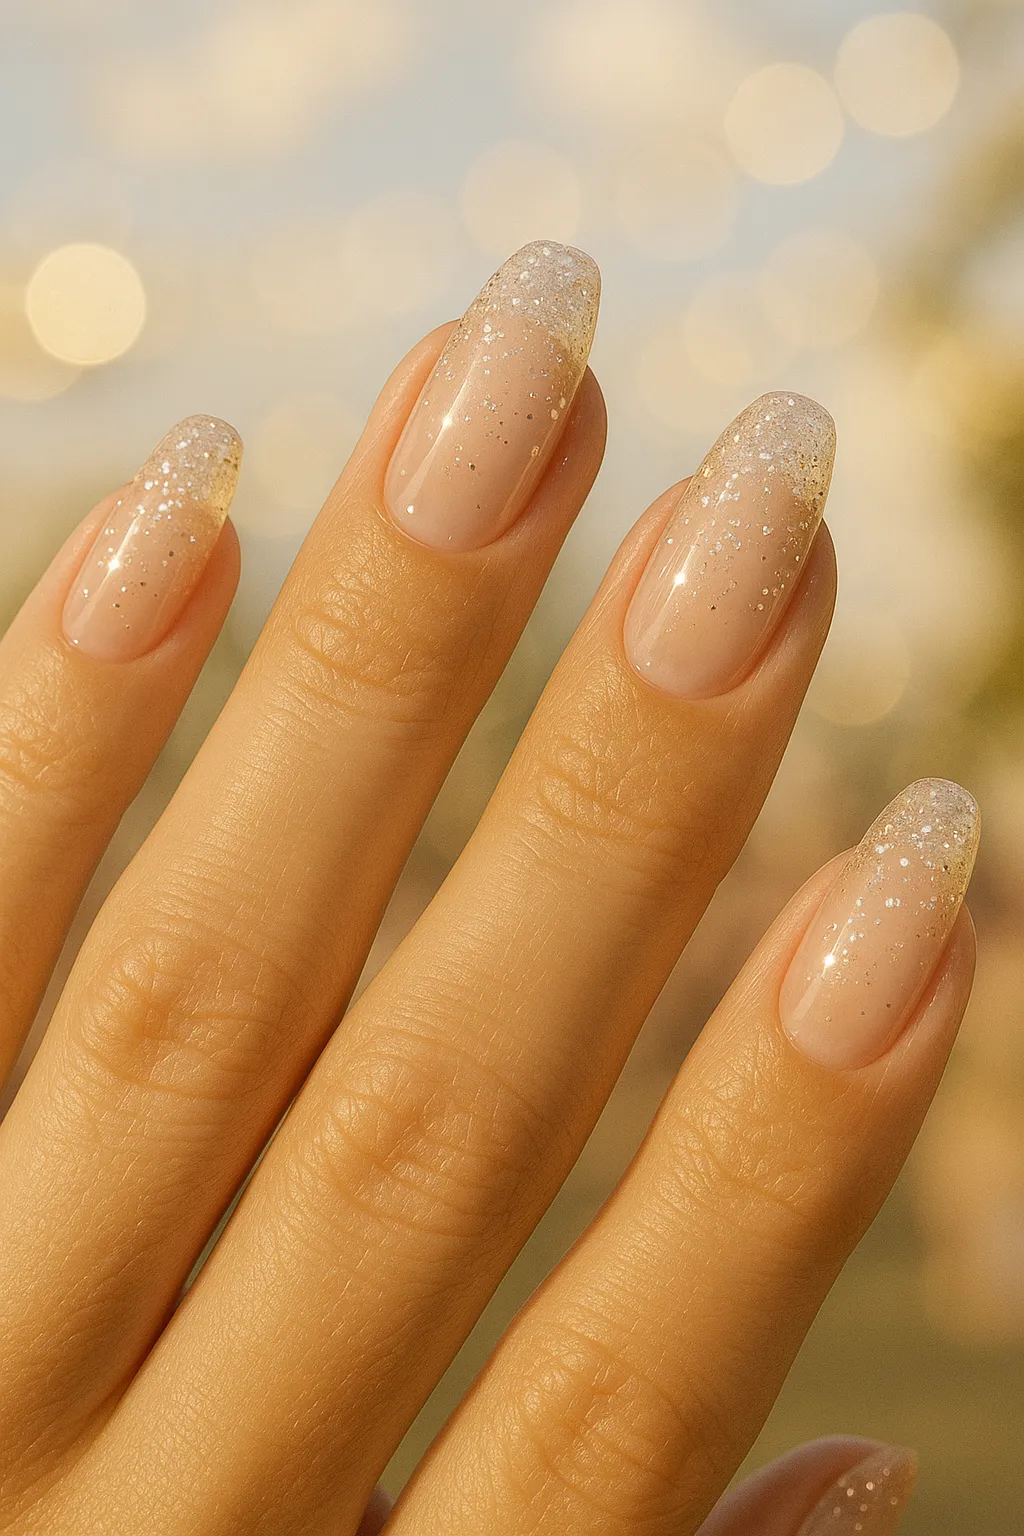
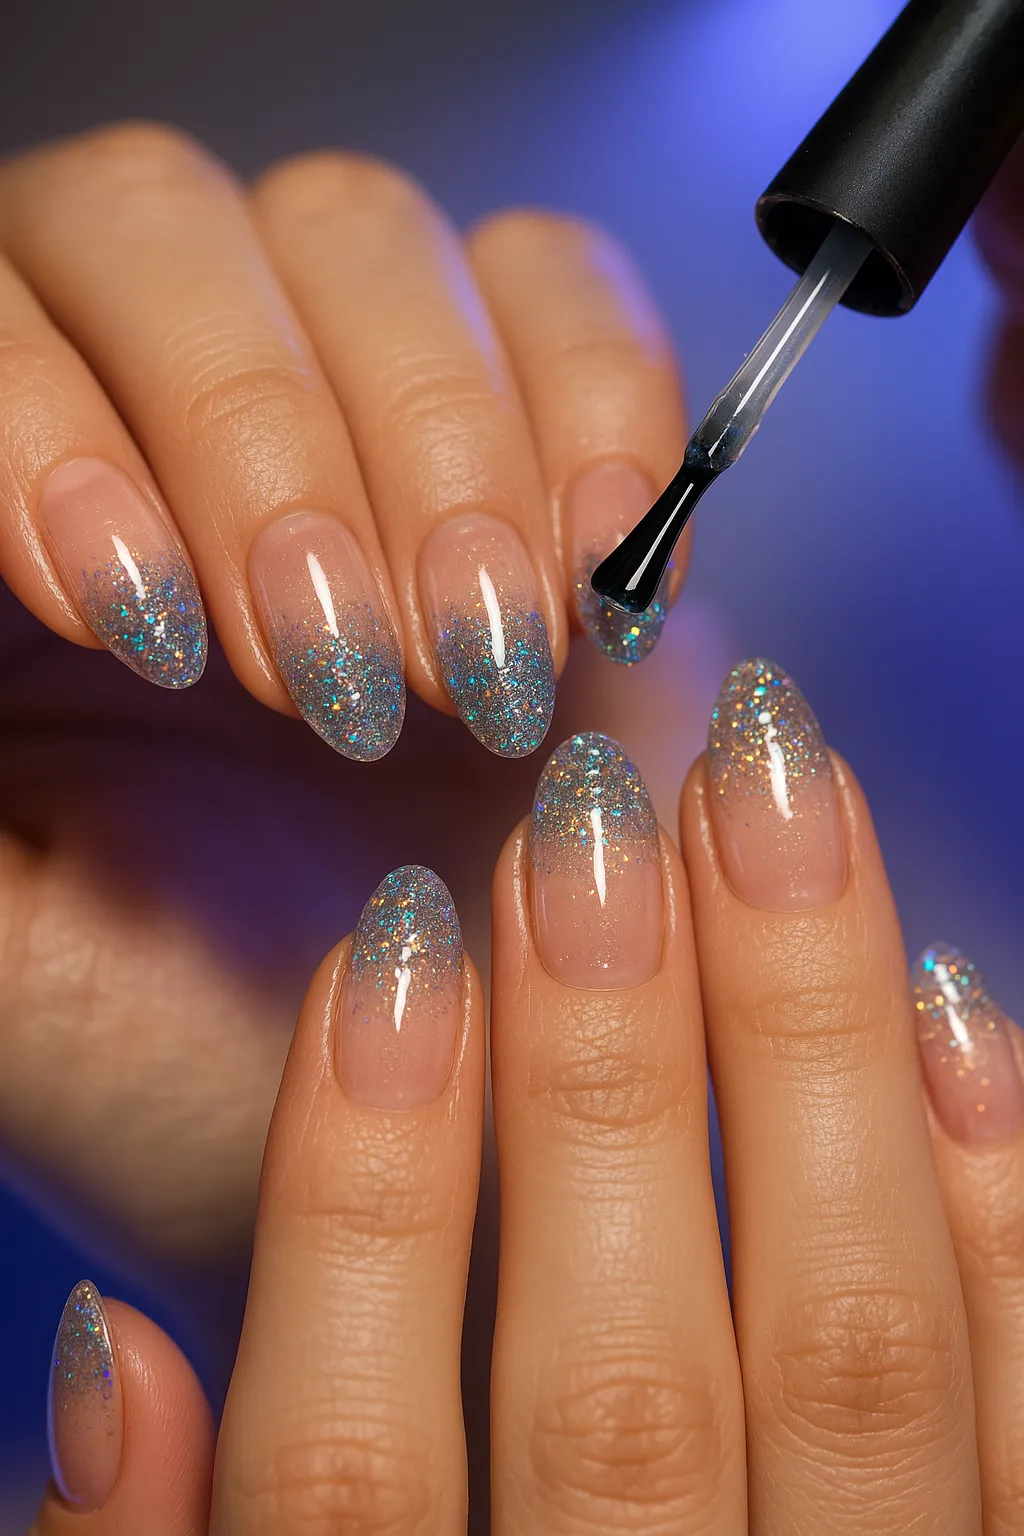
4. Festival Glitter Ombré
Gradient glitter from base to tip creates a sparkly fade that catches sunlight beautifully. This was my personal go-to for Bonnaroo 2025, and it lasted a full 12 days without chipping.
Best for: All nail shapes and lengths | Perfect for: Any festival genre
Difficulty: Easy | Time: 35-45 minutes
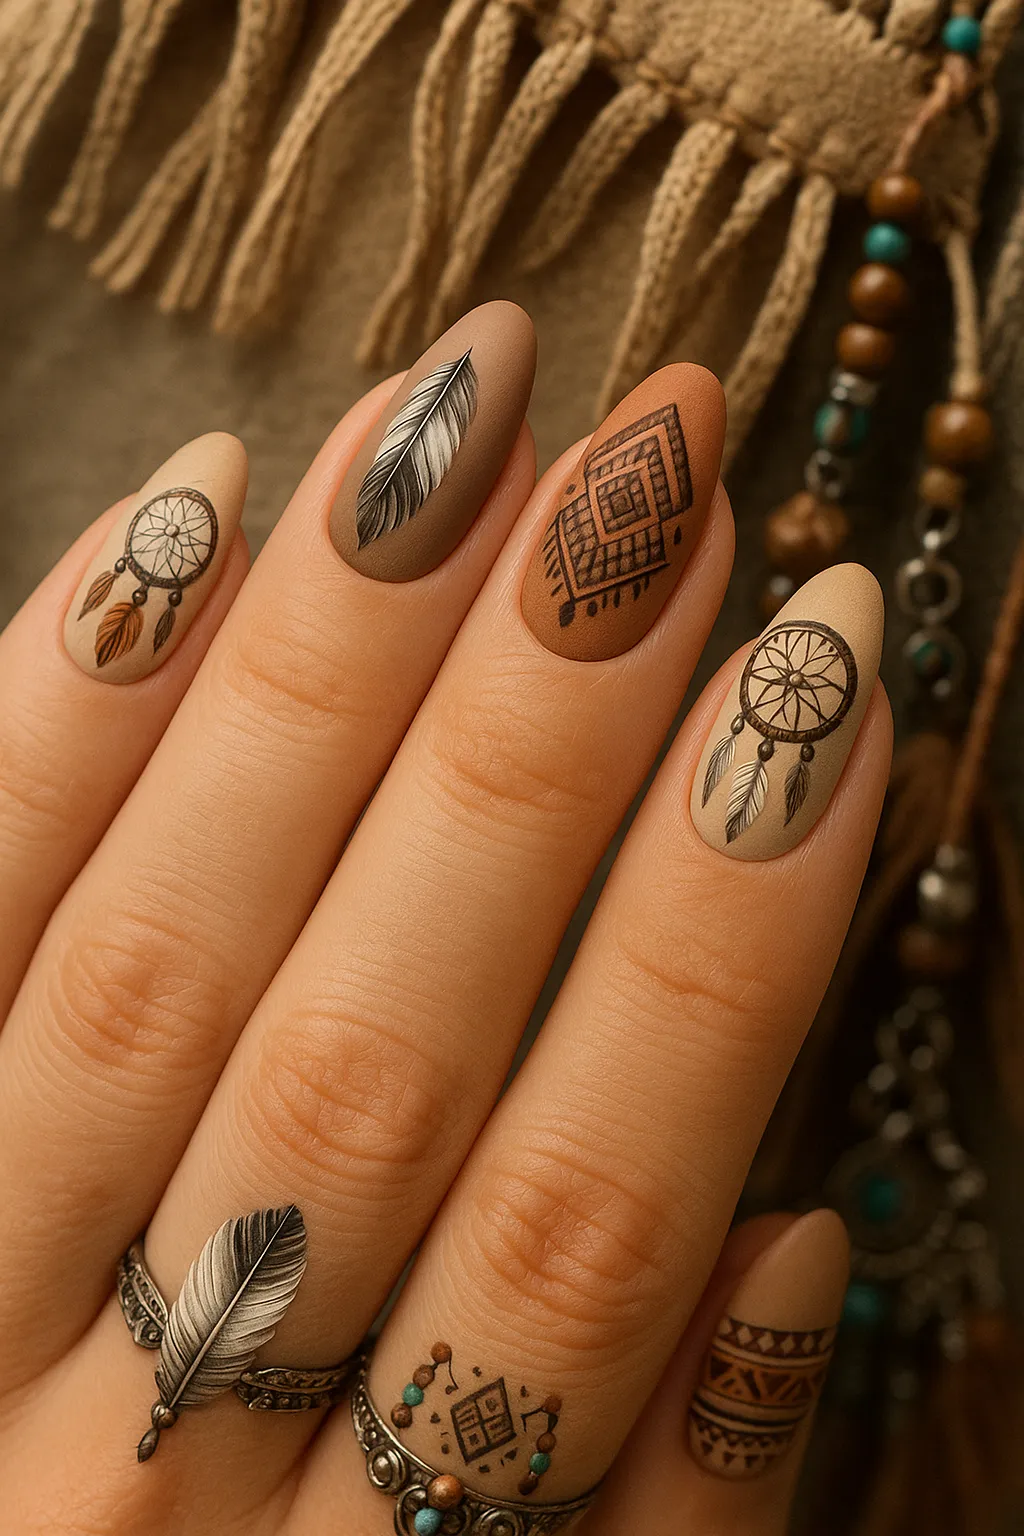
5. Boho Tribal Patterns
Feathers, dream catchers, and tribal motifs in earthy tones bring bohemian vibes to your fingertips. These designs have a handmade, artistic quality that pairs perfectly with flowy festival fashion.
Best for: Almond and oval shapes | Perfect for: Folk, country, and indie festivals
Difficulty: Hard | Time: 60-75 minutes
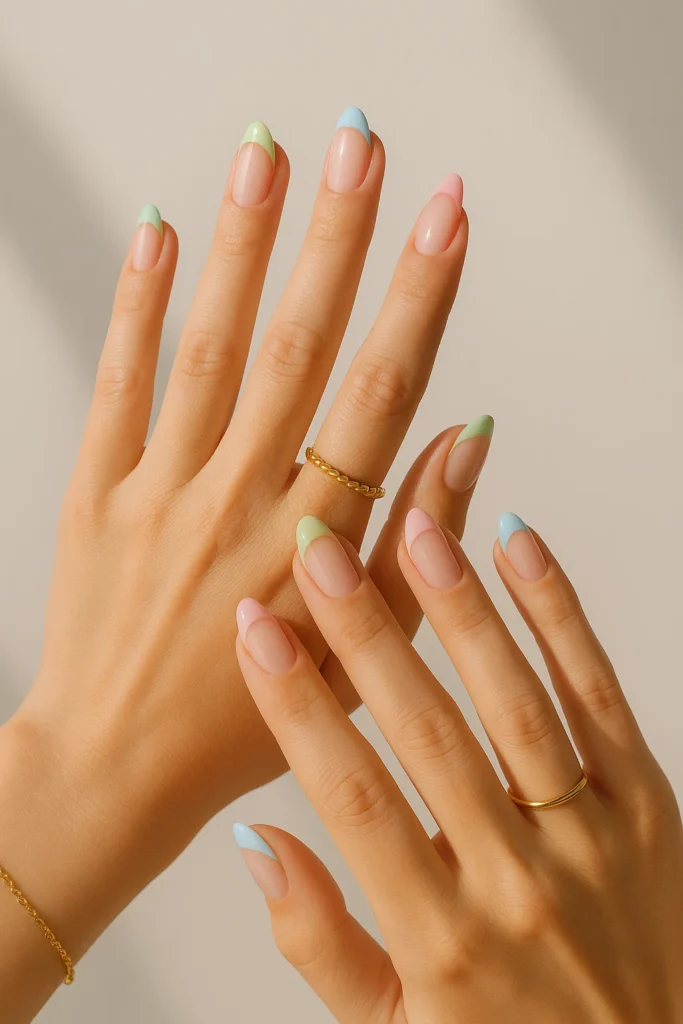
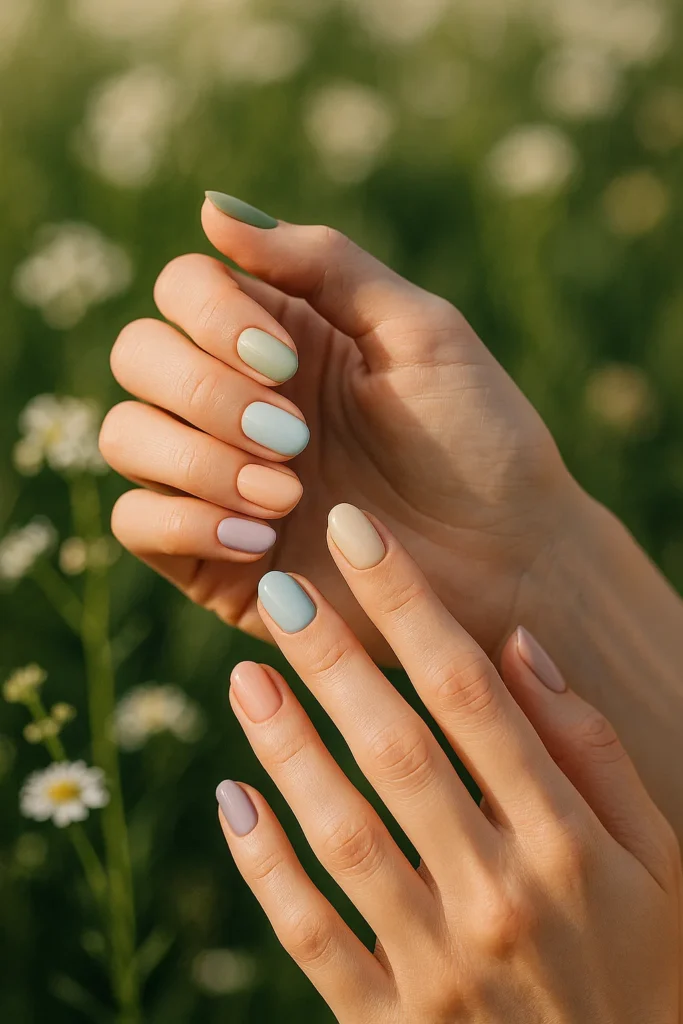
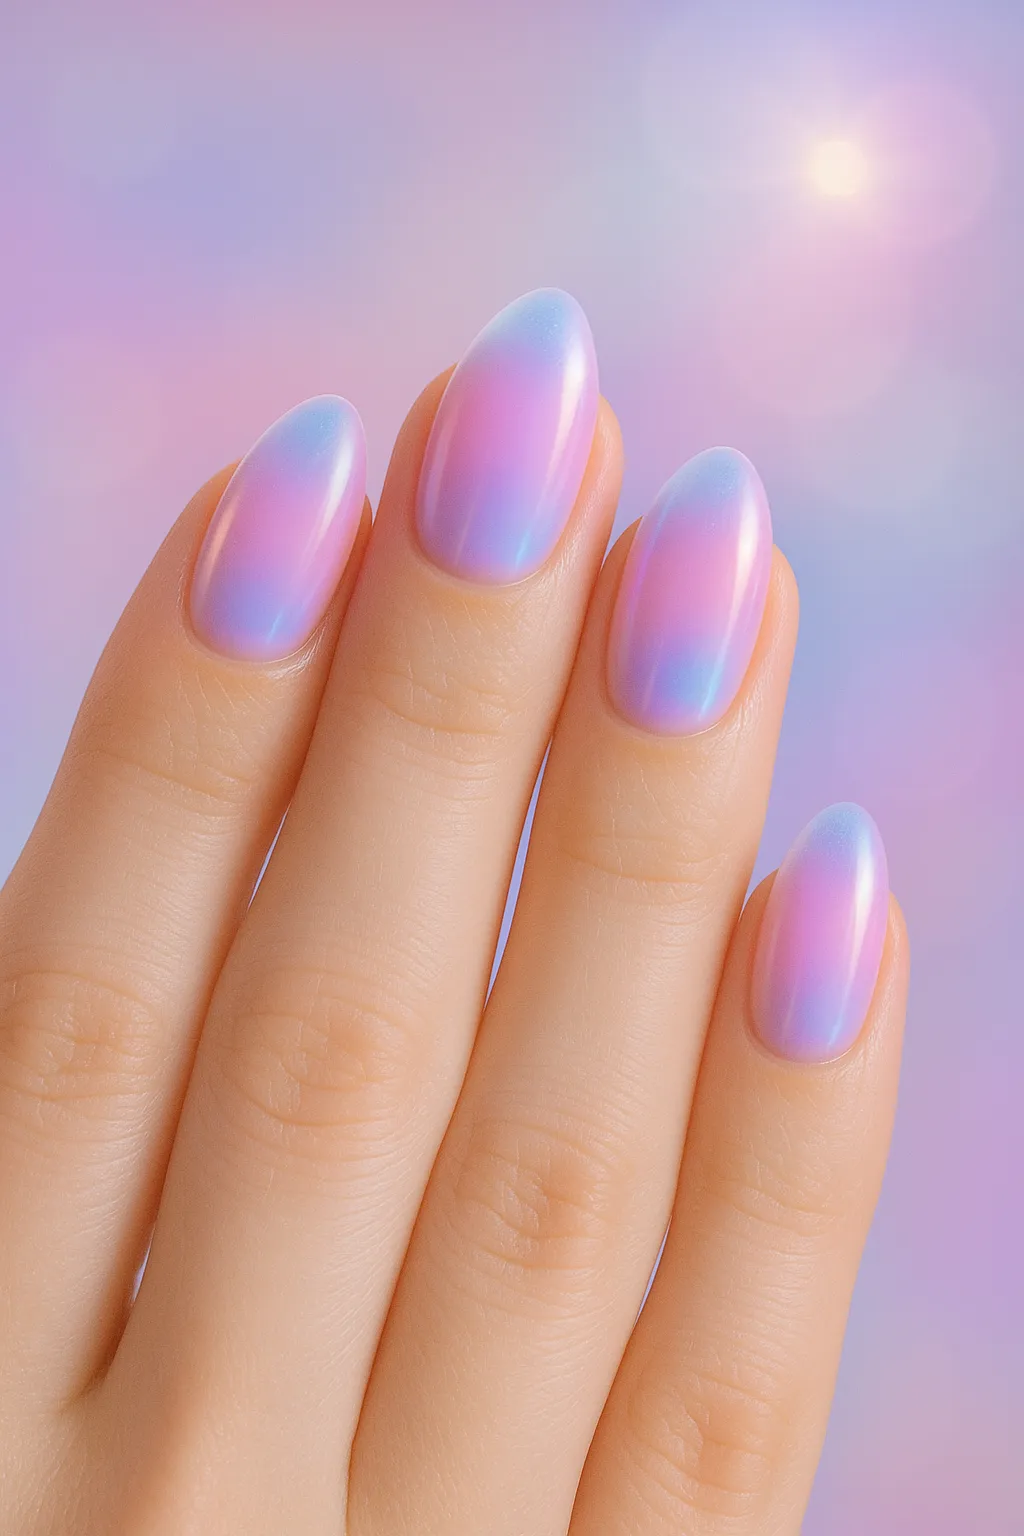
6. Aura Glow Nails
Soft gradient halo effect around cuticles creates an ethereal, glowing appearance. This trend blew up on TikTok in early 2025 with millions of posts. Learn more about aura nails.
Best for: Oval and almond shapes | Perfect for: Indie and alternative festivals
Difficulty: Medium | Time: 40-50 minutes
Pro Tip: Mix and match! Try 2-3 designs on different nails for a truly unique festival look. Pair holographic accent nails with a neon base for maximum impact.
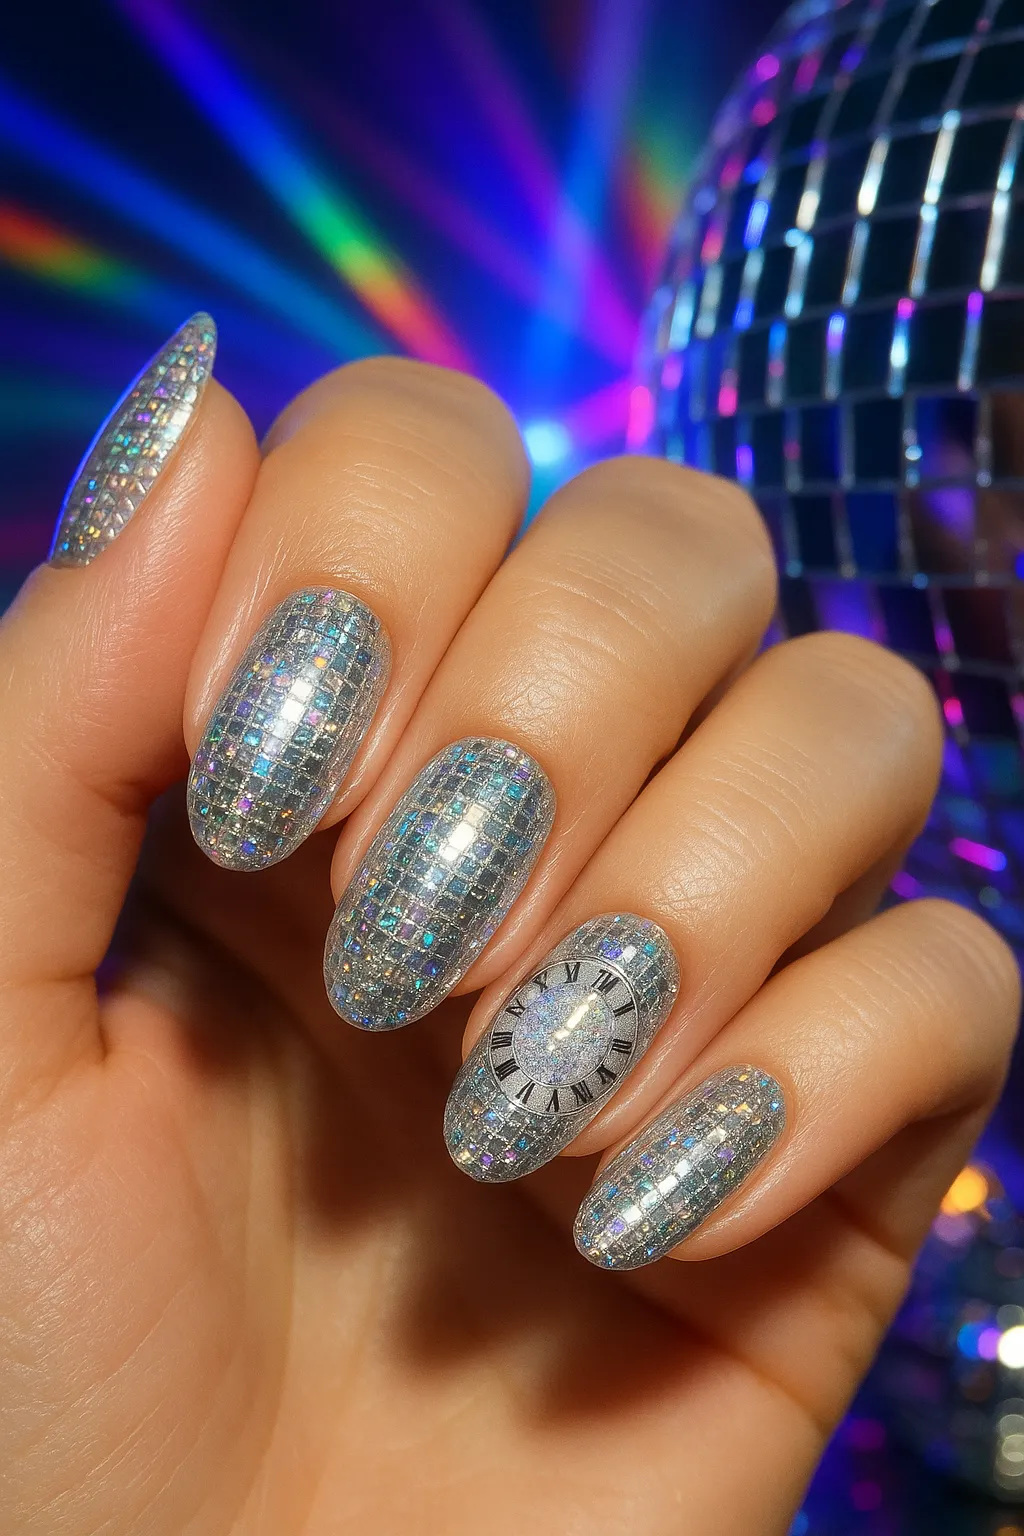
7. Retro Disco Ball
Micro-glitter mirror finish creates an authentic disco ball effect on your nails—perfect for retro-themed festivals.
Best for: Coffin and stiletto shapes | Perfect for: Pop, disco, and retro-themed festivals
Difficulty: Medium | Time: 50-60 minutes
8. Abstract Paint Splash
Jackson Pollock-inspired chaotic art brings pure creativity to your nails. This is hands-down the most fun design to create—just splatter and enjoy!
Best for: Any nail shape | Perfect for: Art and music festivals
Difficulty: Easy | Time: 30-40 minutes

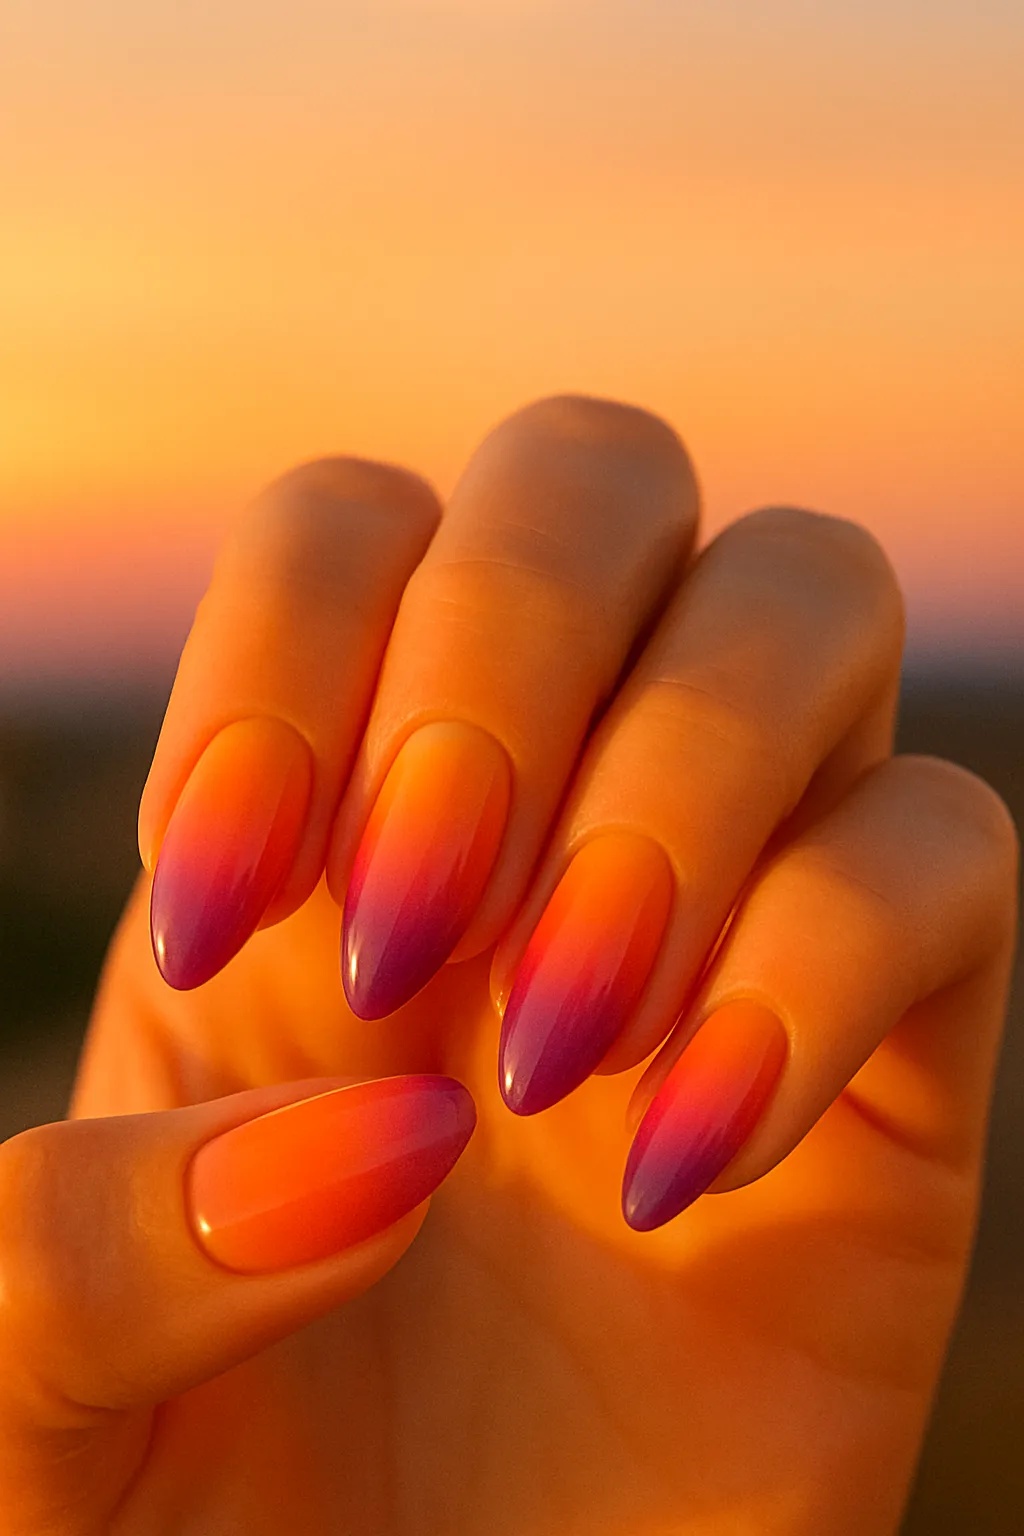
9. Sunset Gradient
Orange-pink-purple ombré mimics beautiful festival sunsets. This romantic design photographs beautifully during golden hour.
Best for: Almond and stiletto shapes | Perfect for: Outdoor and desert festivals
Difficulty: Easy | Time: 35-45 minutes
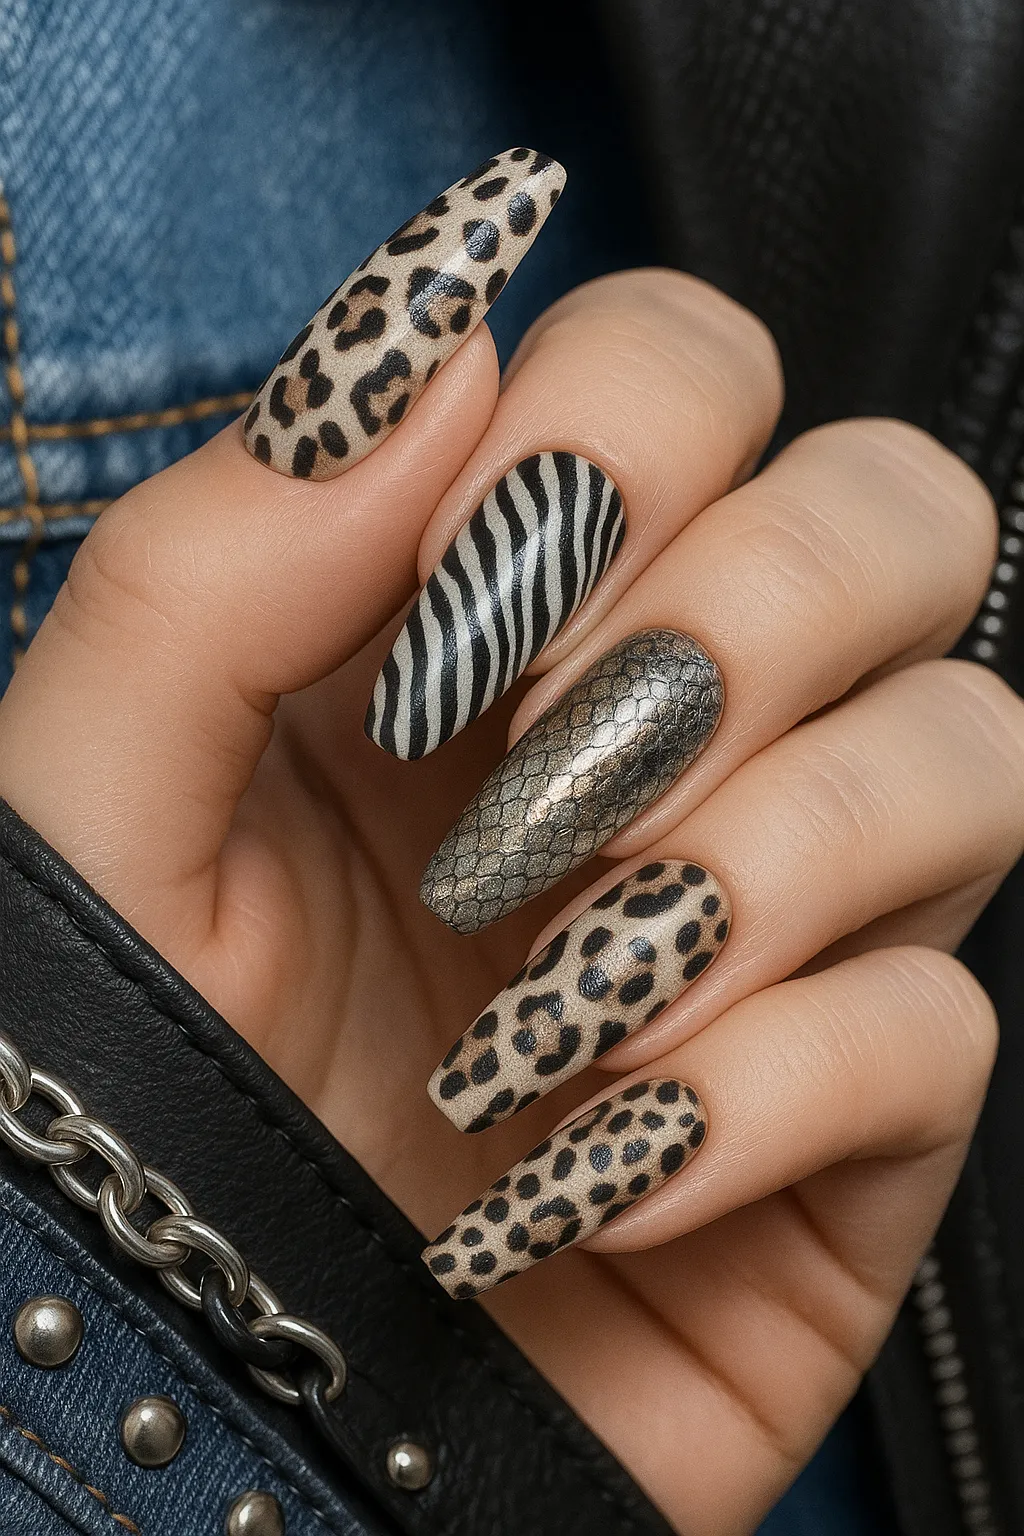
10. Animal Print Mix
Leopard, zebra, and snake patterns combine for a fierce, wild look. Mix prints on different nails for maximum impact.
Best for: Coffin and square shapes | Perfect for: Rock, punk, and alternative festivals
Difficulty: Medium | Time: 45-55 minutes
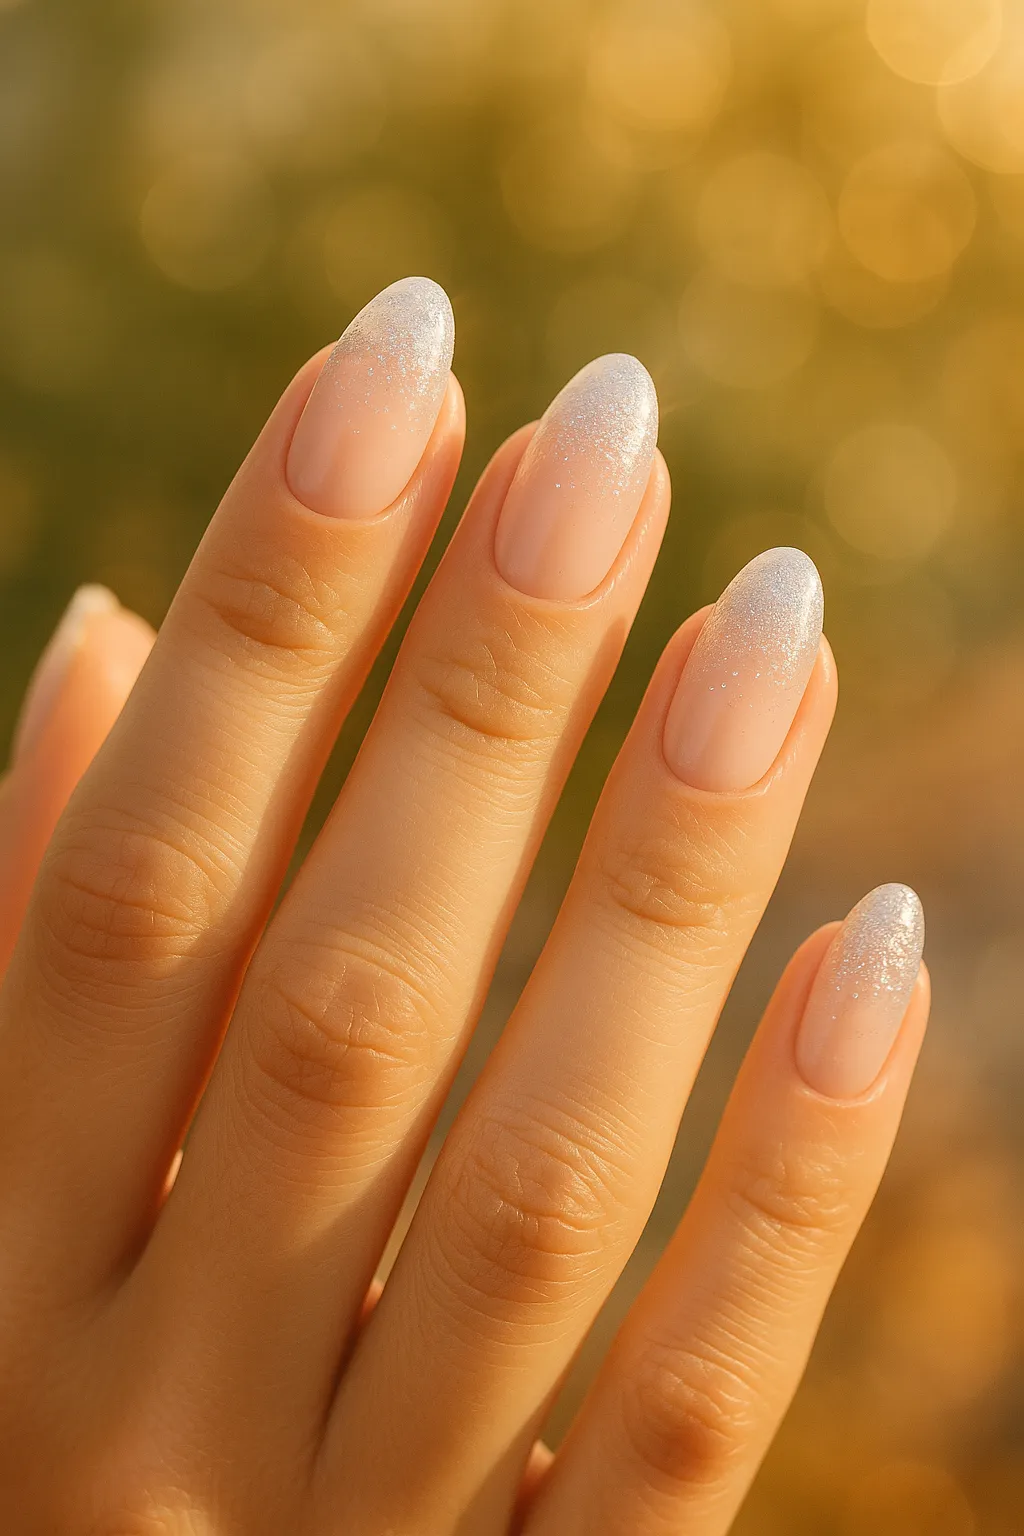
11. Negative Space Glitter
Minimalist design with strategic sparkle creates an understated yet festival-ready look—great if you want wearable nails after the event.
Best for: Oval and round shapes | Perfect for: Boutique and upscale festivals
Difficulty: Easy | Time: 30-40 minutes
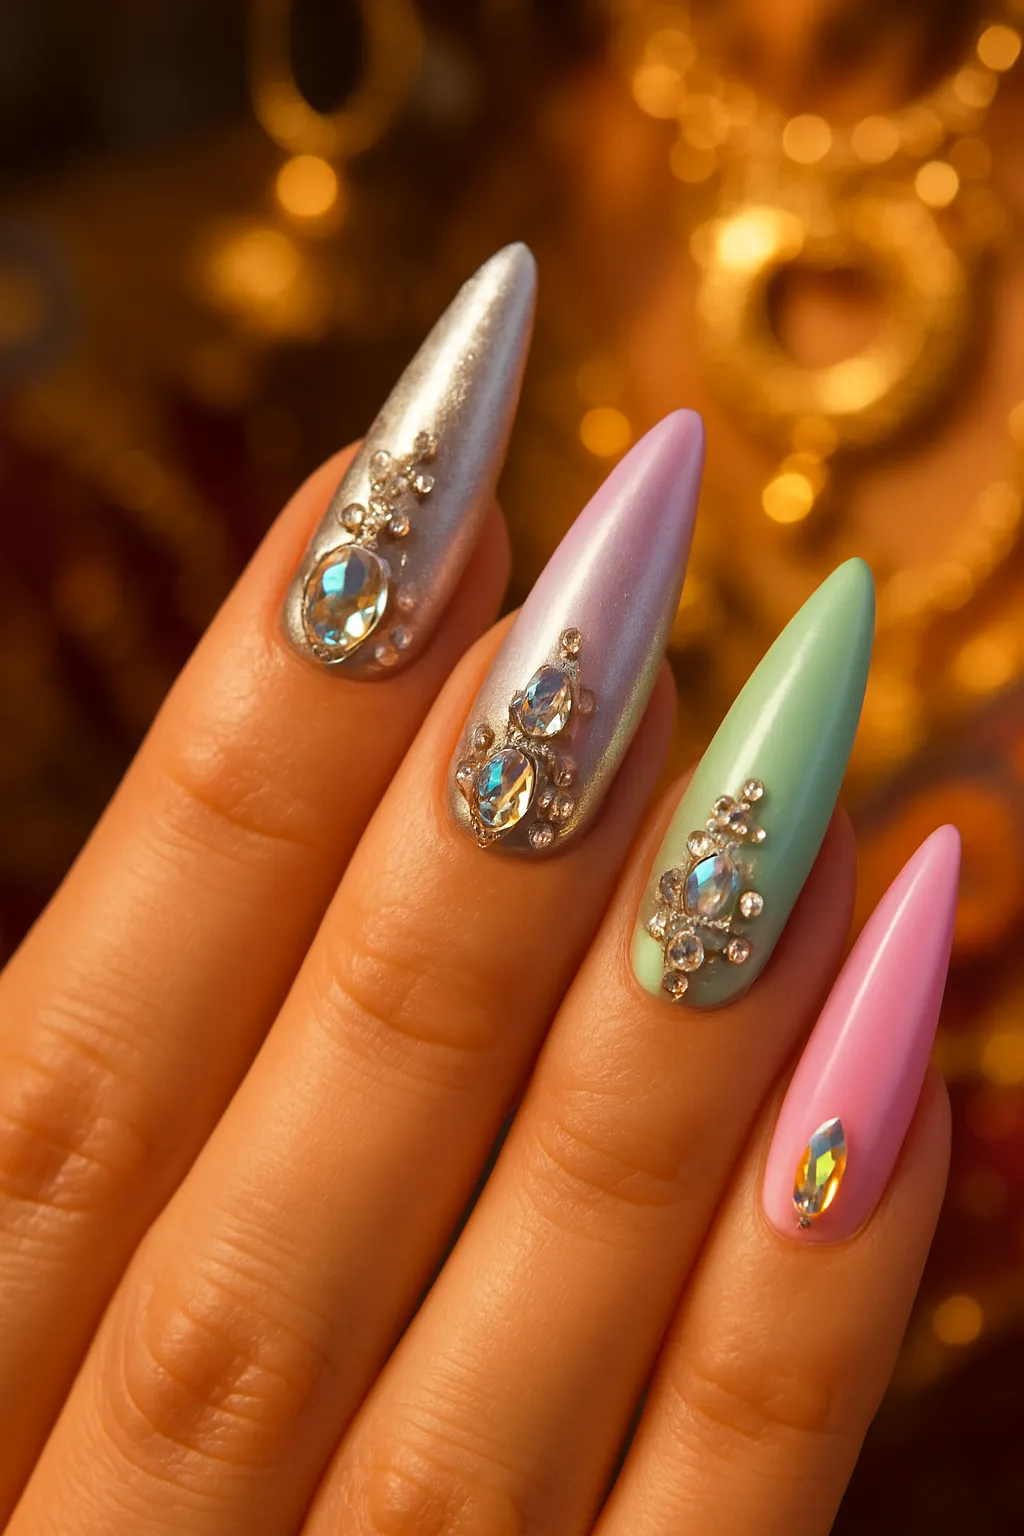
12. 3D Rhinestone Accents
Jeweled statement nails bring maximum glamour to any festival outfit. Pack nail glue in your festival bag in case any rhinestones pop off. See my holiday nail art examples for similar techniques.
Best for: Stiletto and coffin shapes | Perfect for: Country, pop, and mainstream festivals
Difficulty: Medium | Time: 50-70 minutes
DIY Tutorial: Easy Festival Glitter Ombré Nails
Ready to create your own festival nails? I’m walking you through the easiest design from the list above—Festival Glitter Ombré. This technique is beginner-friendly, takes under 45 minutes, and creates a stunning gradient effect that lasts up to two weeks.
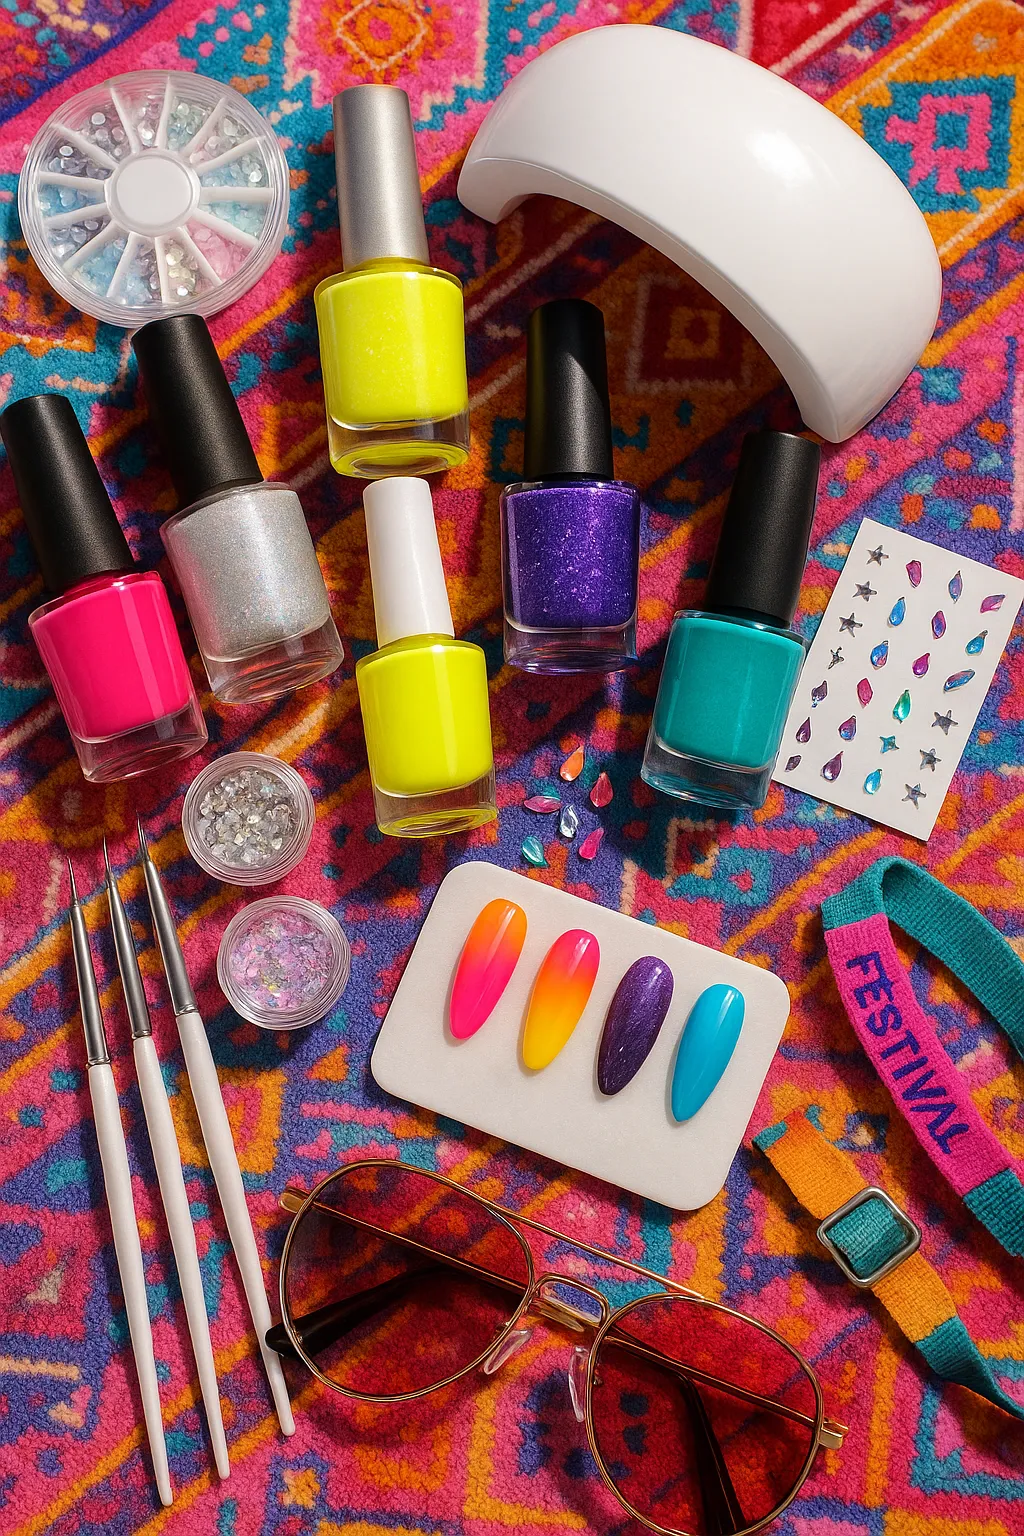
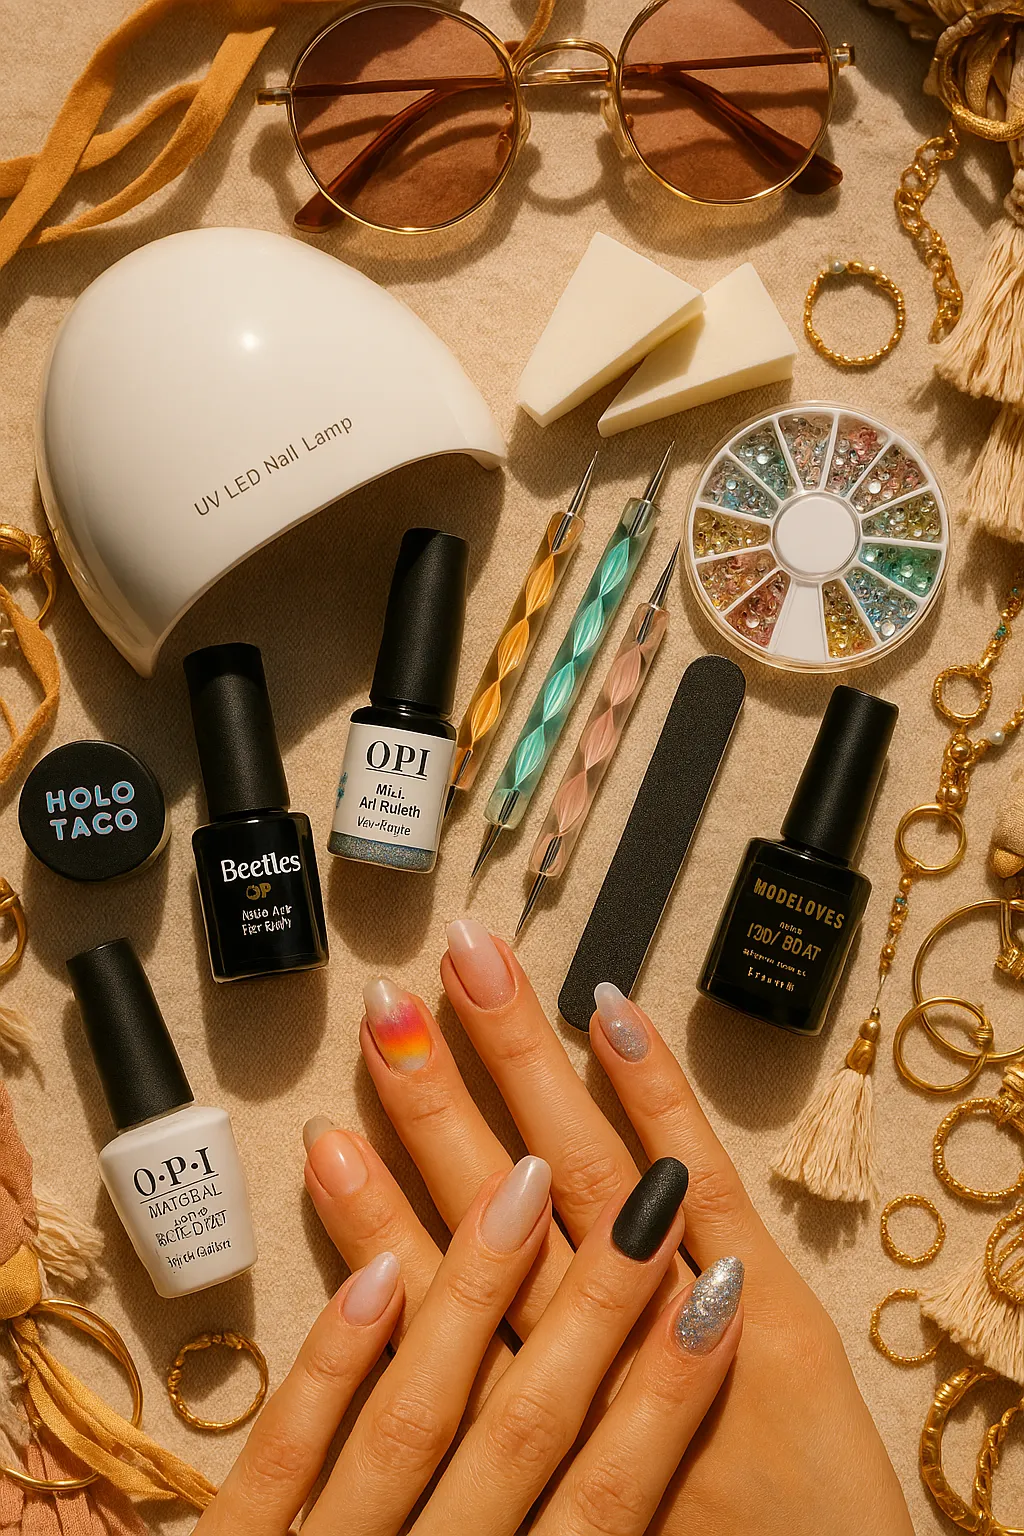
What You’ll Need
Here’s your complete shopping list. You can find everything at Ulta, Sally Beauty, Target, or Amazon for around $60-80 total if you’re starting from scratch.
Base Products:
- Base coat (clear) – I use OPI Natural Nail Base Coat ($10.50)
- Gel polish in light pink or nude – Essie Gel Couture in “Fairy Tailor” ($11.50)
- Gel glitter polish in silver or holographic – Beetles Holographic Glitter Polish ($7.99)
- No-wipe gel top coat – Modelones No Wipe Top Coat ($8.99)
- UV/LED nail lamp – Melody Susie 48W ($35.99)
Tools:
- Makeup sponge (cut into small wedges)
- 180-grit nail file
- Buffer block
- Wooden cuticle pusher
- Small cleanup brush
- Acetone or gel cleanser
- Cuticle oil
If you already have the lamp and basic tools, you’re looking at just $30-40 for the polishes.
Step-by-Step Instructions
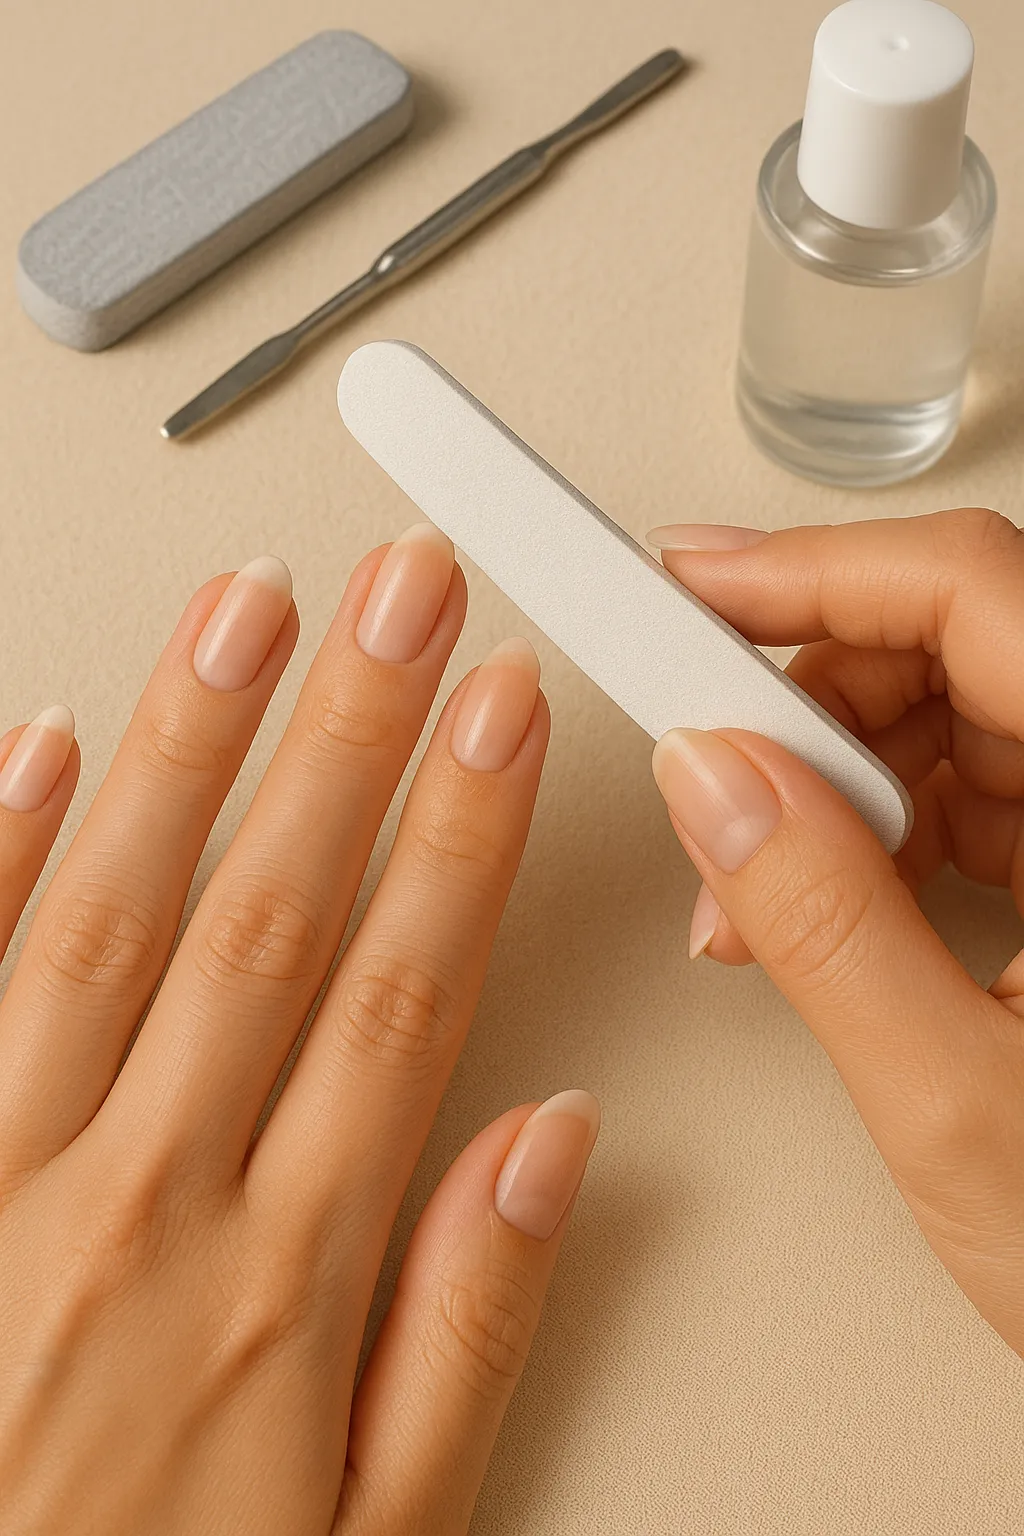
Step 1: Prep Your Nails
File your nails into your desired shape (I recommend oval or almond). Use the buffer to gently roughen the nail surface, push back cuticles, then wipe nails with acetone to remove oils. Apply a thin layer of base coat and cure under your UV/LED lamp for 60 seconds.
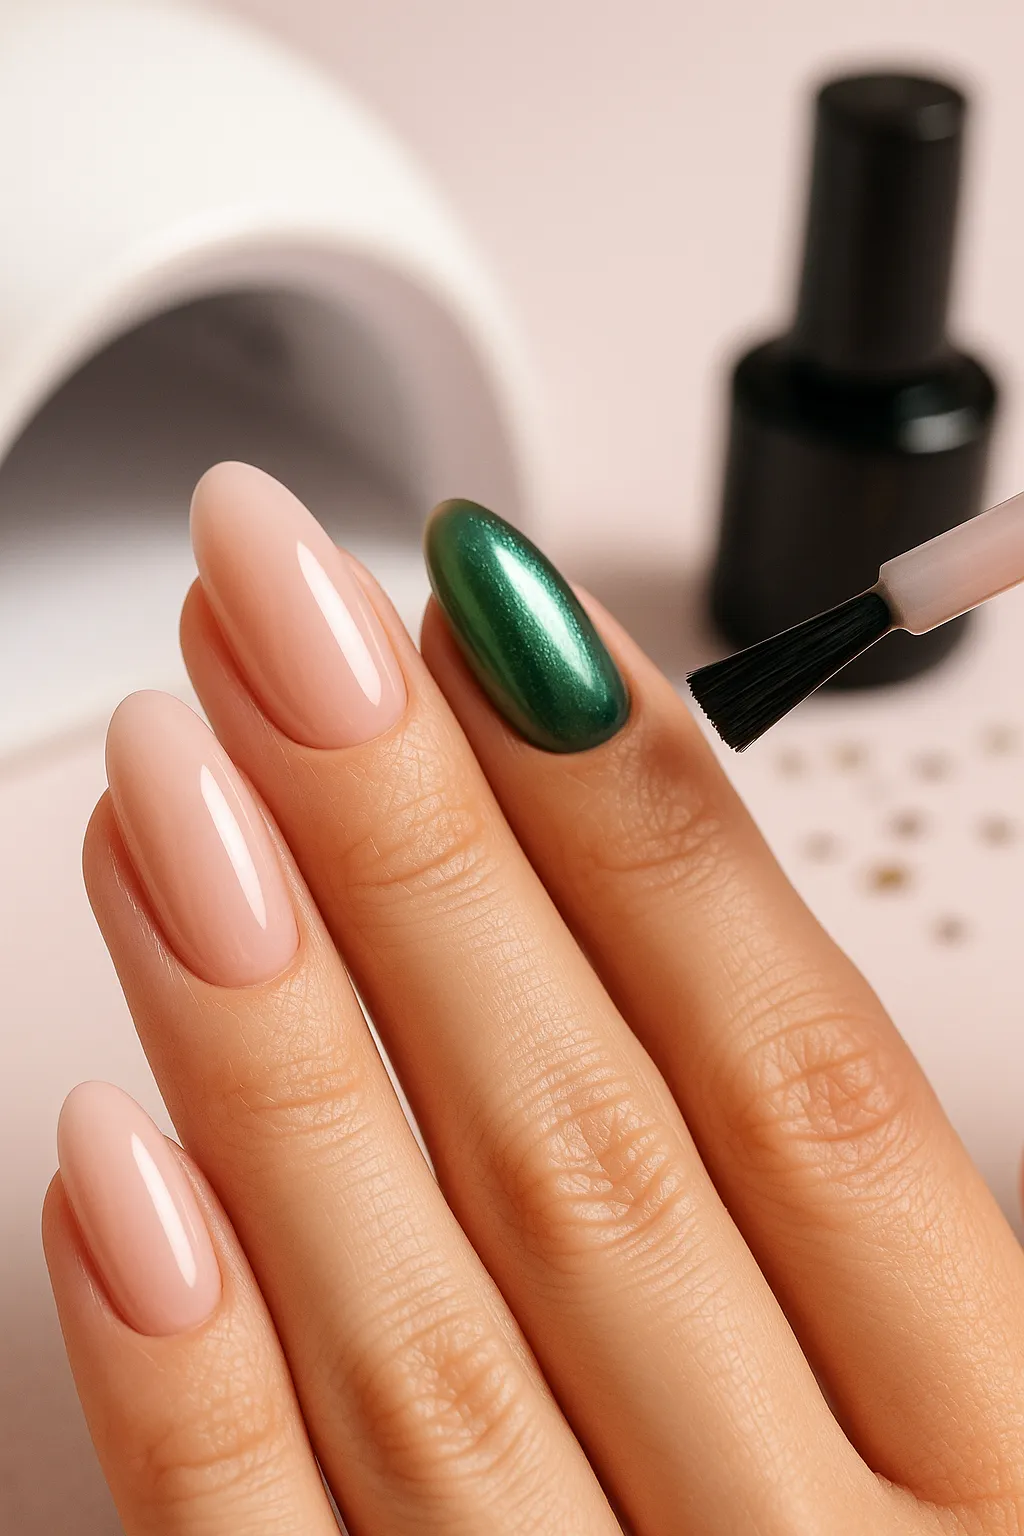
Step 2: Apply Your Base Color
Paint two thin coats of your light pink or nude gel polish. Cure each coat for 60 seconds and make sure to cap the free edge.
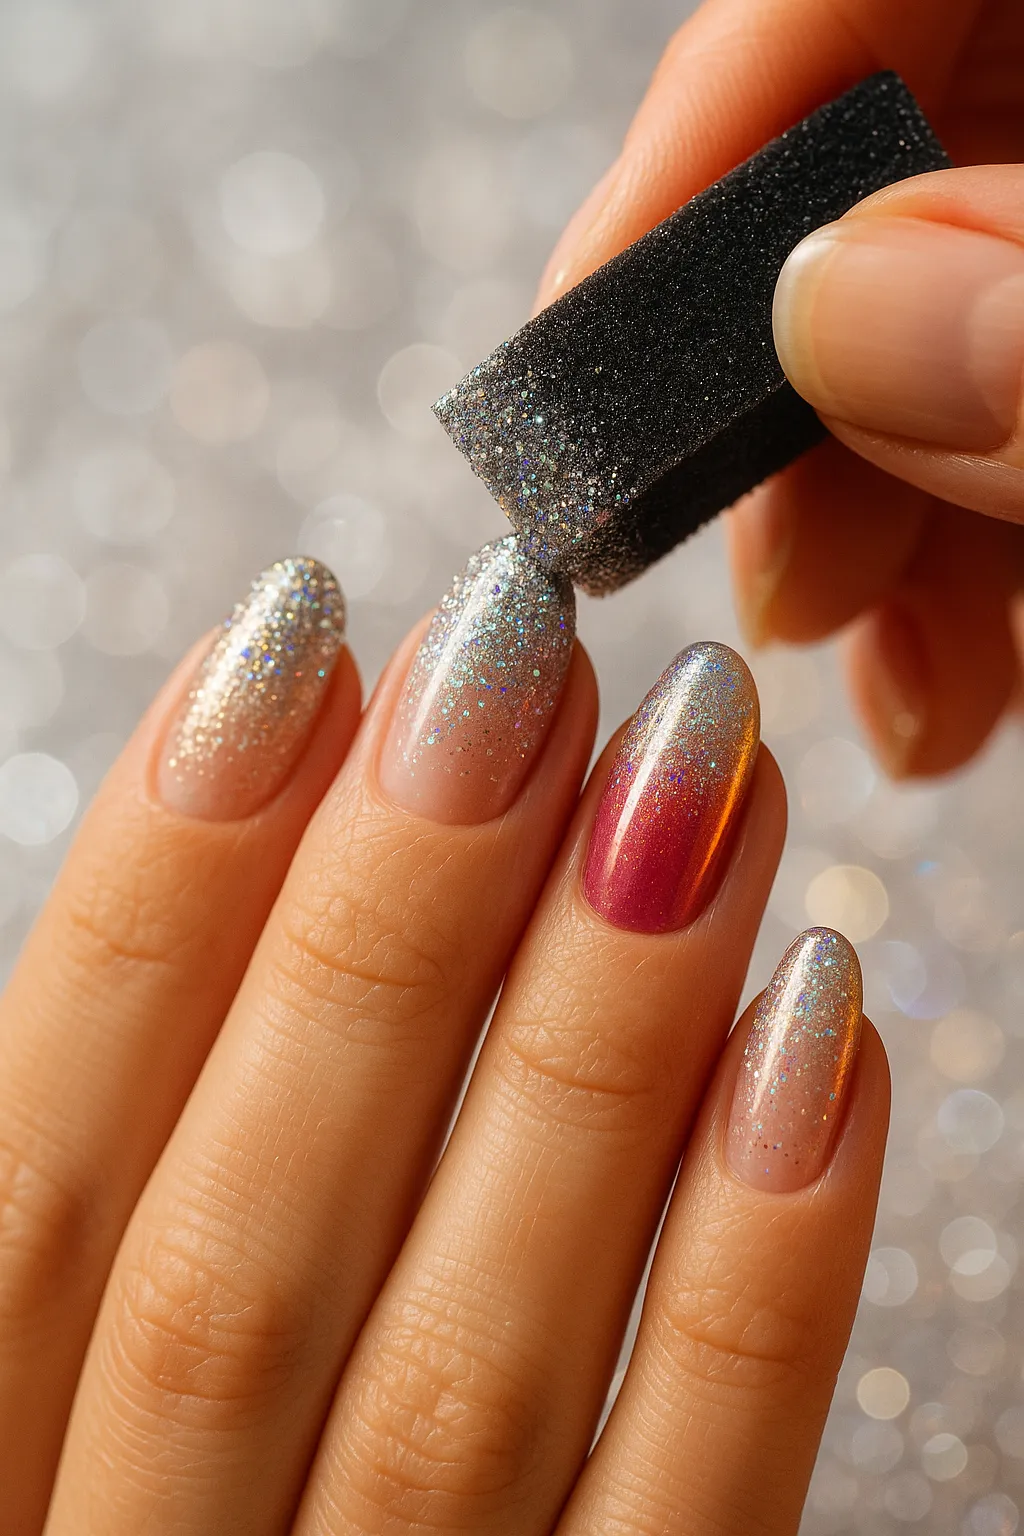
Step 3: Create the Ombré Base
Dab your sponge into the glitter polish, then press and roll from tip toward the middle to create a gradient. Cure for 60 seconds and repeat 2-3 times for intensity.

Step 4: Layer Your Glitter
Apply one more concentrated layer of glitter to the tip third of each nail for extra sparkle. Cure for 60 seconds.
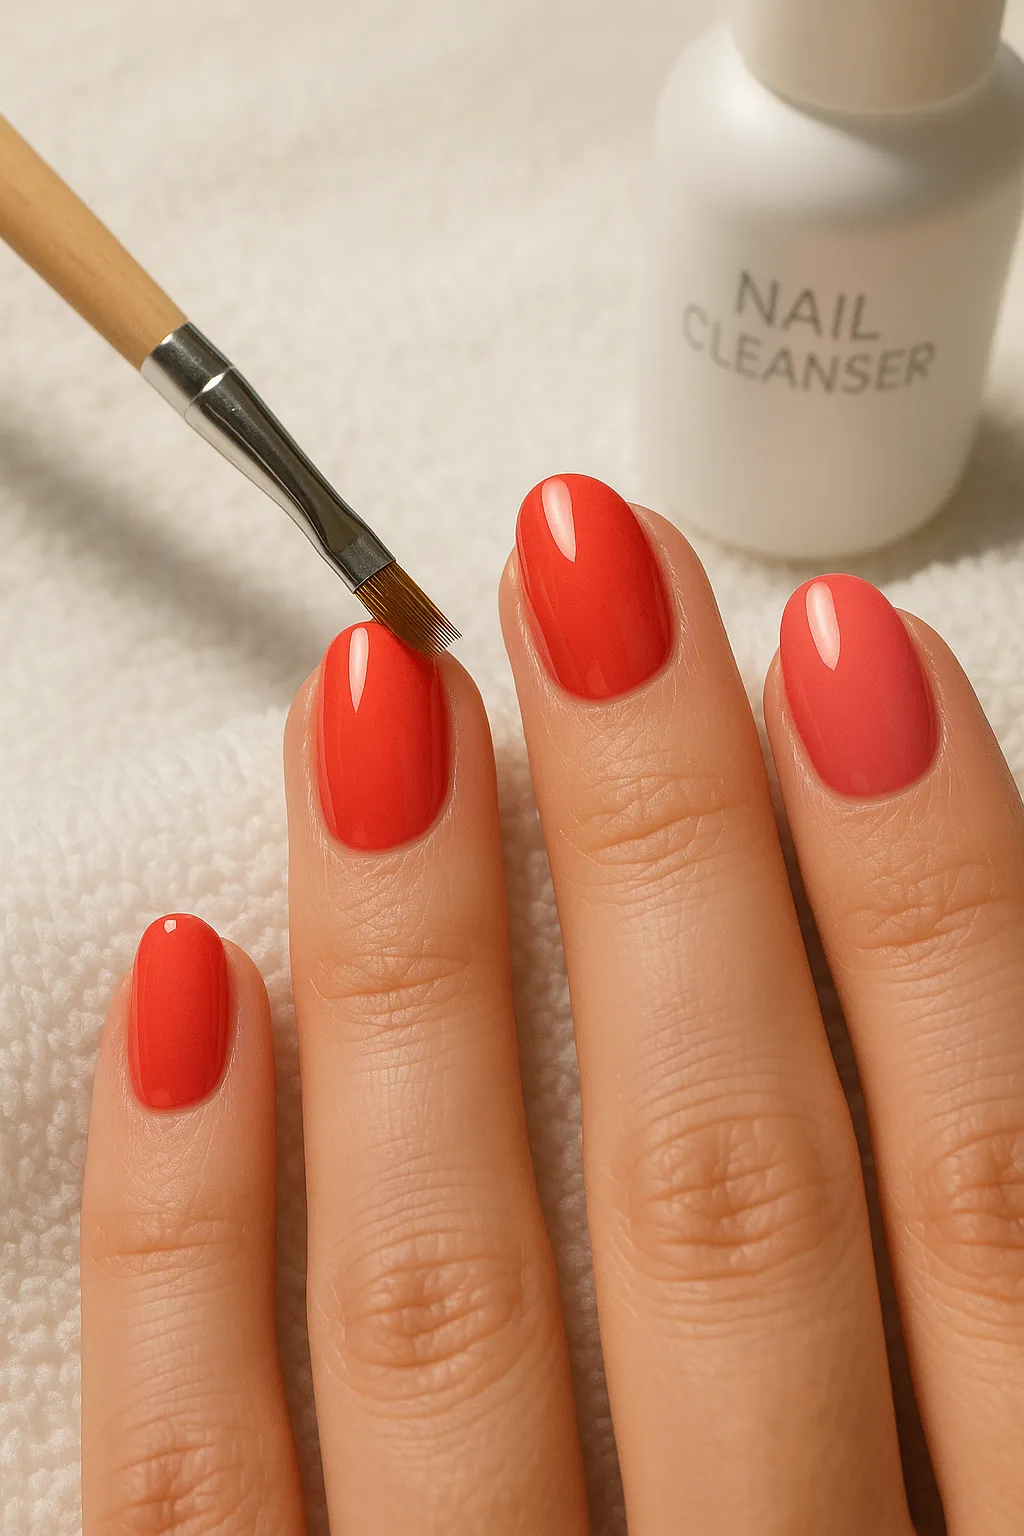
Step 5: Clean Up the Edges
Dip your cleanup brush in acetone and remove polish from skin and cuticles. Wipe nails with gel cleanser if needed.
Step 6: Seal with Top Coat
Apply a no-wipe gel top coat, cap the free edge, and cure for 60 seconds. Finish with cuticle oil around each nail.
Total Time: 35-45 minutes | Difficulty: Easy | Lasts: 10-14 days with proper care
5 Pro Tips for Long-Lasting Festival Nails
Festival nails need to survive dancing, sweating, hand-washing, sunscreen, and light rain. I learned these tricks after my first festival manicure chipped on day one.
“Thin layers and capping the free edge are the two changes that extended my manicures the most.”
- Dehydrate Before You Apply: Use rubbing alcohol or a nail dehydrator to remove oils before starting.
- Cap the Free Edge: Swipe the brush along the tip with each coat to prevent chipping.
- Use a Quality Top Coat: Invest in a professional-grade gel top coat for durability.
- Bring a Mini Repair Kit: Pack travel-size top coat and nail glue for quick fixes at the festival.
- Hydrate Around, Not On: Apply cuticle oil to the skin around nails but avoid the polish surface.
Avoid this mistake: Don’t apply thick coats to save time—multiple thin layers cure better and last longer.
Best Products & Tools for Festival Nails
After testing 25+ products at three festivals this year, these gave me the best results for color payoff, durability, and ease of application. I used the Holo Taco chrome powder at Coachella 2025 and received 50+ compliments. See seasonal palettes at seasonal color palettes.
Essential Products Table
| Product Name | Type | Best For | Price | Our Rating |
|---|---|---|---|---|
| OPI GelColor Base & Top Coat | Gel System | All designs | $24.99 | ⭐⭐⭐⭐⭐ |
| Holo Taco Chrome Powder | Chrome Effect | Holographic/metallic | $13.99 | ⭐⭐⭐⭐⭐ |
| Beetles Gel Polish Neon Set | Gel Polish | Color block/bright | $19.99 | ⭐⭐⭐⭐ |
| BTArtbox Rhinestone Kit | Embellishments | 3D accents | $8.99 | ⭐⭐⭐⭐ |
| Melody Susie LED Lamp | UV/LED Lamp | Curing gel | $35.99 | ⭐⭐⭐⭐⭐ |
| Precision Detail Brushes (5pc) | Tools | Abstract/fine lines | $7.99 | ⭐⭐⭐⭐ |
The OPI gel system is my splurge-worthy investment—it’s lasted me over 40 manicures and counting. Total kit cost runs $111-130 for all premium products, or you can start with essentials for under $60.
Budget Hack: Start with the gel base/top coat and one neon set. You can create 8 of the 12 designs with just these products.
FAQ: Festival Nail Questions Answered
Q: How long should festival nails last?
A: With proper application and care, gel festival nails should last 10-14 days—perfect for a long festival weekend plus photos afterward. Regular polish lasts 3-5 days and won’t withstand festival conditions as well.
Q: Can you do festival nails on natural nails or do you need acrylics?
A: You absolutely can create stunning festival nails on natural nails! Gel polish on natural nails works beautifully for all 12 designs. Acrylics or press-ons give more length but aren’t required.
Q: What’s the best nail shape for festival designs?
A: Almond and oval shapes are the most versatile. Stiletto and coffin shapes look incredible for dramatic designs, while short square nails work perfectly for color-block and abstract looks.
Q: How do you remove glitter gel polish?
A: Soak cotton pads in acetone, place them on each nail, wrap with foil, wait 15-20 minutes, then gently push off the softened gel. Glitter takes longer to break down—patience is key.
Q: Are festival nails appropriate for short nails?
A: Absolutely! Eight of the twelve designs I featured look gorgeous on short nails. You don’t need long nails to make a festival statement—bold colors and creative designs work on any length. See more simple nail designs.
Got more questions? Drop them in the comments below—our nail community loves helping fellow festival-goers create amazing manicures.
Conclusion
So there you have it—12 stunning festival nail designs you can create at home, plus a foolproof tutorial to get you started. Which design are you trying first for your next festival? I’m personally obsessed with the psychedelic tie-dye swirls for my upcoming music festival in June.
Don’t forget to pack your mini repair kit, and remember that thin layers are always better than thick ones. Tag me on Instagram @Nailann.beauty when you recreate these looks—I love seeing your festival nail creations!
Save this post to your festival Pinterest board so you’ll have it ready when you’re planning your next festival look. Happy painting, and I’ll see you at the next show!