If you’ve been scrolling through Instagram or Pinterest lately, you’ve probably noticed weather-inspired nail designs everywhere. Cloud nails with fluffy white details, vibrant sunset gradients, moody storm art with lightning—these designs are absolutely dominating
nail trends 2025!
I’m so excited to share this complete guide with you because weather nails are more than just pretty. They let you express your mood, match the changing seasons, and create salon-worthy manicures right at home without spending $40–60 at a nail salon.
In this post, I’ll show you 20+ stunning weather nail design ideas for every season and mood, plus two complete step-by-step tutorials you can follow even as a beginner. You’ll learn exactly which products to buy, what techniques actually work, and how to avoid the mistakes I made when I first started. Whether you’re craving sunny yellow nails to lift your spirits or moody storm clouds to match your vibe, you’ll find exactly what you need here!
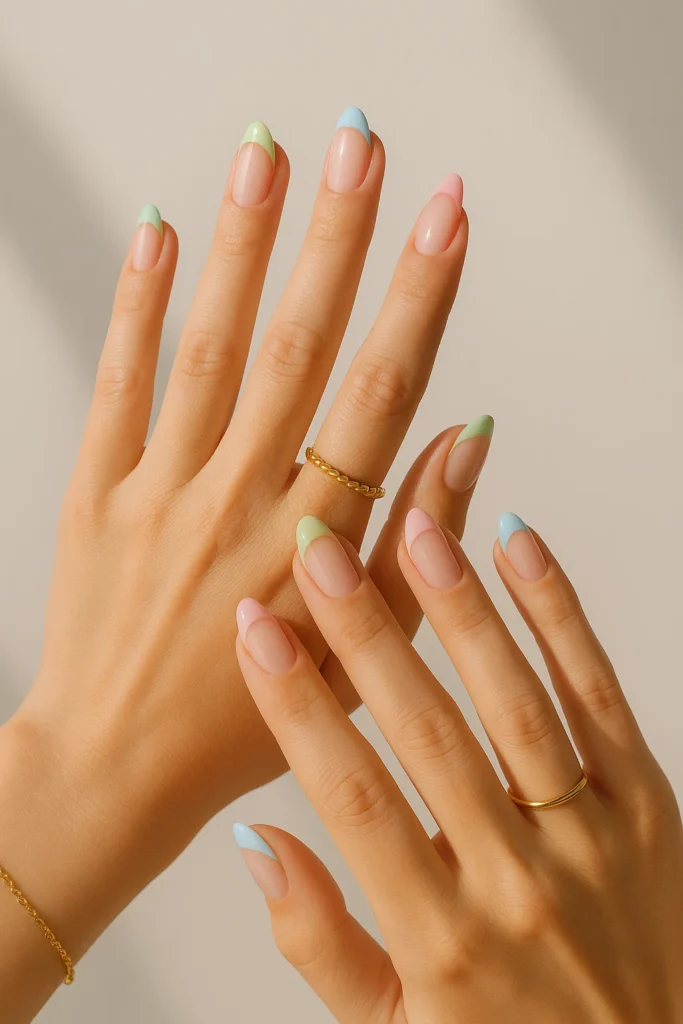
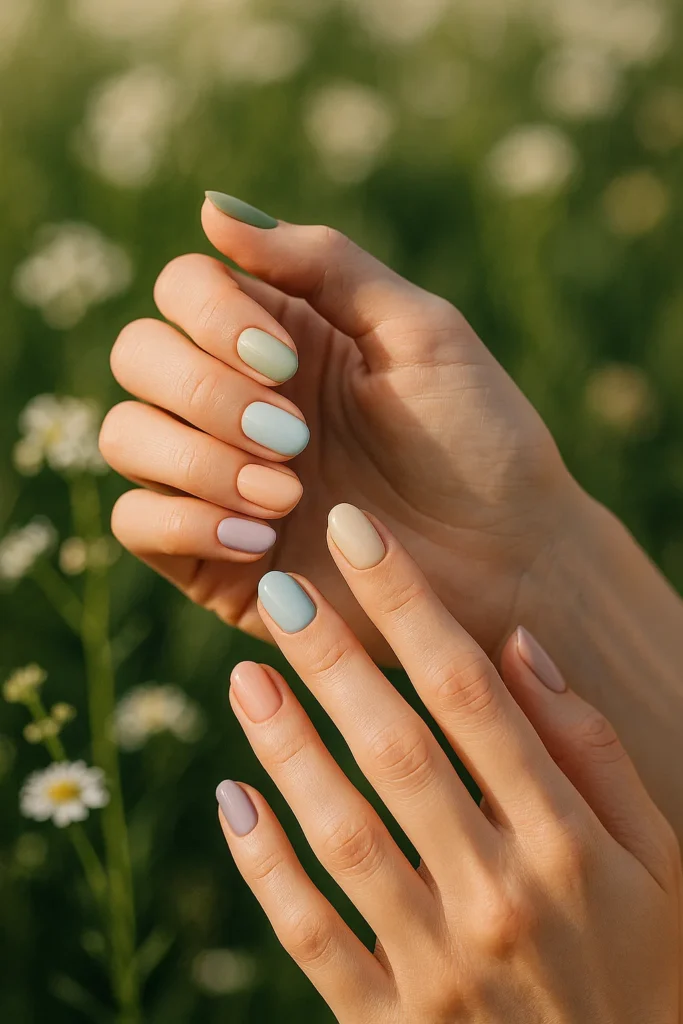
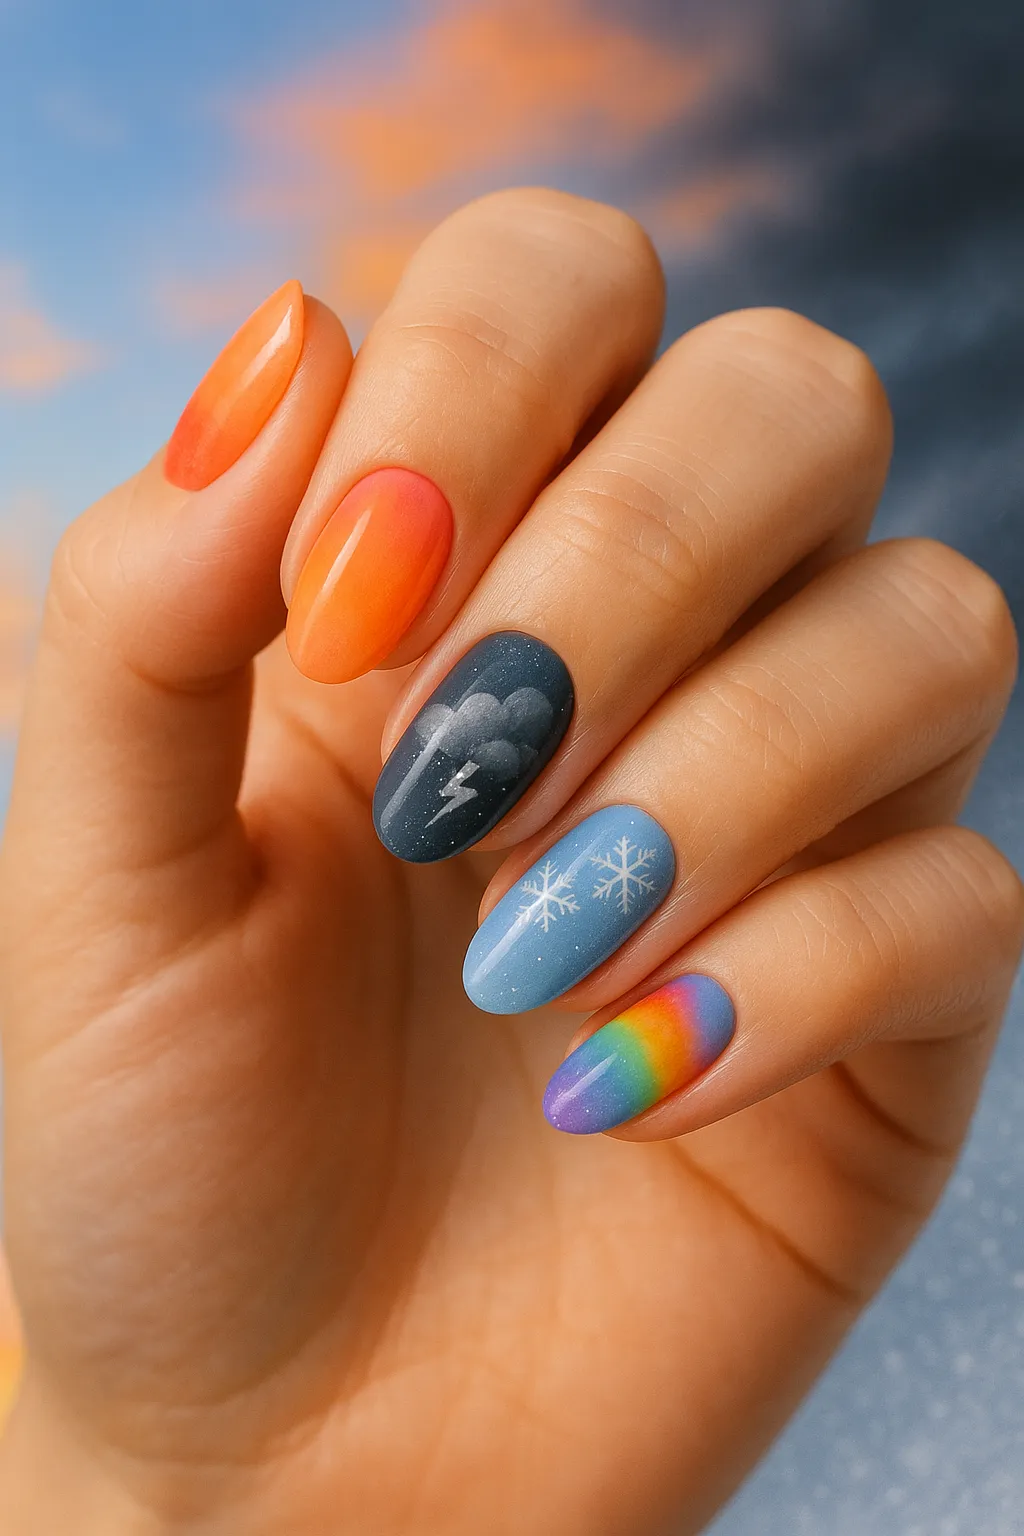
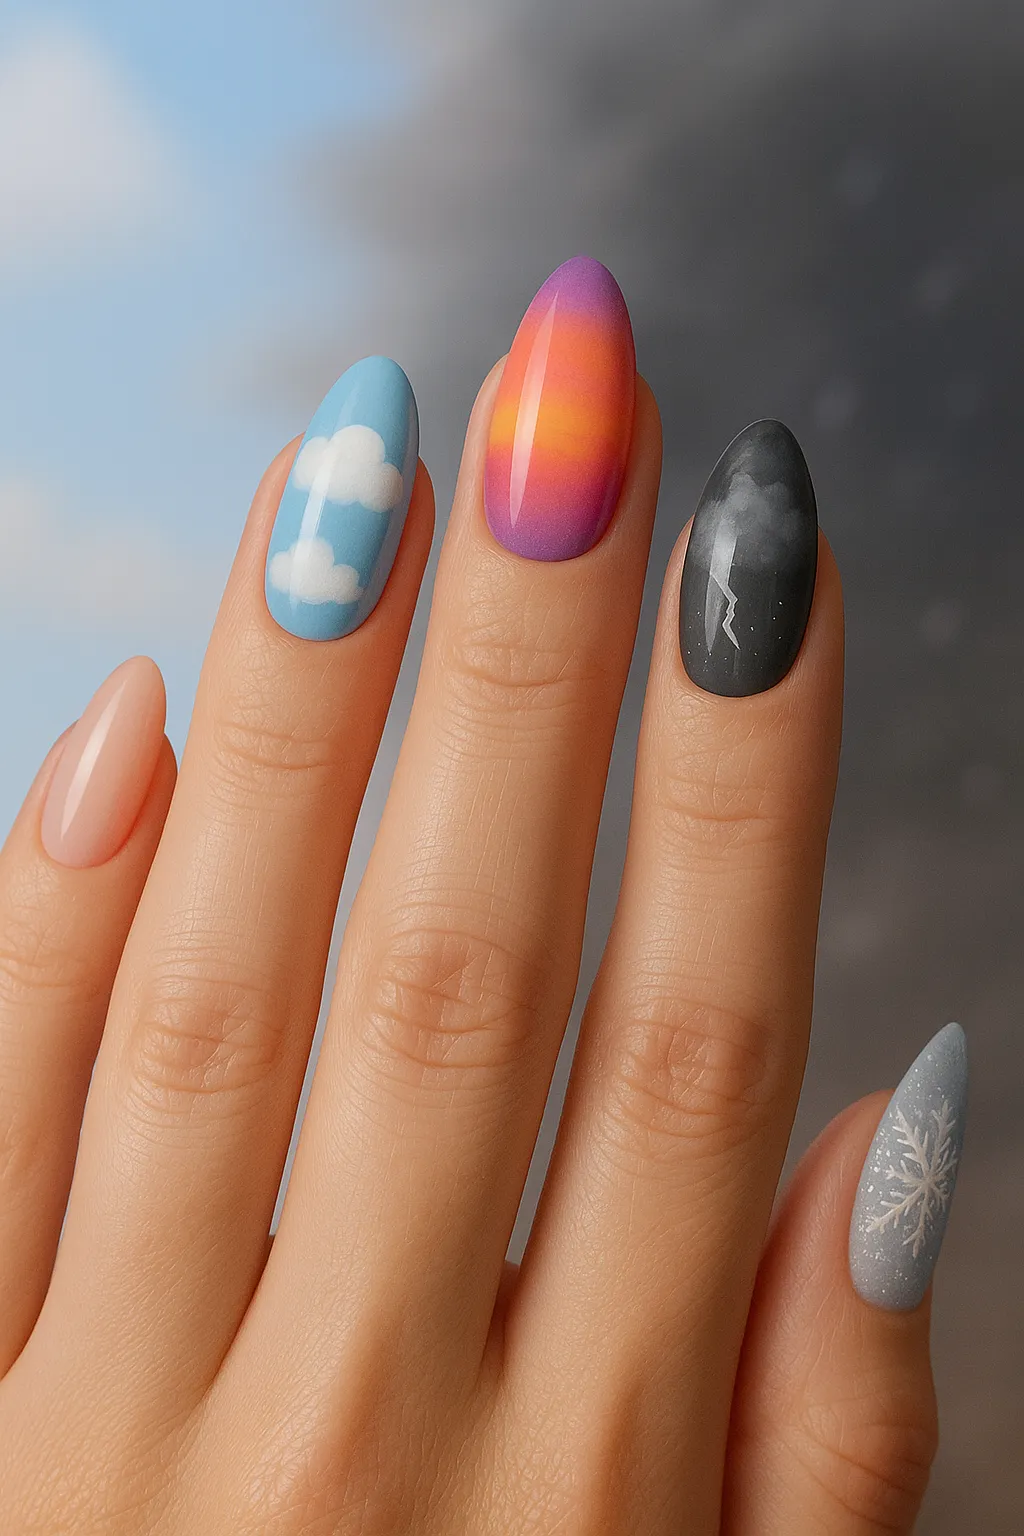
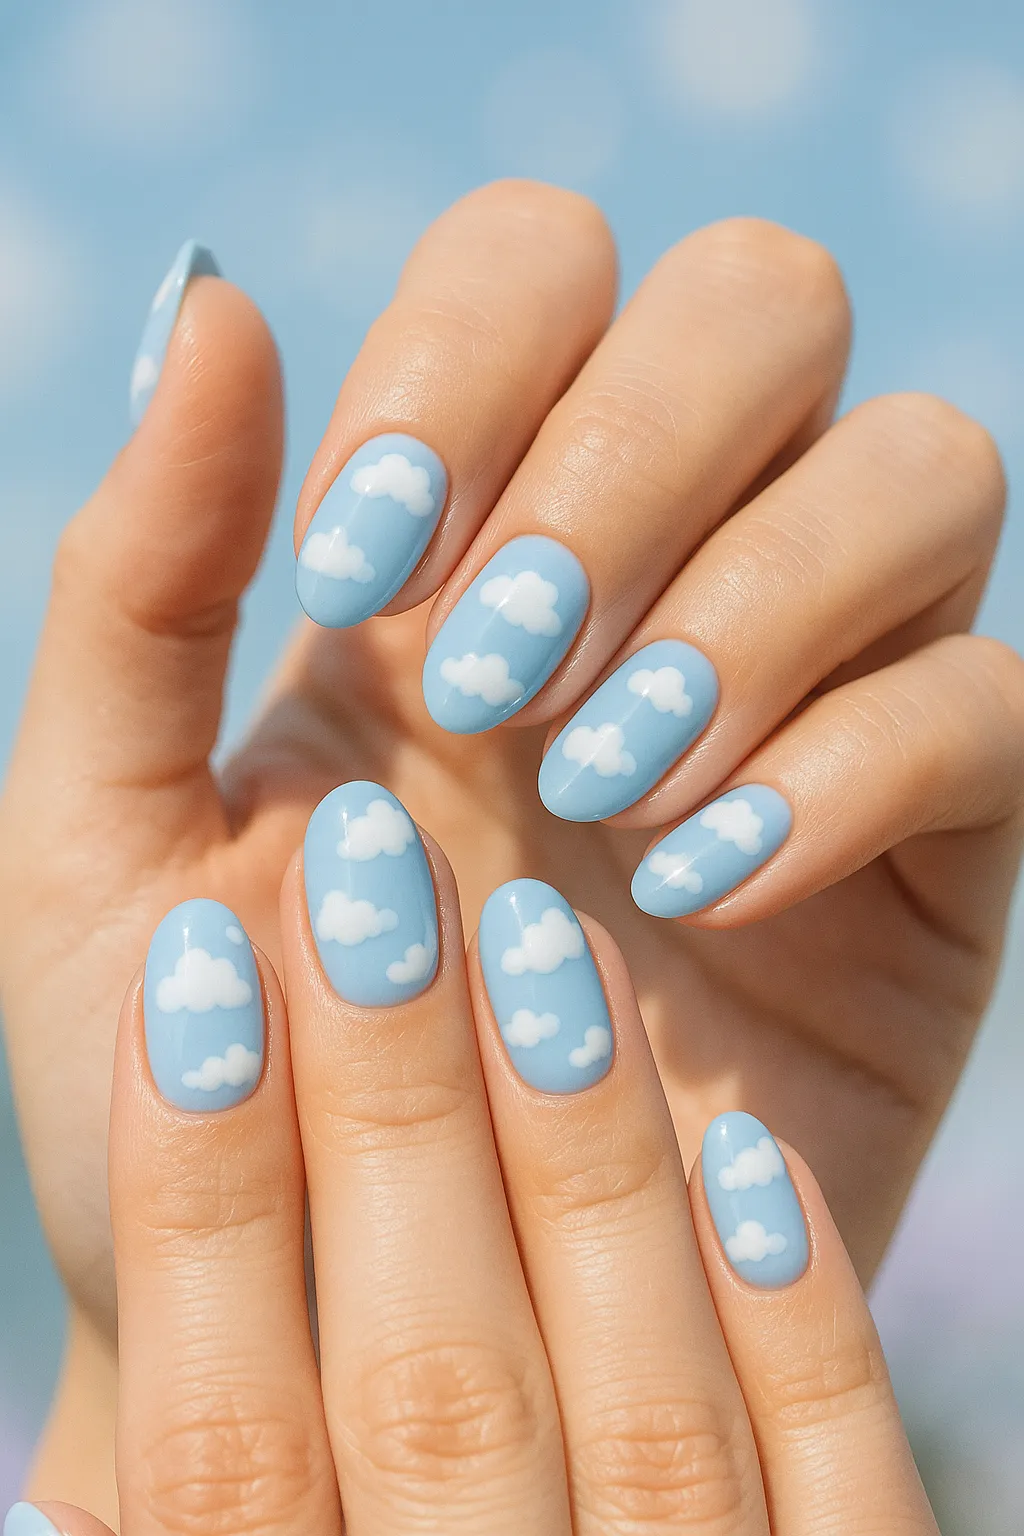
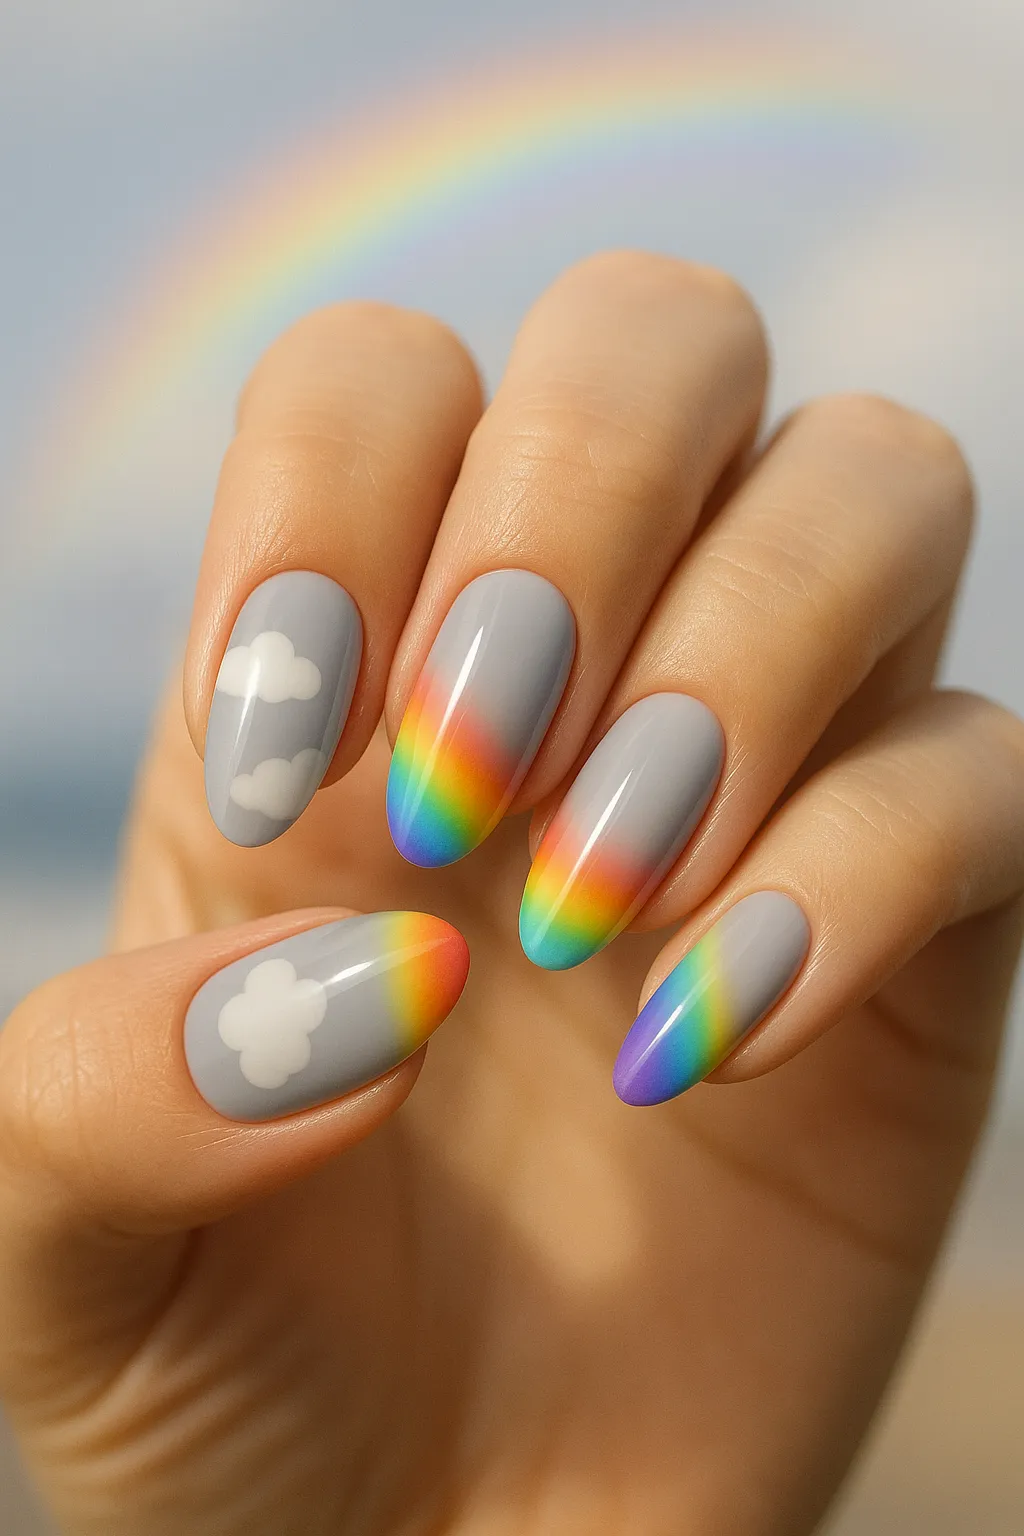
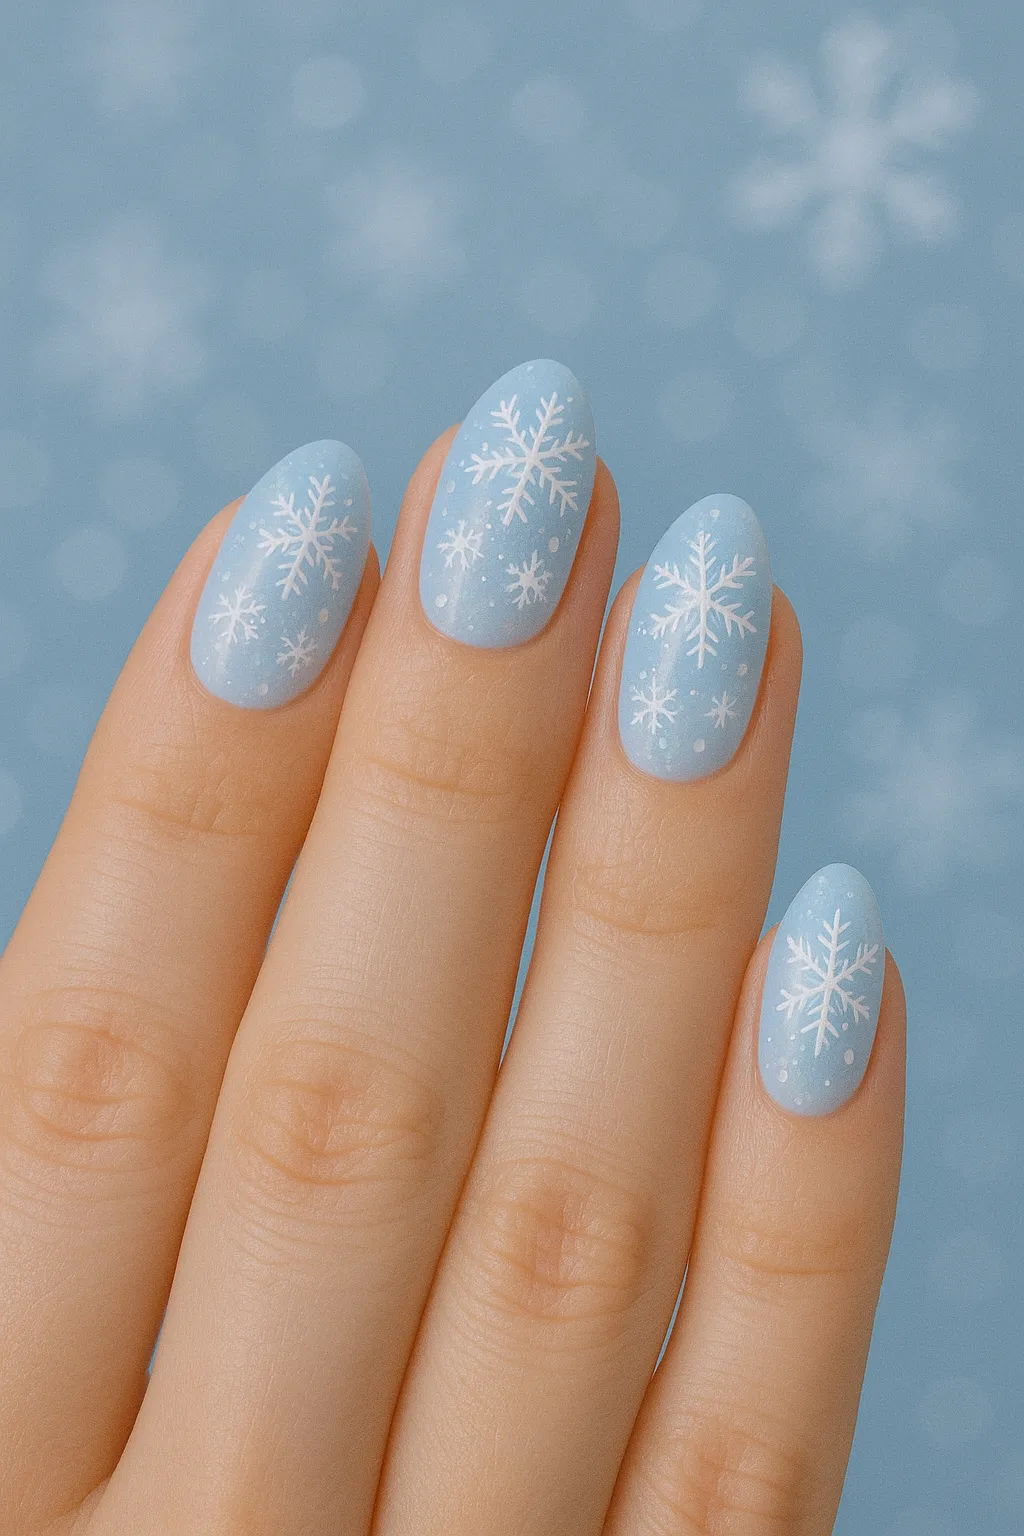
[IMAGE: Grid showing 4 different weather nail designs – pastel cloud nails on almond shape (top left), vibrant sunset gradient on square nails (top right), moody storm nails with lightning (bottom left), and snowflake winter weather nails (bottom right)]
[Alt text: Weather-inspired nail designs 2025 – cloud nails, sunset nails, rain nails, and storm nail art examples]
What Are Weather-Inspired Nail Designs?
Weather-inspired nail designs are manicures that feature elements from nature’s weather patterns—clouds, rain, sunshine, storms, sunsets, snow, rainbows, and lightning. Instead of traditional solid colors or simple patterns, these designs bring the beauty of the sky and atmosphere right to your fingertips.
I love weather nails because they’re incredibly versatile. You can rock them year-round, and they work on any nail length or shape. Plus, they’re perfect for expressing how you’re feeling—bright sunny designs when you’re happy, moody storm clouds when you’re feeling dramatic, or peaceful cloud nails when you want something calming.
Weather-themed nails have exploded on social media in 2025, with over 250,000+ saves on Pinterest alone. They photograph beautifully, which makes them perfect for Instagram posts and TikTok videos!
Best occasions for weather nails:
- Spring: Rainy day nails with rainbows and fluffy clouds
- Summer: Sunset gradient and sunny skies with warm colors
- Autumn: Foggy mist effects and dramatic storm clouds
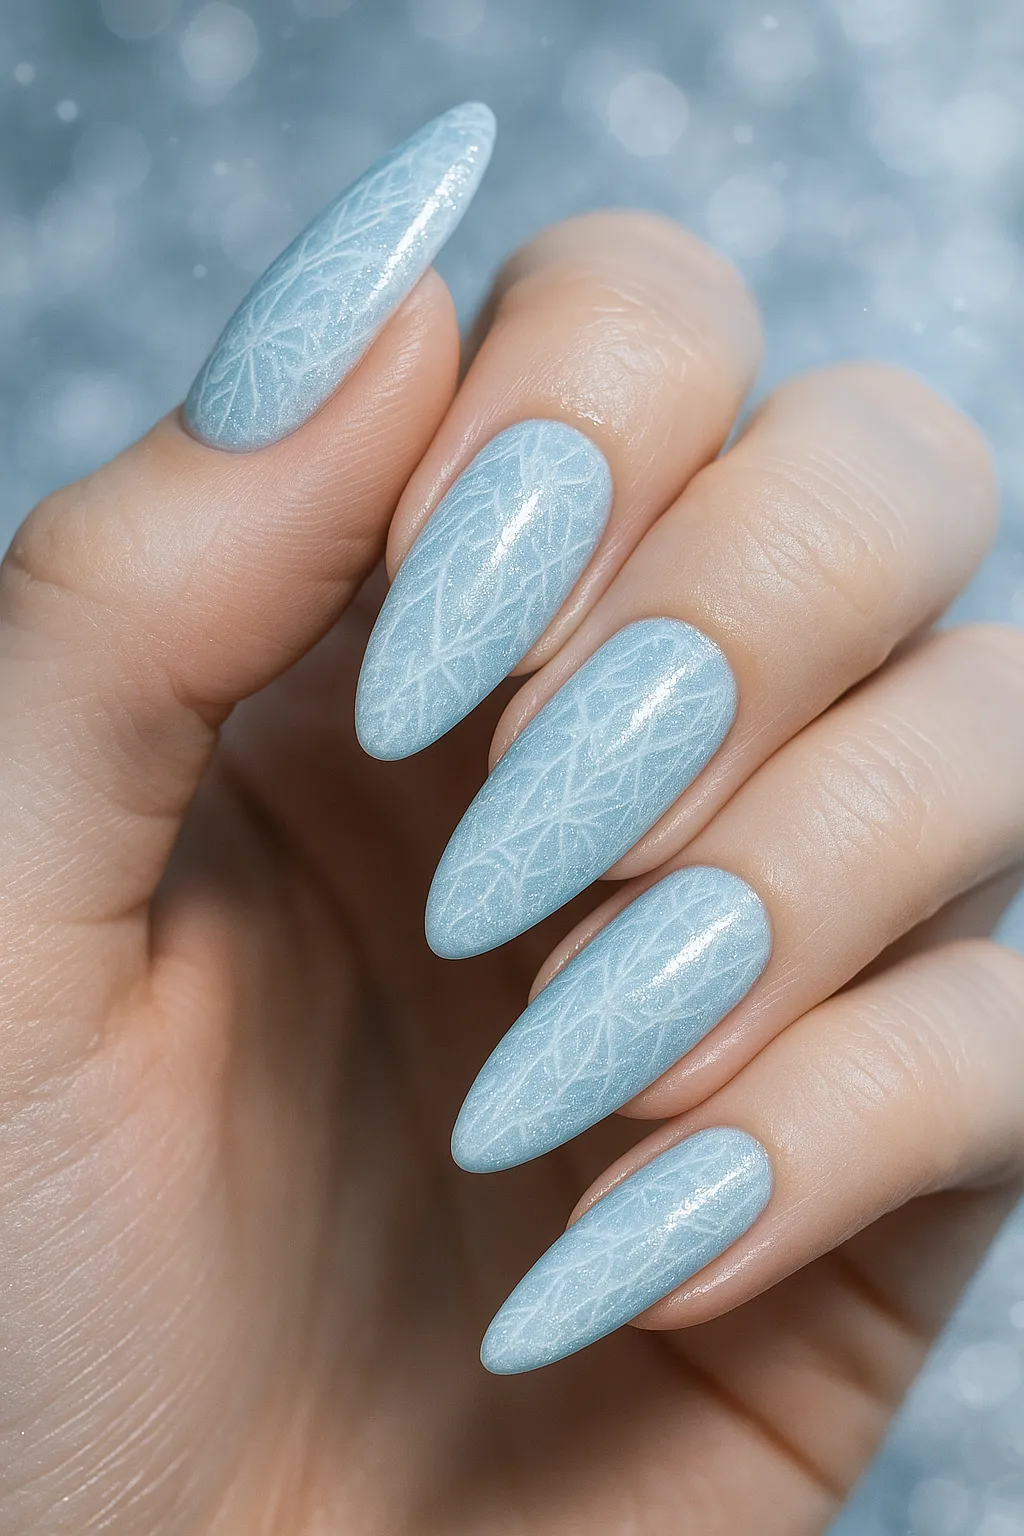
- Winter: Snowflakes, frost patterns, and icy blue designs
- Year-round: Mood-based weather art that matches your personality
The coolest thing about weather nails is that you can switch them up based on your mood or the season. I personally love creating sunny gradients when I’m feeling upbeat and moody storm clouds when I want something edgier!
20+ Weather Nail Design Ideas (Inspiration Gallery)
Here are 20+ stunning weather nail design ideas for 2025, organized by weather type. Each design includes a difficulty rating—Easy (beginner-friendly), Medium (requires some practice), or Hard (advanced techniques). Save your favorites to try later!
Cloud & Sky Nails
Pastel Cloud Nails (Easy): Soft baby blue base with white fluffy clouds created using a dotting tool. Perfect for beginners who want a dreamy, Instagram-worthy look. Takes about 30–40 minutes total.
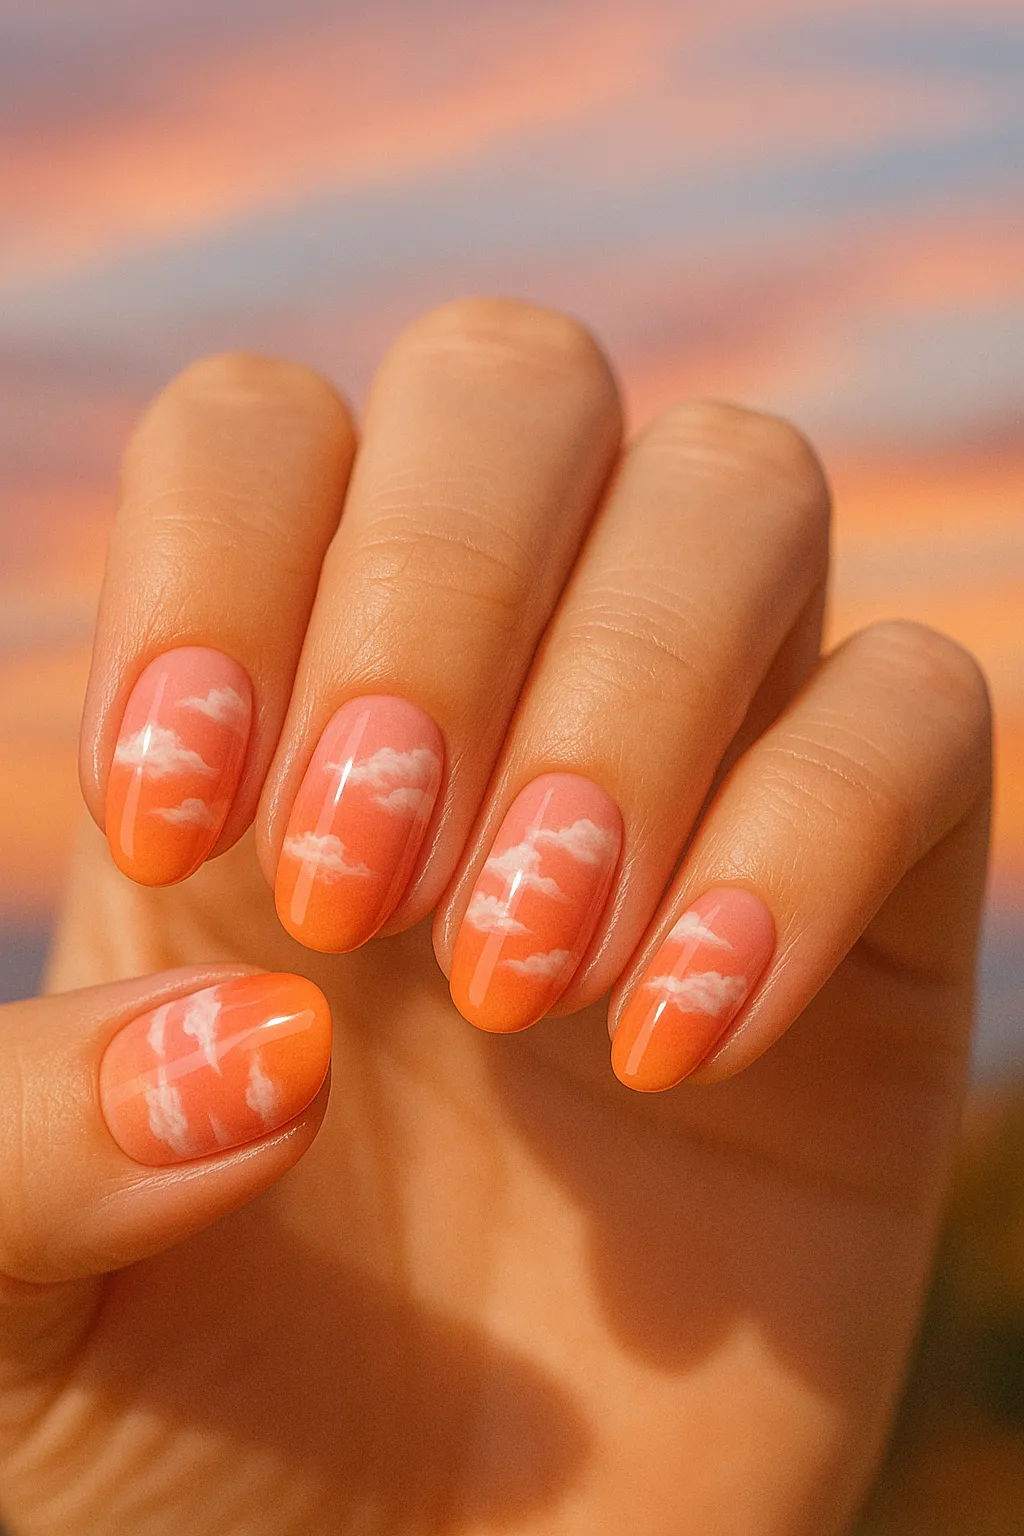
Sunset Cloud Ombre (Medium): Orange-pink gradient base with wispy white clouds layered on top. Combines sponge gradient technique with cloud dotting. Estimated time: 50–60 minutes.
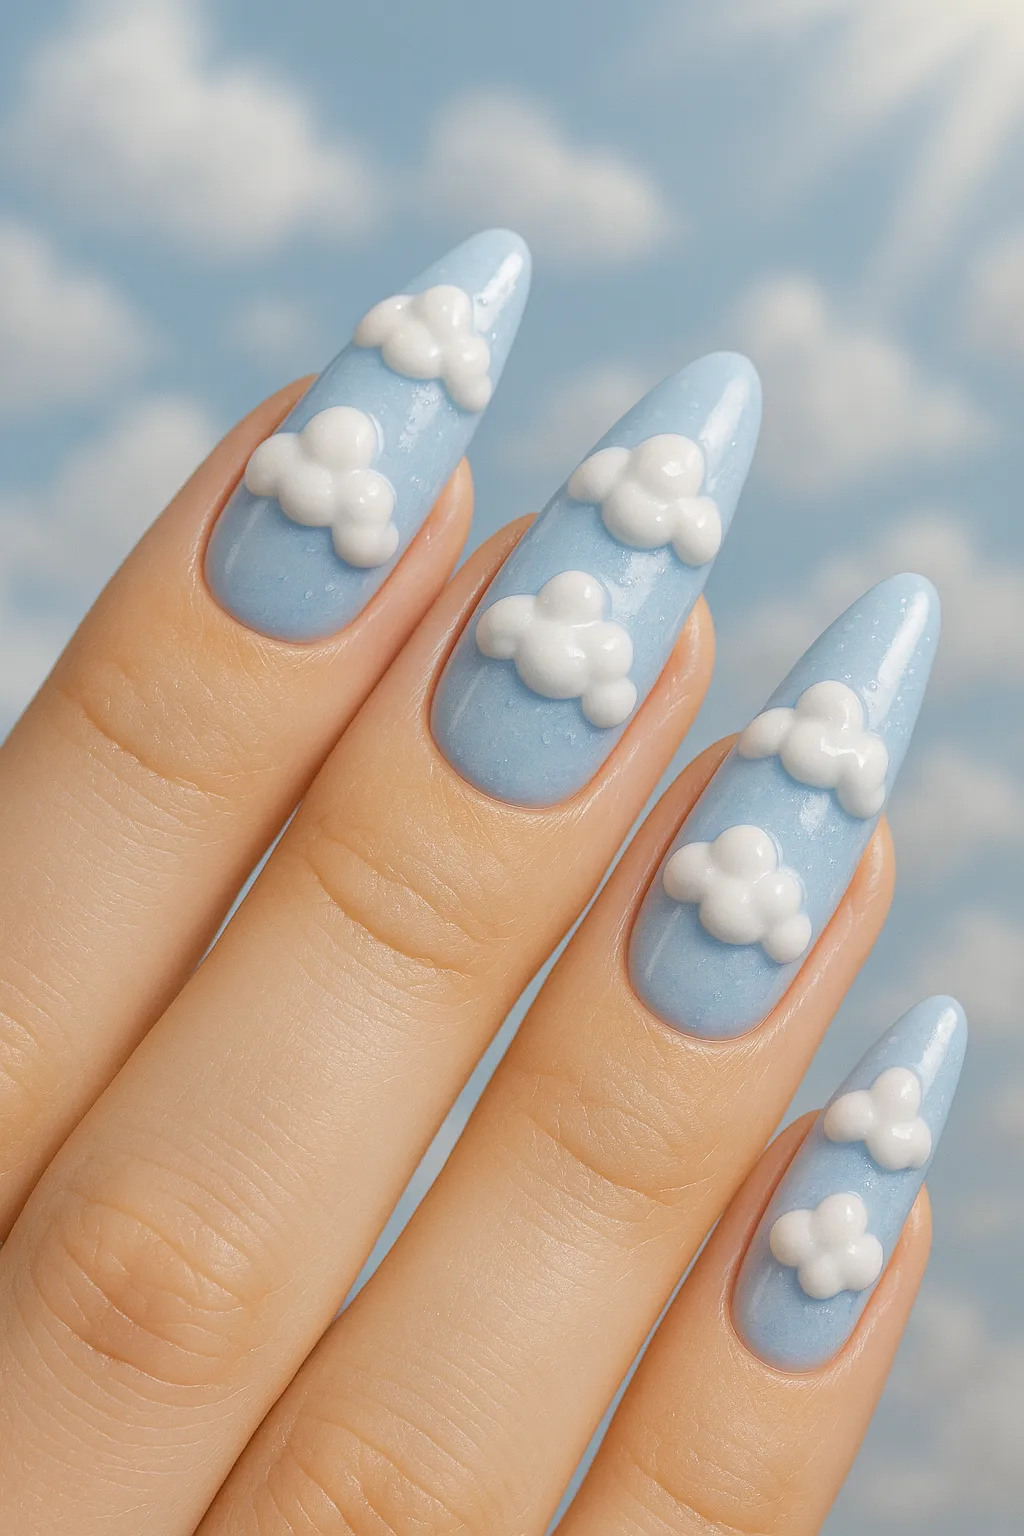
3D Cloud Nails (Hard): Raised gel clouds with dimensional sculptured effect for a realistic, touchable finish. Requires builder gel and advanced sculpting skills. Time: 60–90 minutes.
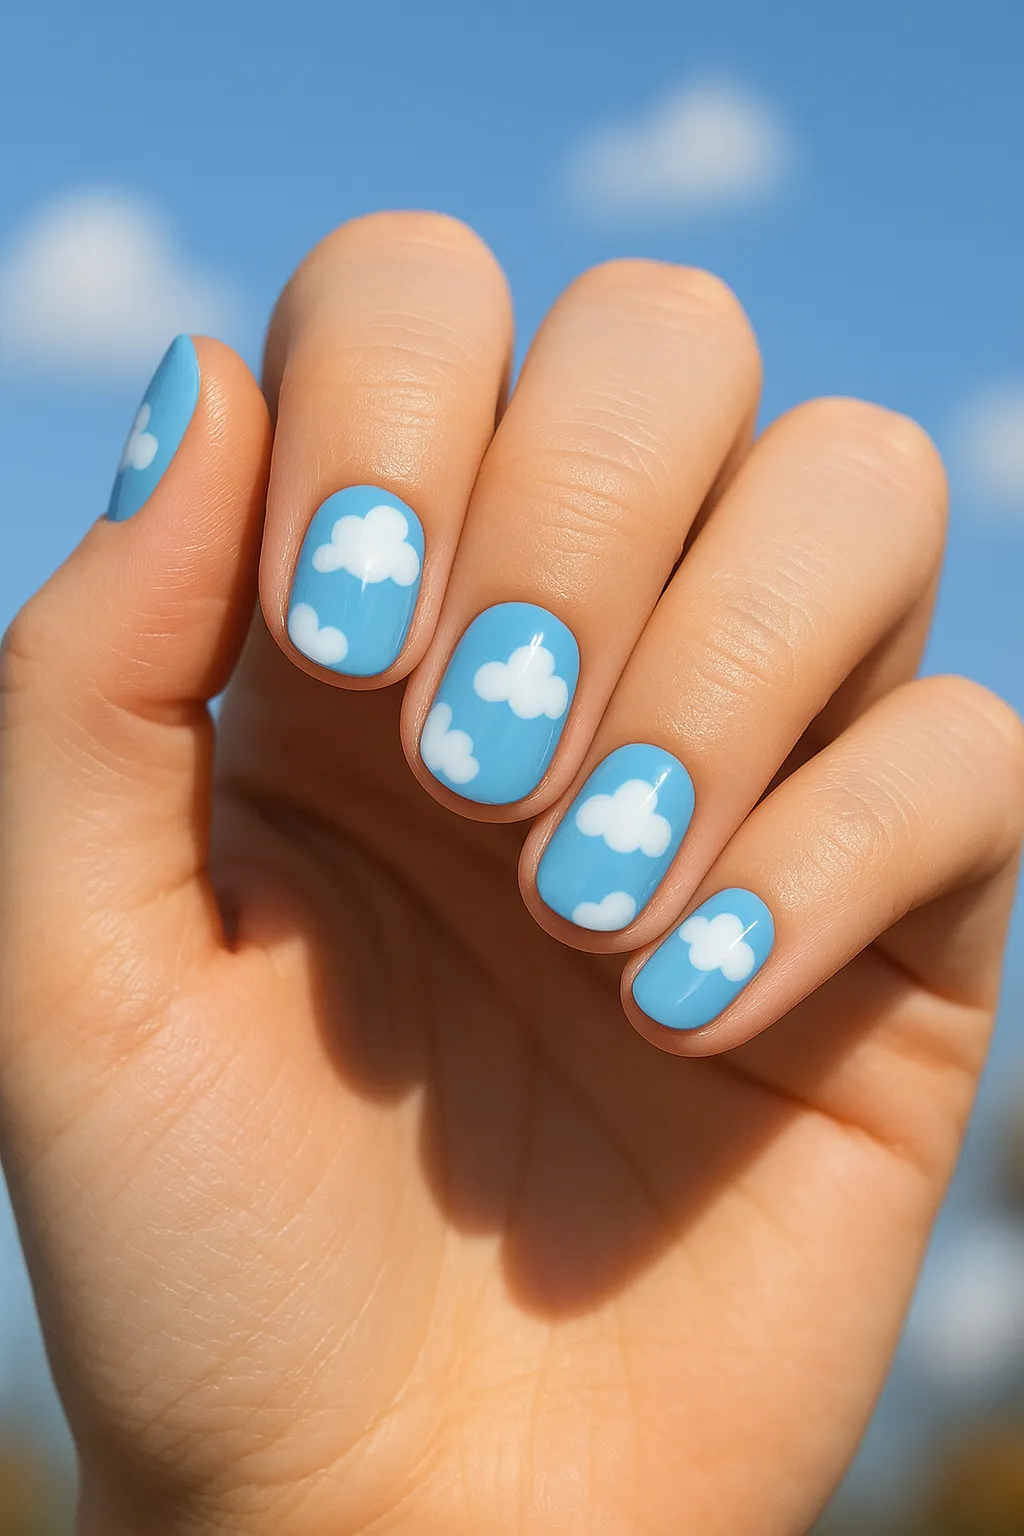
Blue Sky & White Clouds (Easy): Classic sky blue (#87CEEB) with simple white cloud shapes painted freehand or using a small brush. Great starter design for practicing brush control.
Sunset & Sunrise Nails
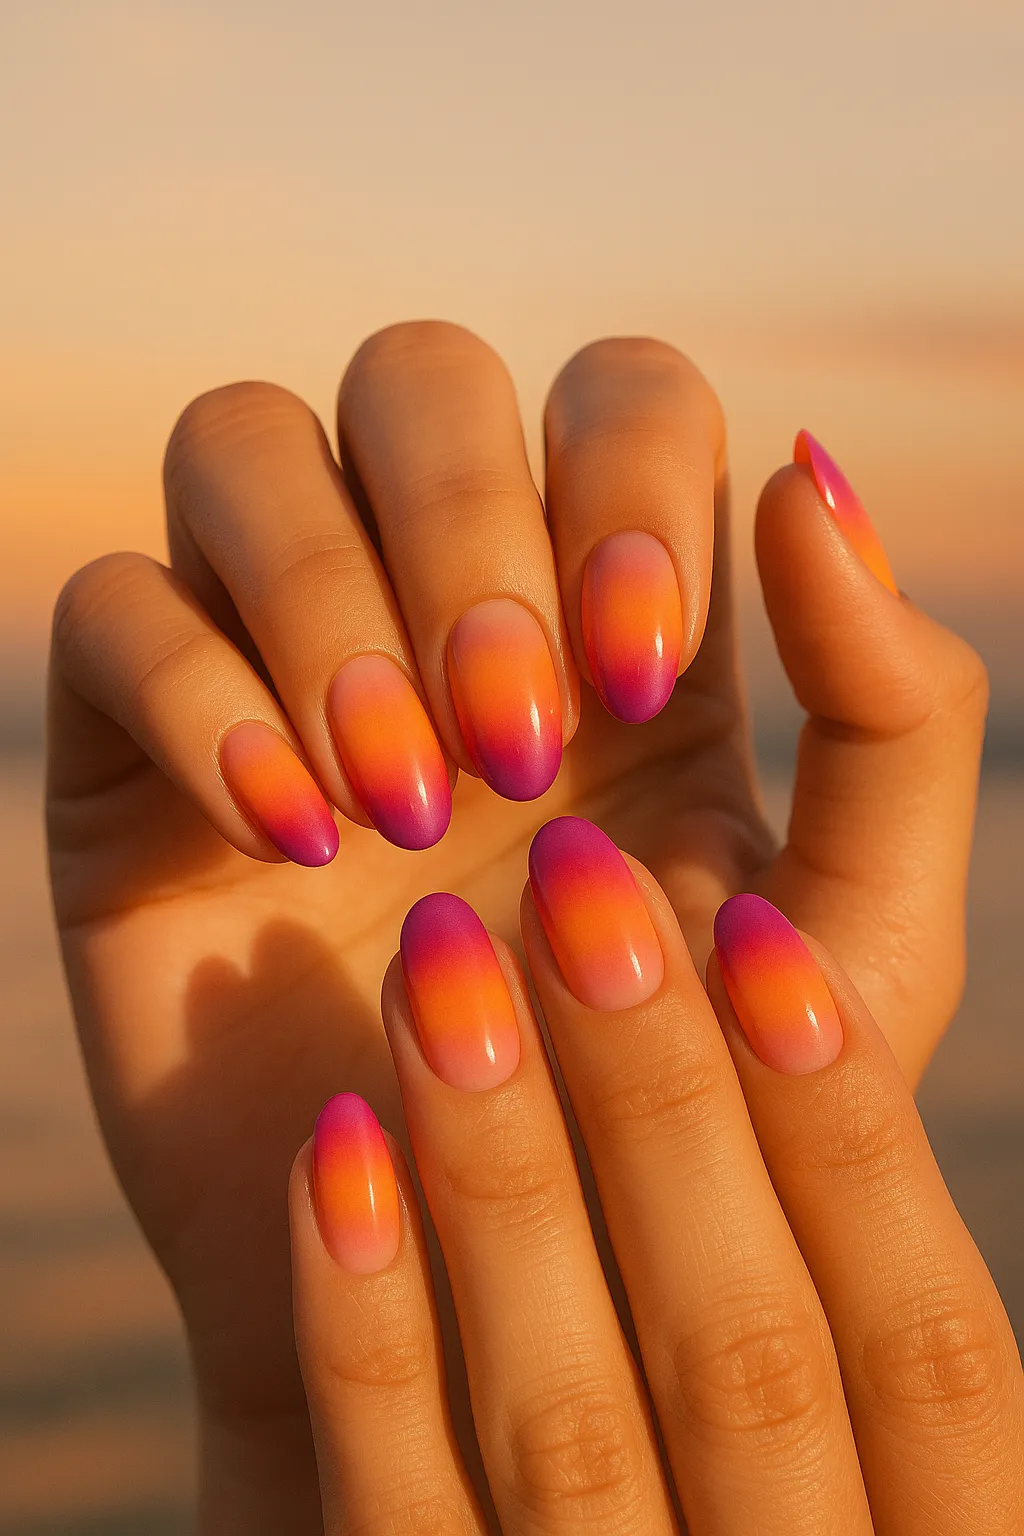
Classic Sunset Gradient (Easy): Orange (#F97316) to pink (#EC4899) to purple (#9333EA) ombre blend created with a makeup sponge. This is my go-to design when I want something vibrant! 30–40 minutes.
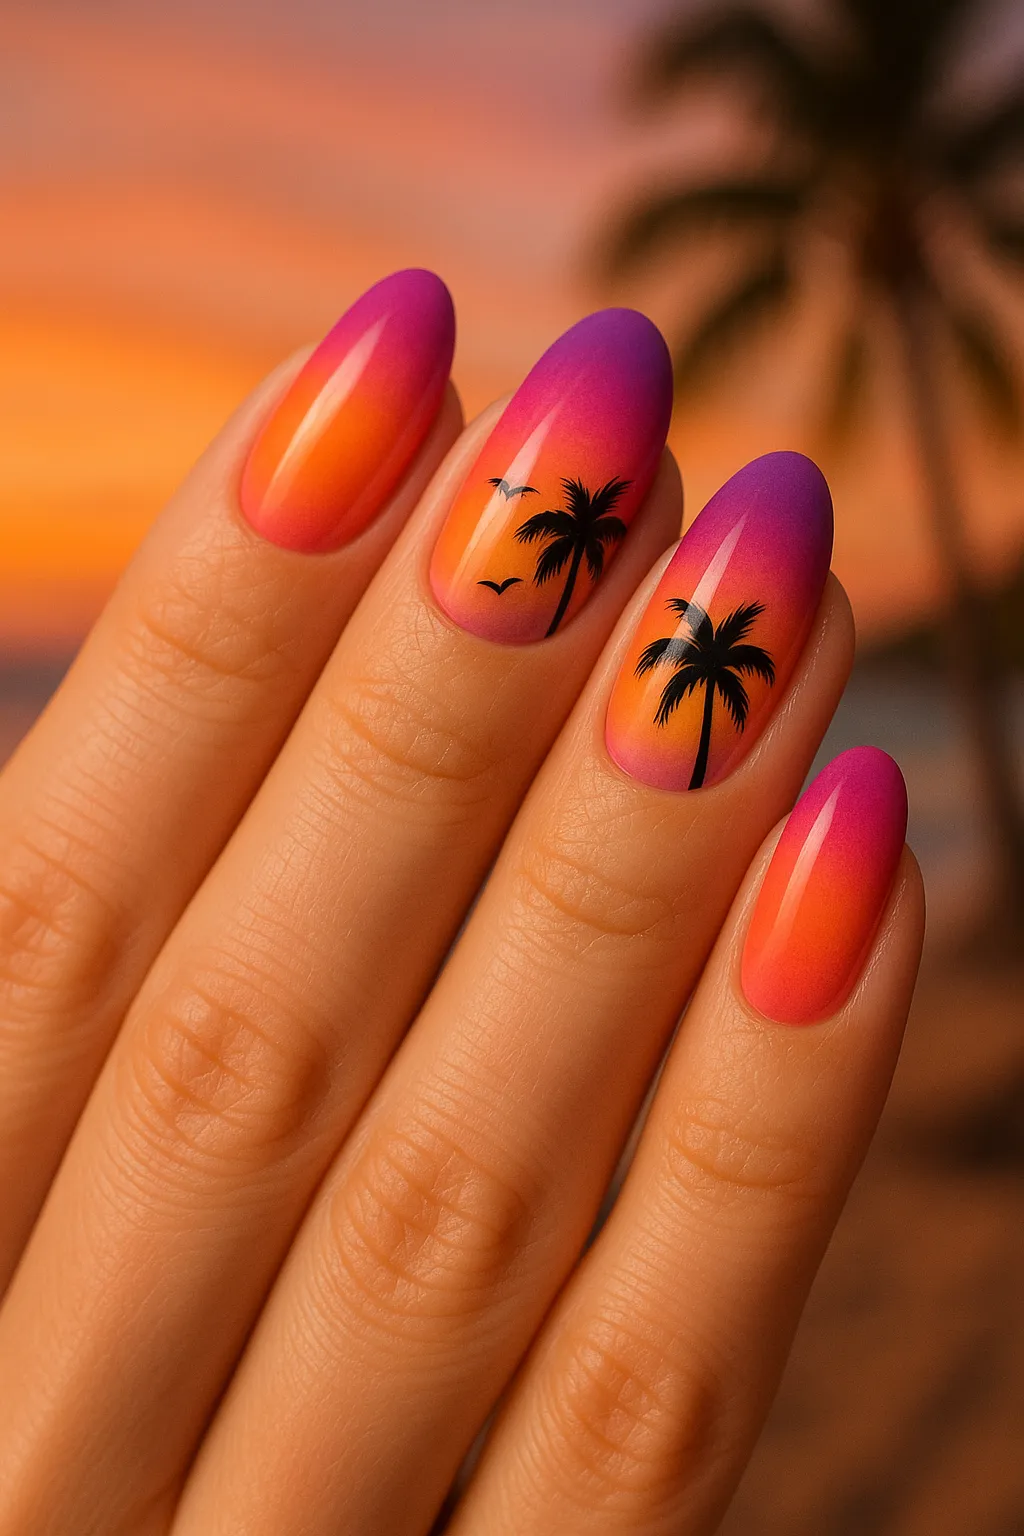
Sunset Silhouette Nails (Medium): Beautiful sunset gradient background with black palm tree or bird silhouettes on accent nails. Requires steady hand for silhouettes. 45–60 minutes.
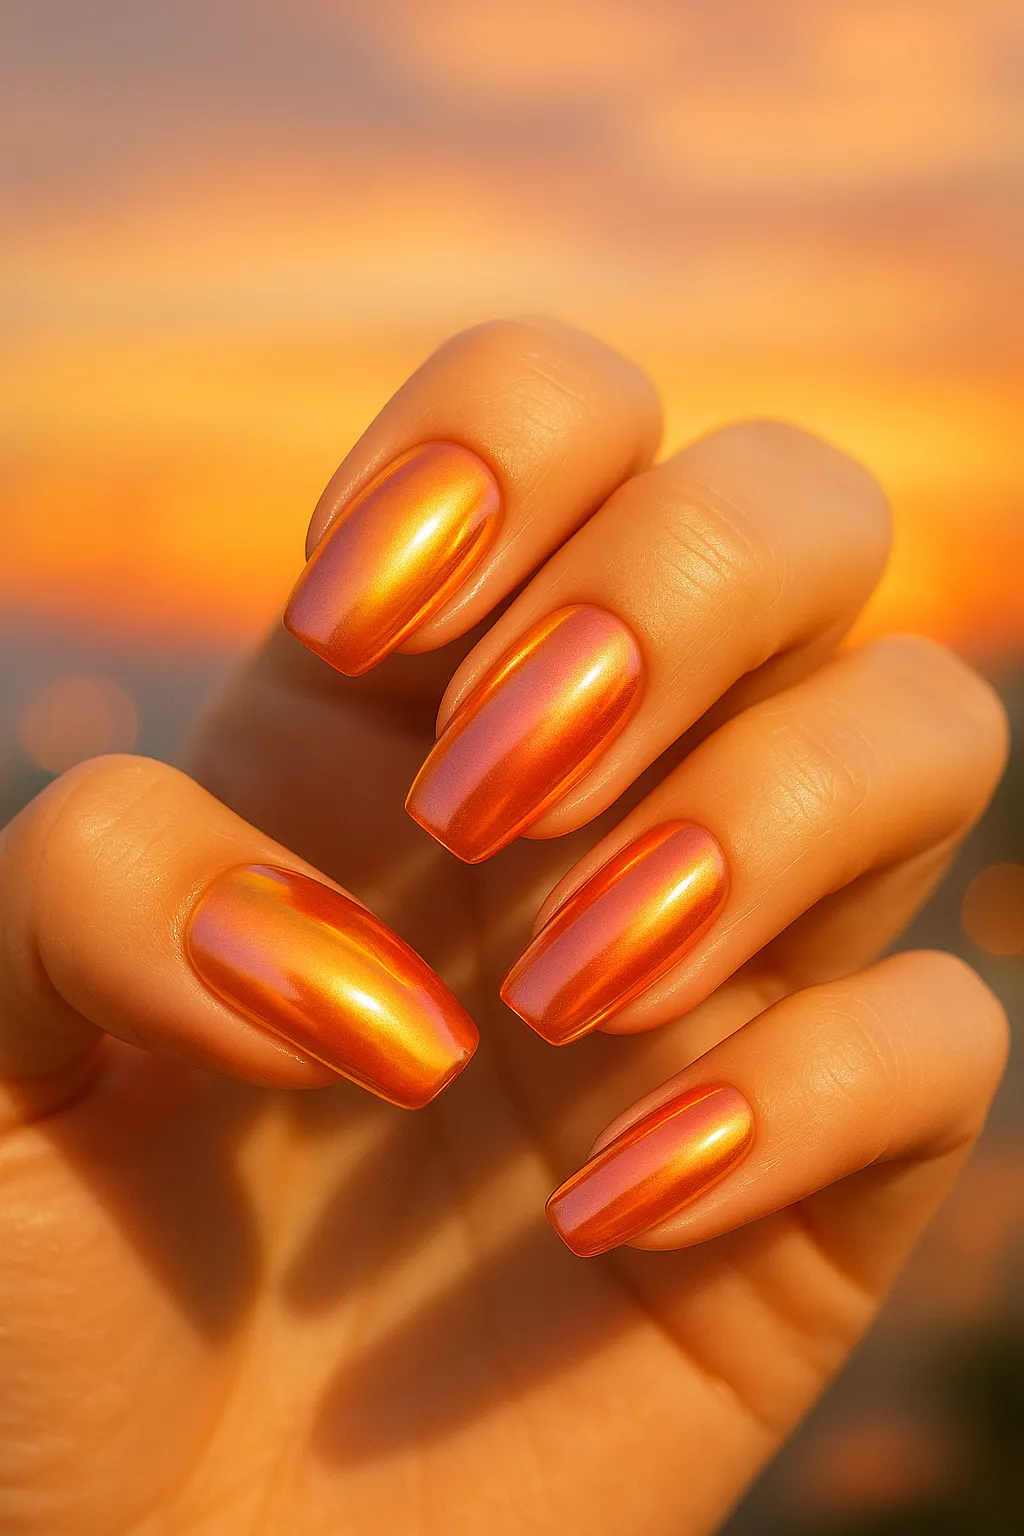
Golden Hour Chrome (Medium): Warm sunset colors with chrome powder finish for a metallic, reflective look. The chrome adds a luxe touch! 40–50 minutes including chrome application.
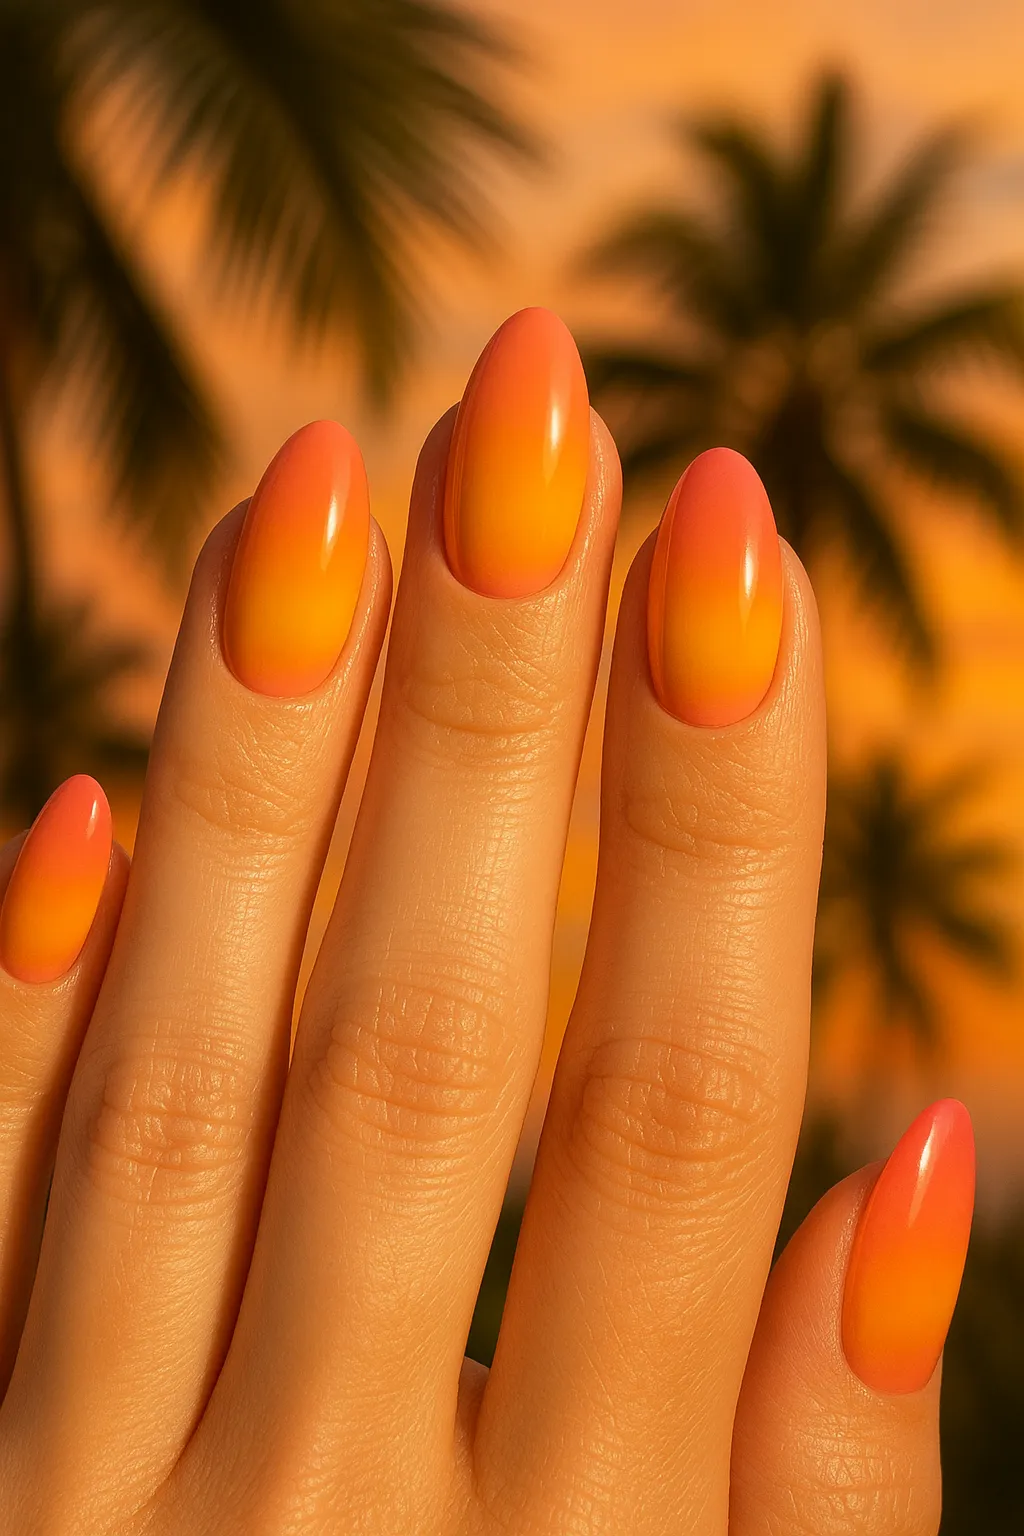
Tropical Sunset Nails (Medium): Vibrant coral (#FF6F61) to yellow (#FFD700) to hot pink blend that screams summer vacation vibes. Use bright, saturated gel polishes for best results.
Rain & Storm Nails
Raindrop Nails (Easy): Soft gray base (#808080) with silver raindrop accents using a dotting tool. Simple but elegant! Perfect for rainy spring days. 25–35 minutes.
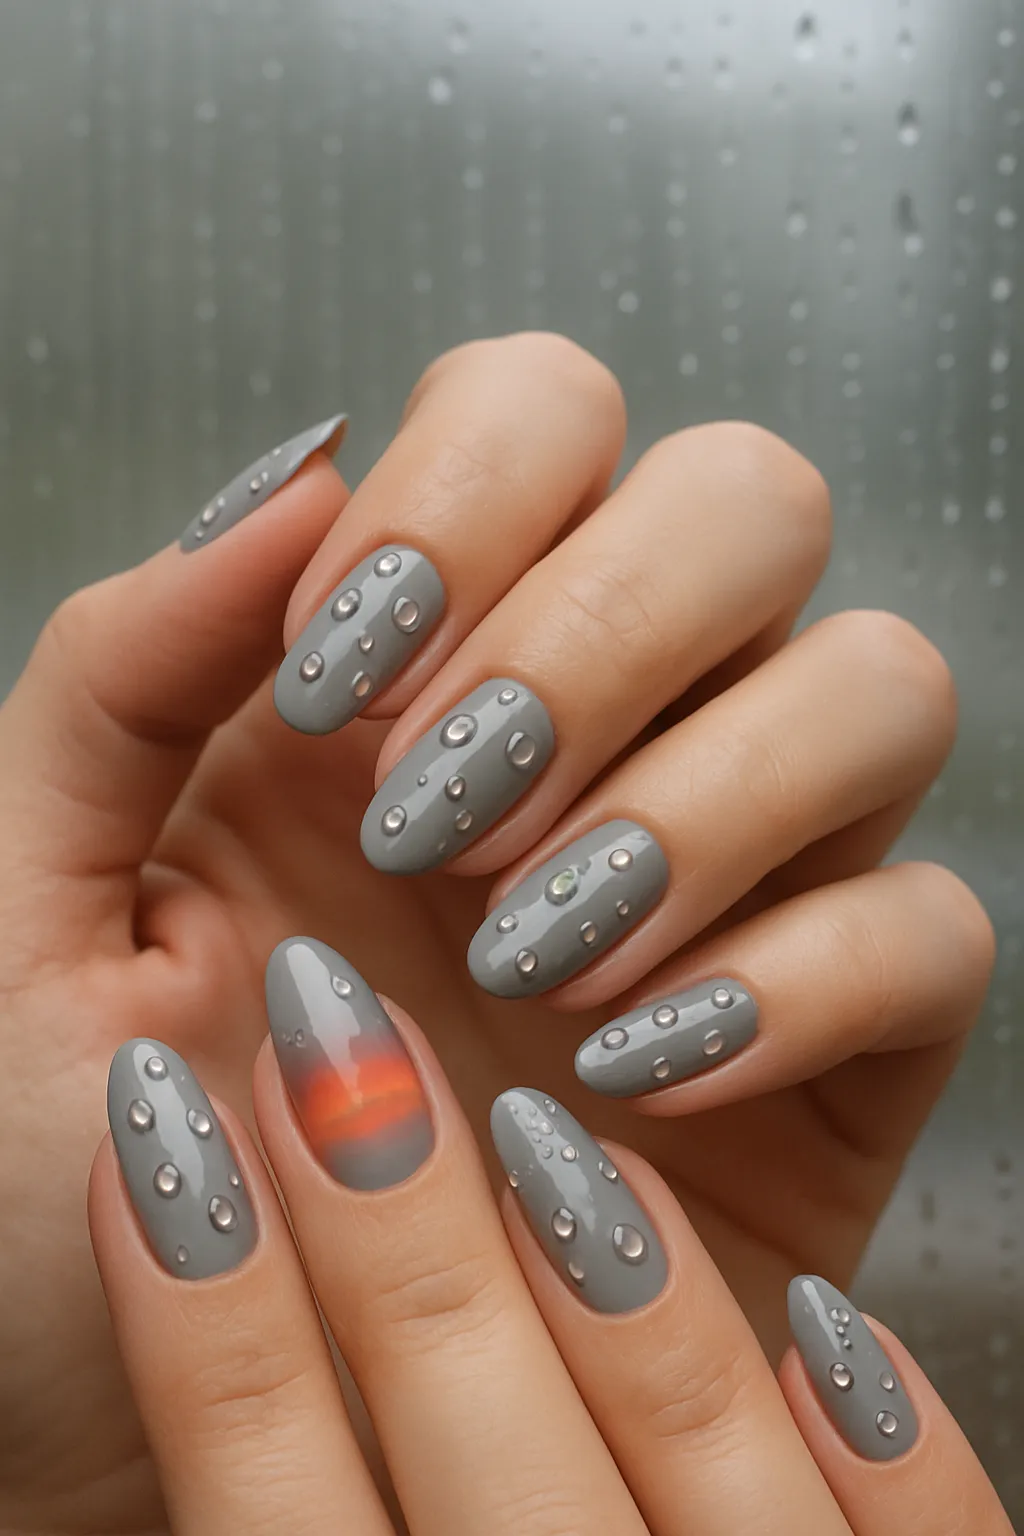
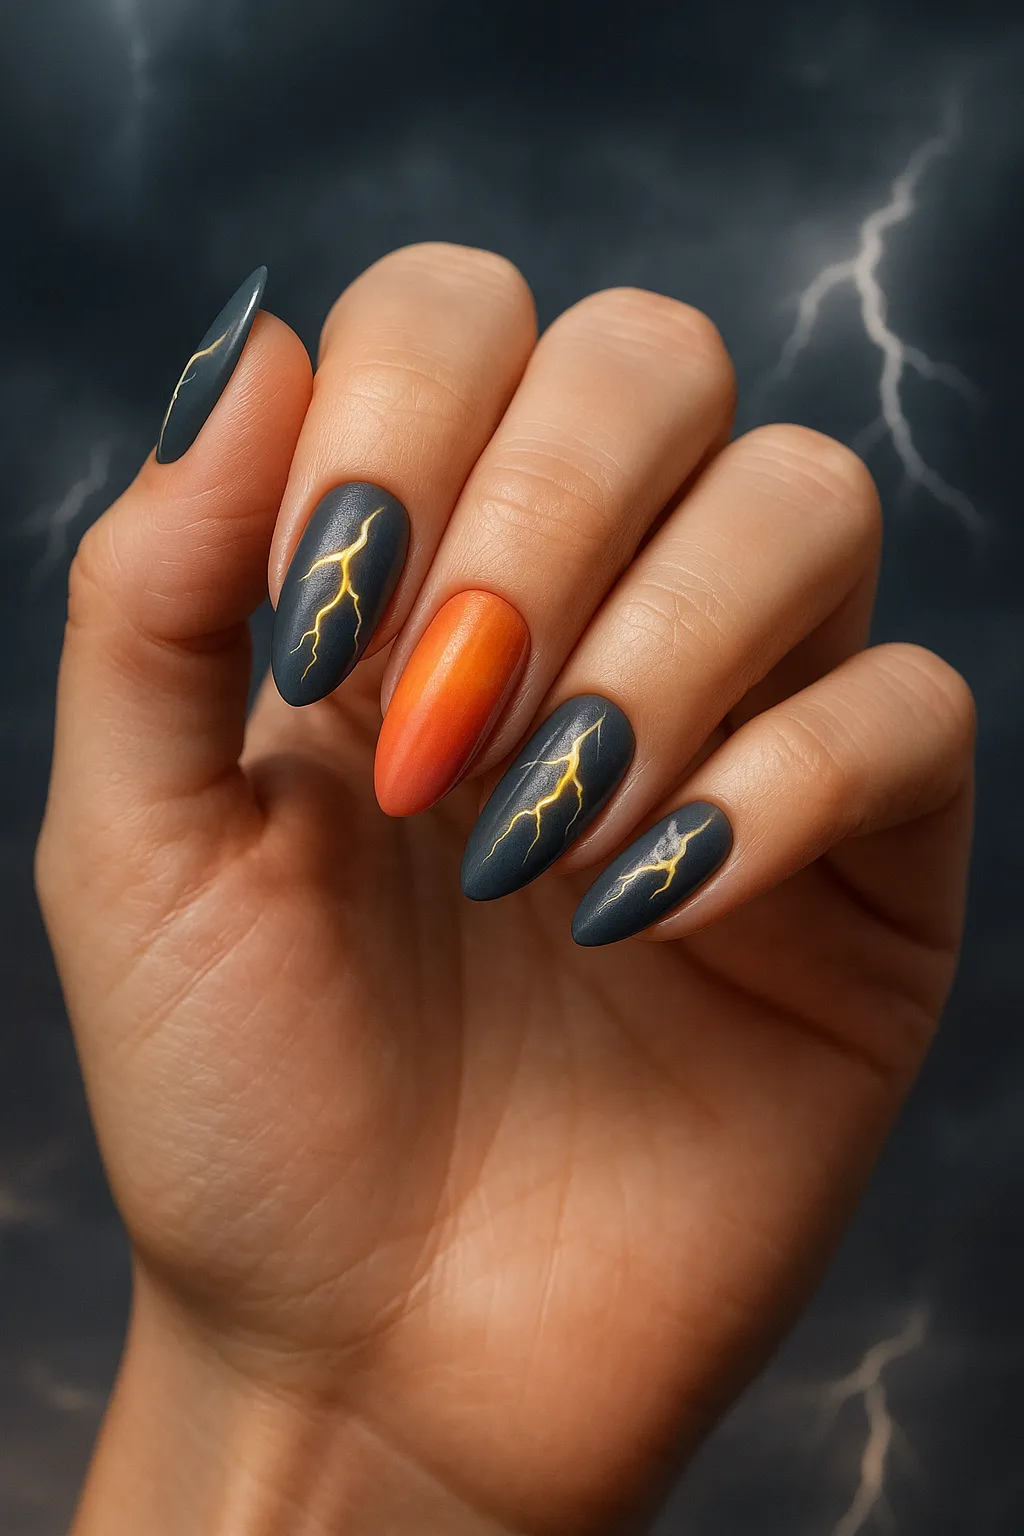
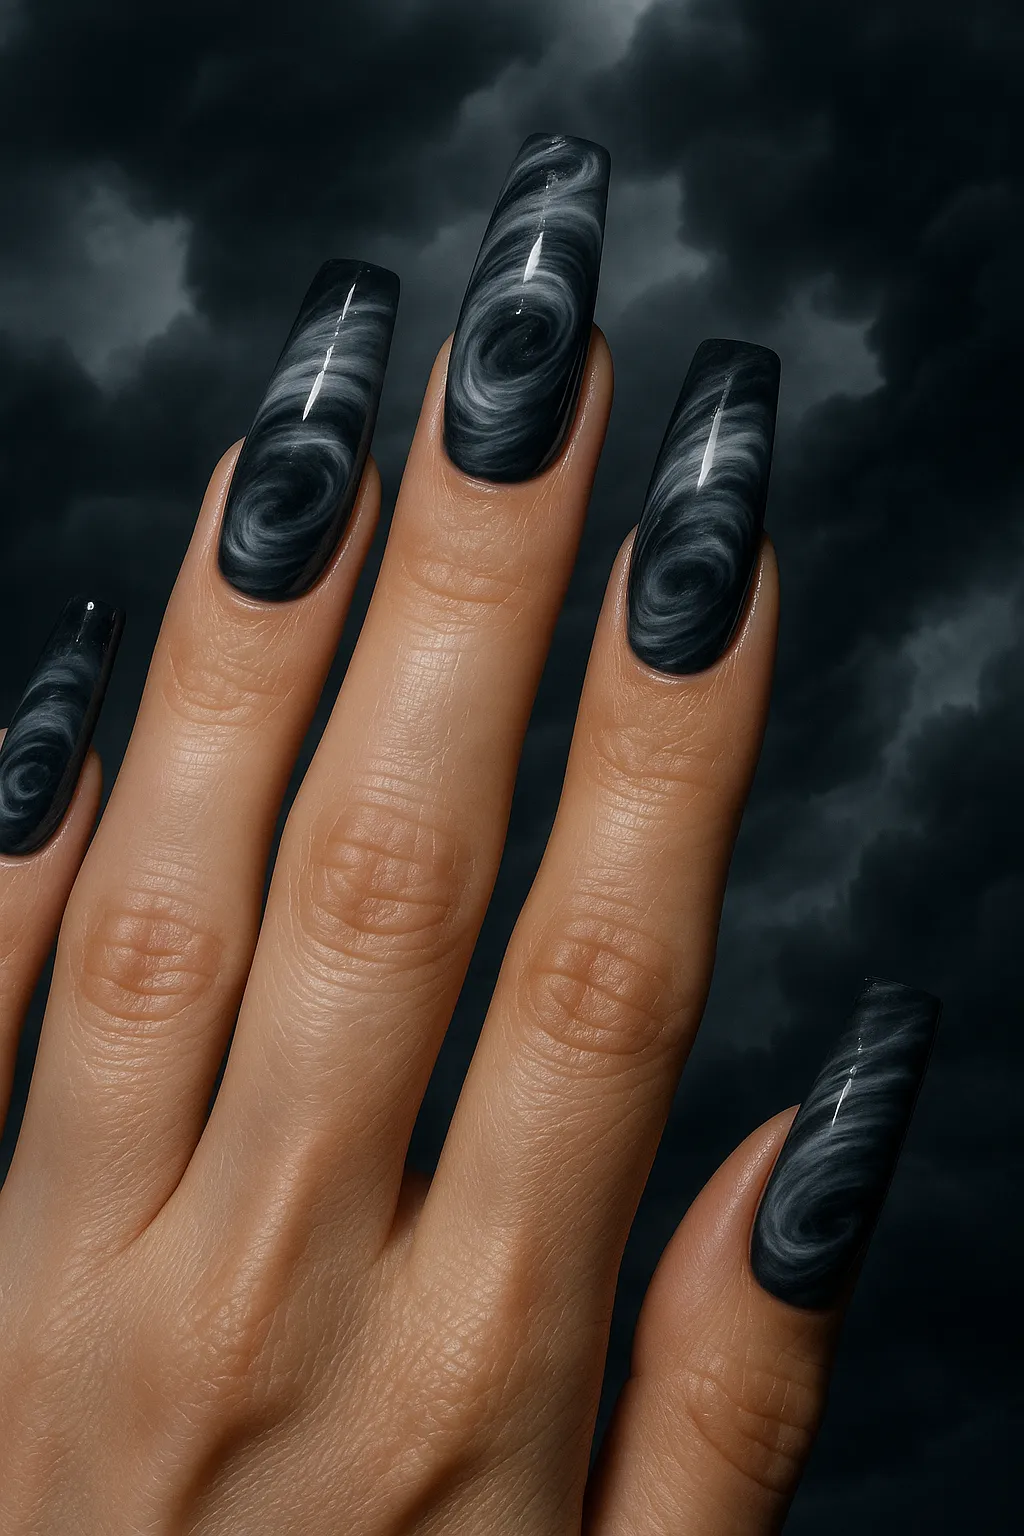
Lightning Storm Nails (Medium): Dark gray (#36454F) base with white and yellow lightning bolts hand-painted using a thin liner brush. Add a center highlight for realistic dimension. 40–50 minutes.
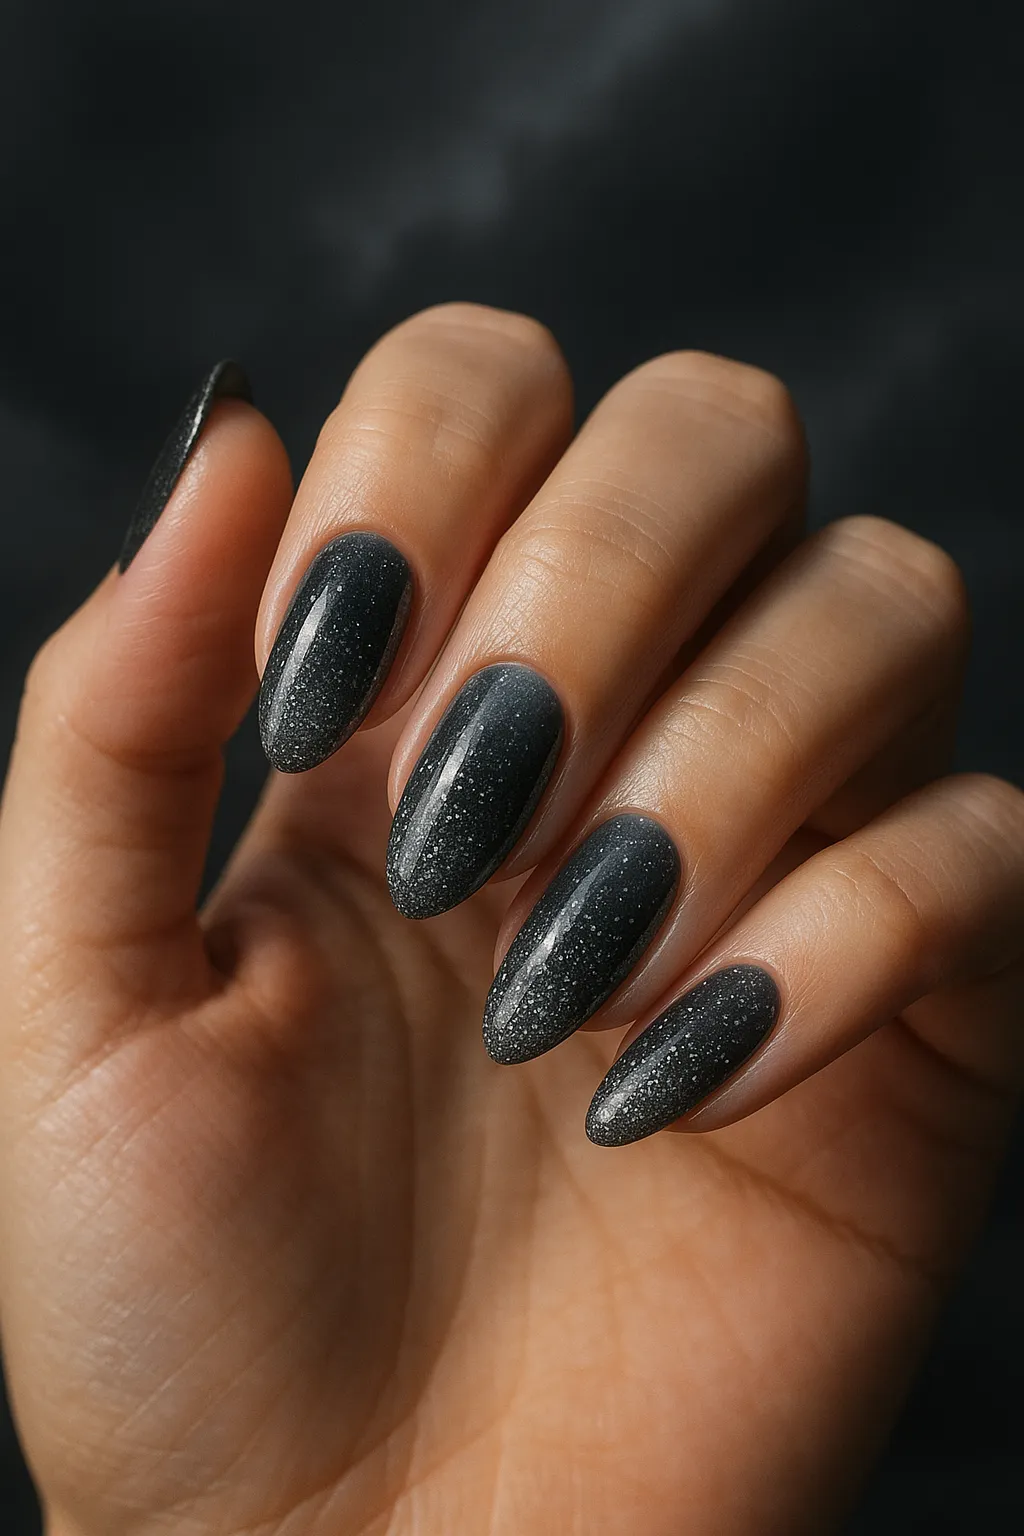
Stormy Sky Gradient (Medium): Black to charcoal gray ombre with fine silver glitter “rain” effect. The glitter mimics raindrops catching light. 35–45 minutes.
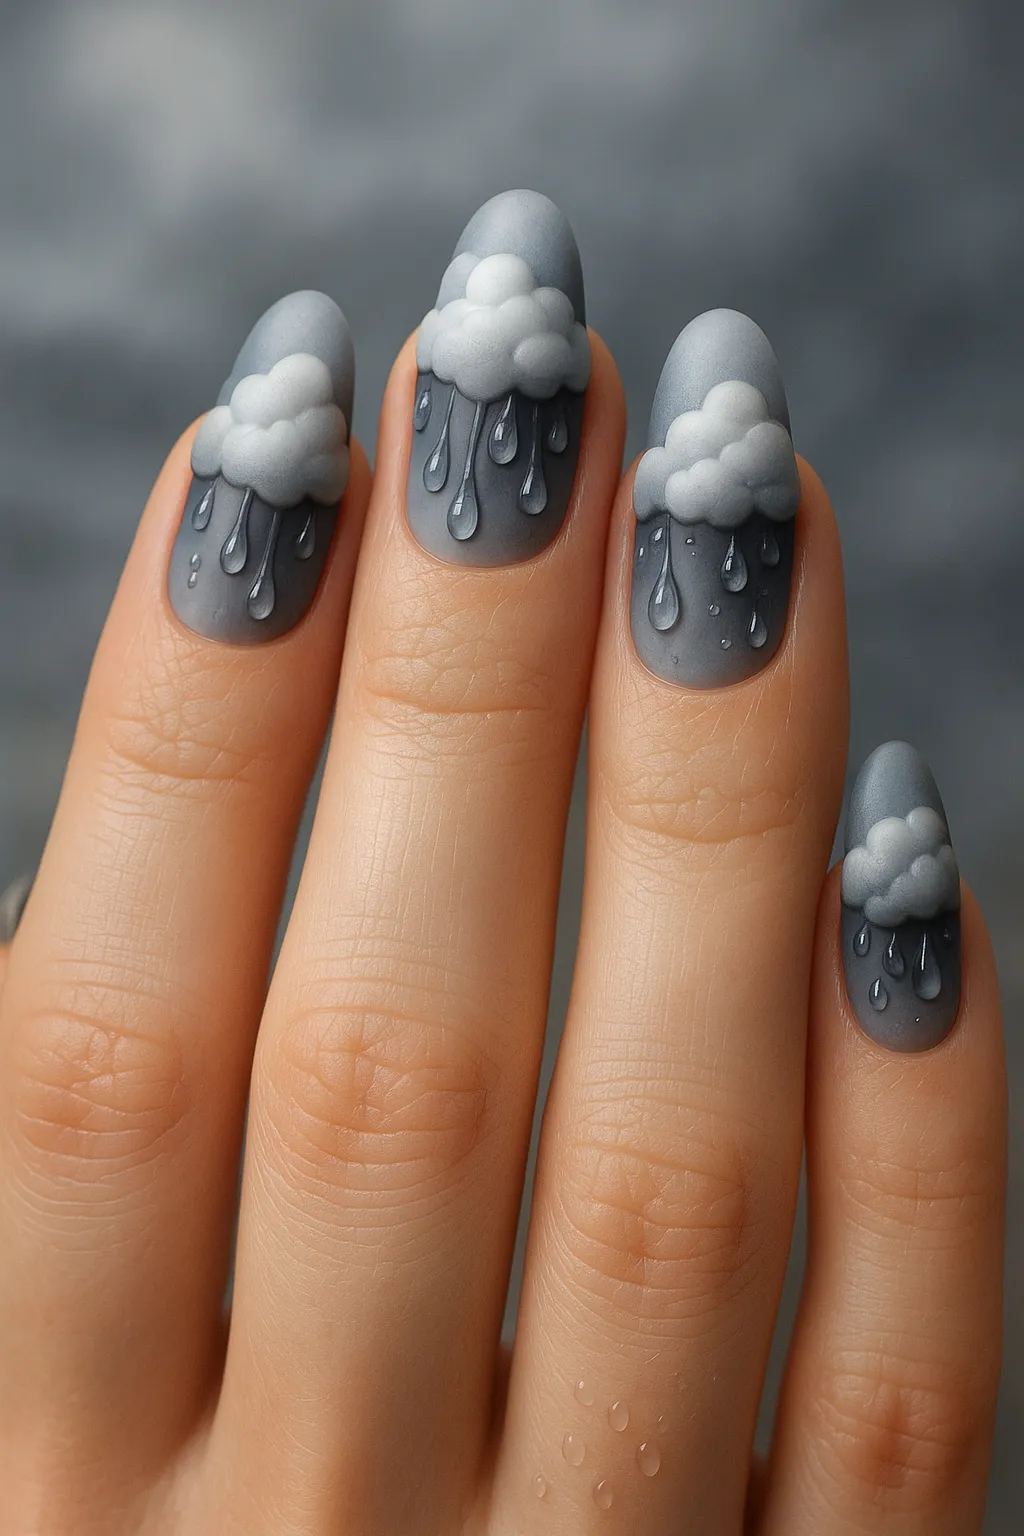
Moody Rain Clouds (Hard): Layered gray clouds with 3D gel raindrop effects that actually look wet and dimensional. Advanced technique requiring builder gel. 70–90 minutes.
Rainbow & Mixed Weather
After-the-Rain Rainbow (Medium): Soft gray clouds on some nails with rainbow gradient tips (#FF0000, #FF7F00, #FFFF00, #00FF00, #0000FF, #4B0082, #9400D3). Shows the magic after a storm! 50–60 minutes.
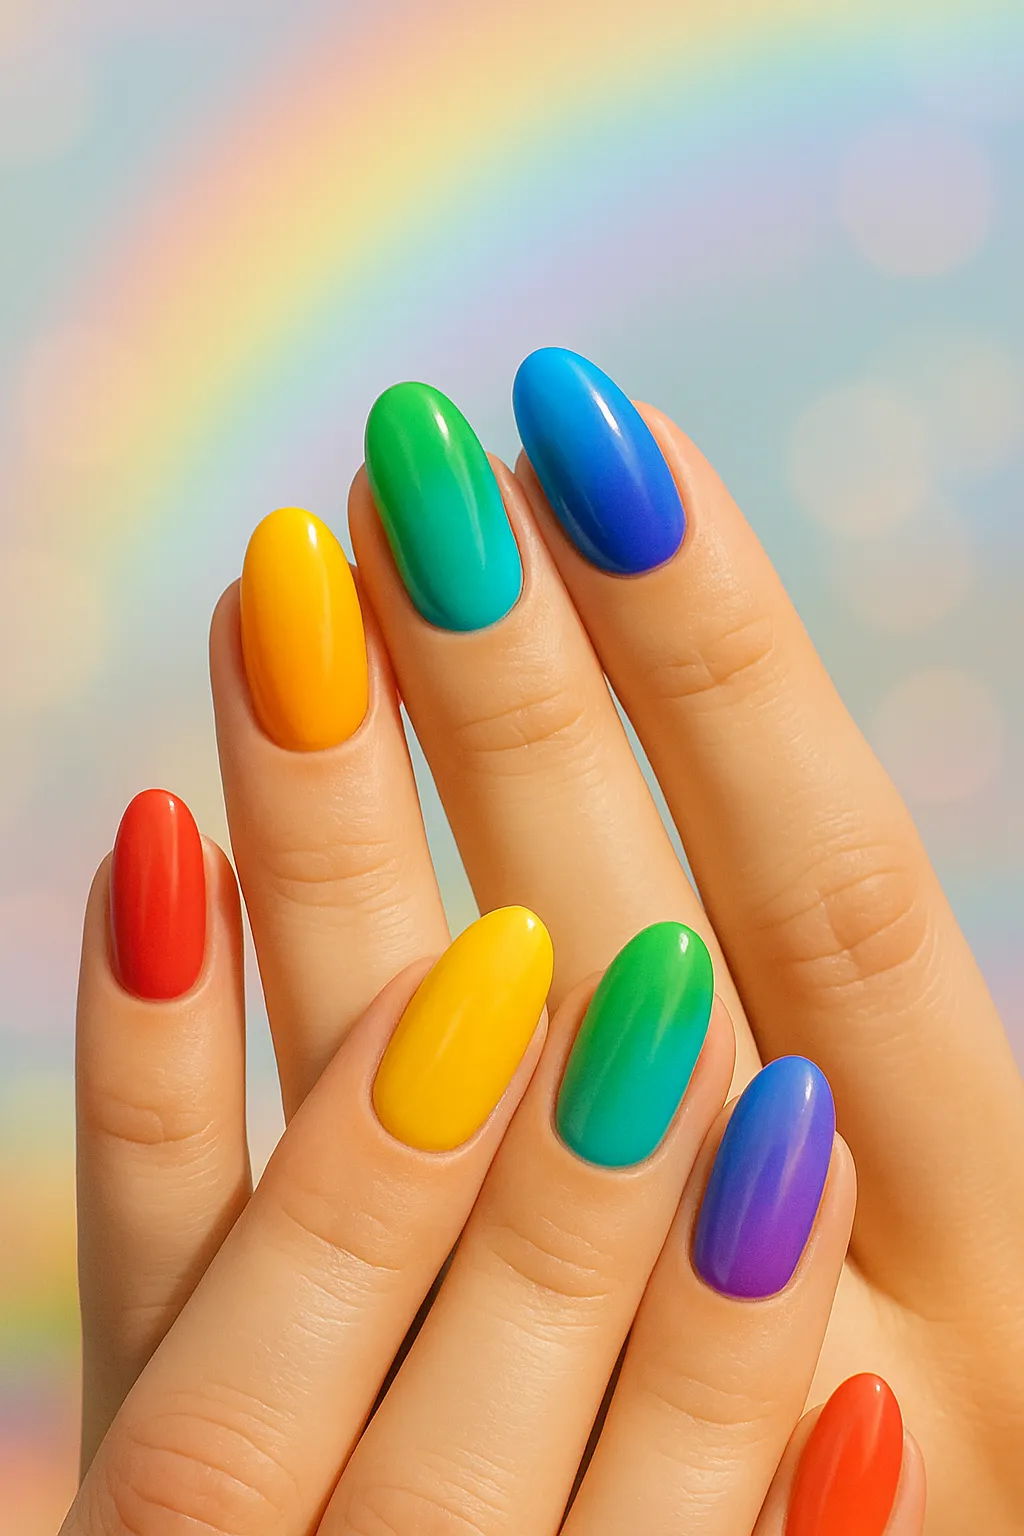
Full Rainbow Gradient (Easy): ROY G BIV color blend across all nails for a cheerful, pride-friendly look. Use thin polish layers to prevent muddiness. 35–45 minutes.
Sunshine Through Clouds (Medium): Bright yellow (#FFD700) sunshine rays breaking through fluffy white clouds on a light blue base. Requires layering and blending skills. 45–55 minutes.
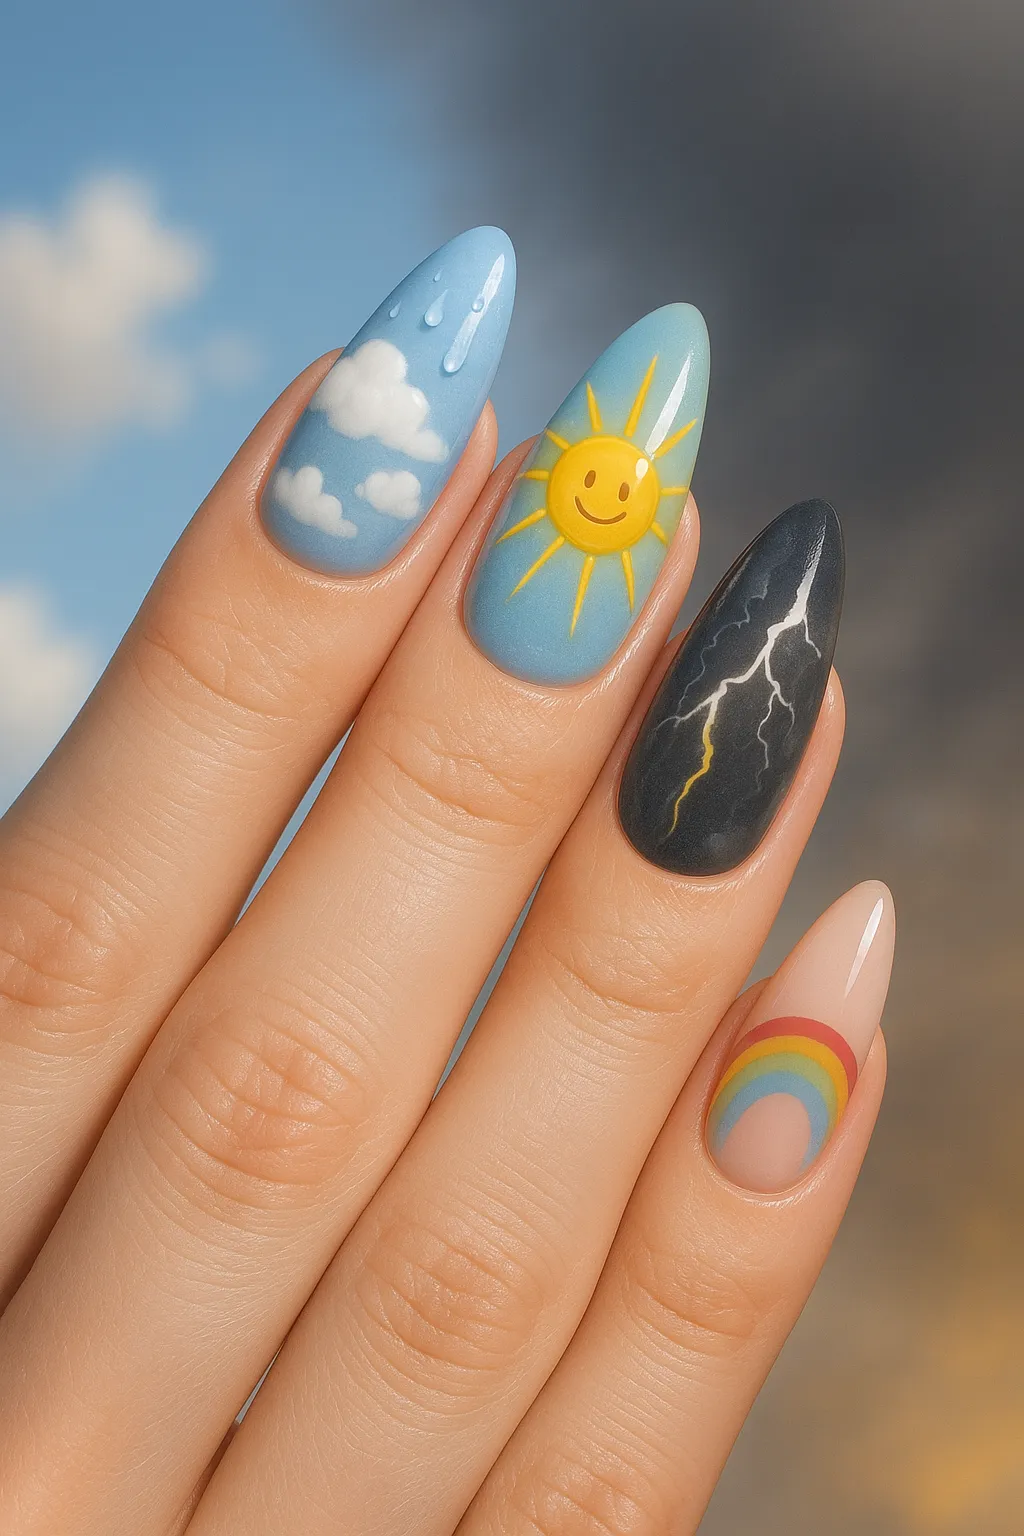
Weather Mix Nails (Hard): Different weather on each nail—cloud, rain, sun, storm, and rainbow. This “weather story” design is trending hard in 2025! 60–80 minutes.
Seasonal Weather Nails
Snowflake Winter Nails (Easy): White or ice blue (#E0F6FF) base with snowflake decals or stamping. The easiest winter weather design! Just apply and seal. 20–30 minutes.
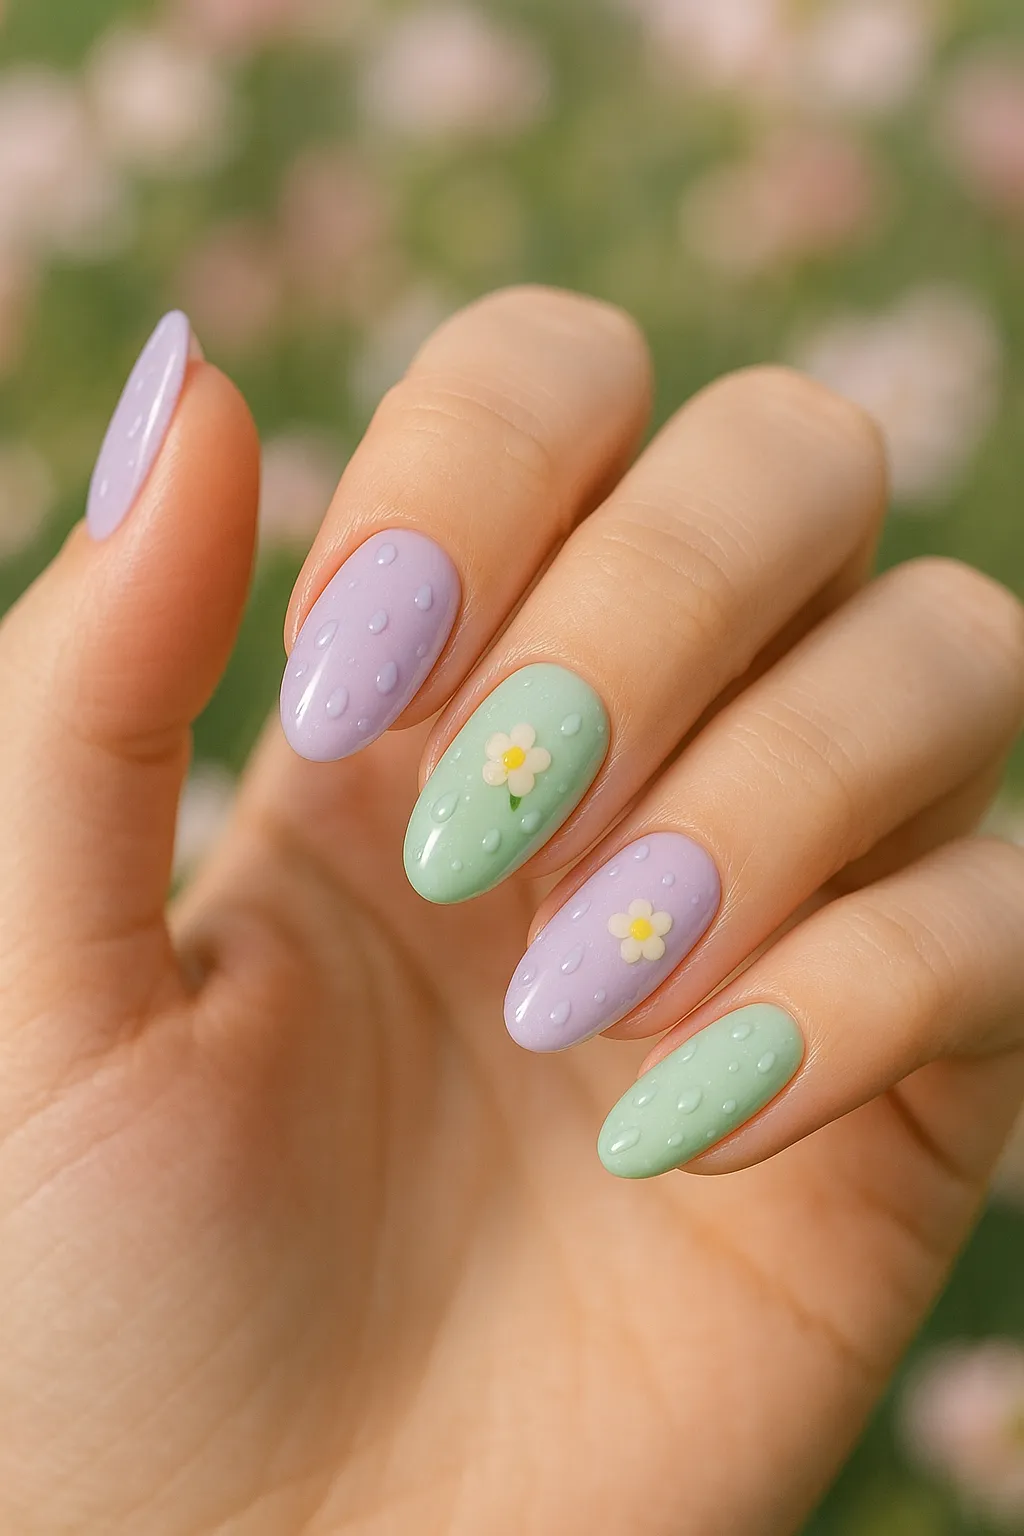
Spring Rain Nails (Easy): Pastel lavender (#E6E6FA) or mint (#98FF98) base with tiny rain dots and small flower accents. Sweet and seasonal. 30–40 minutes.
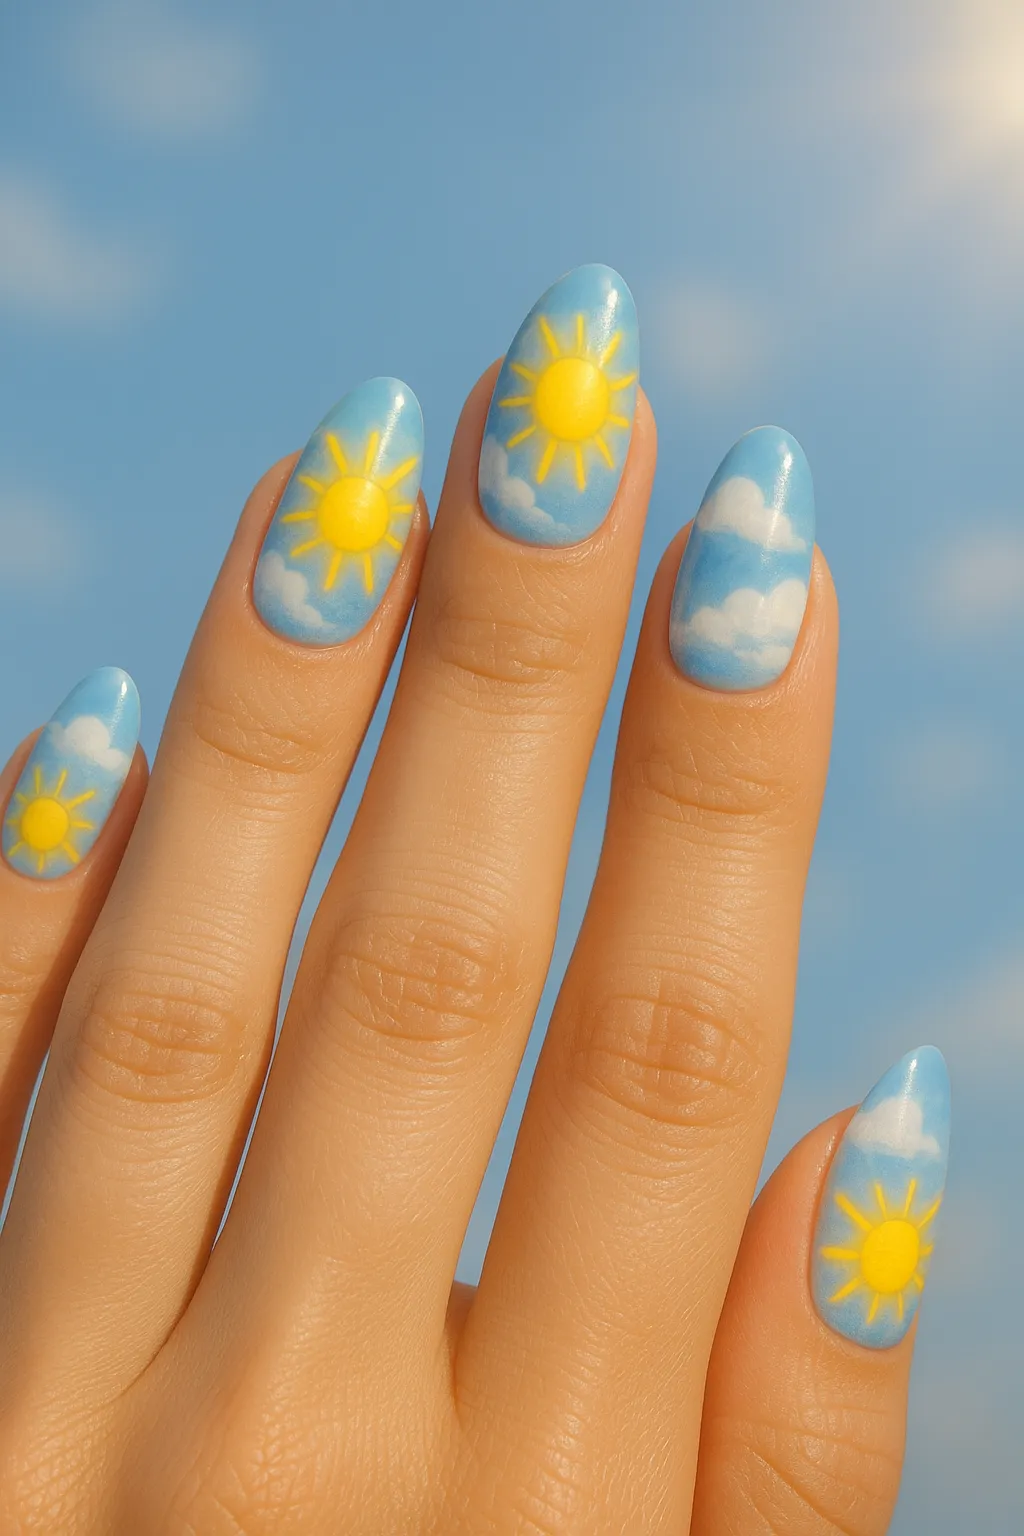
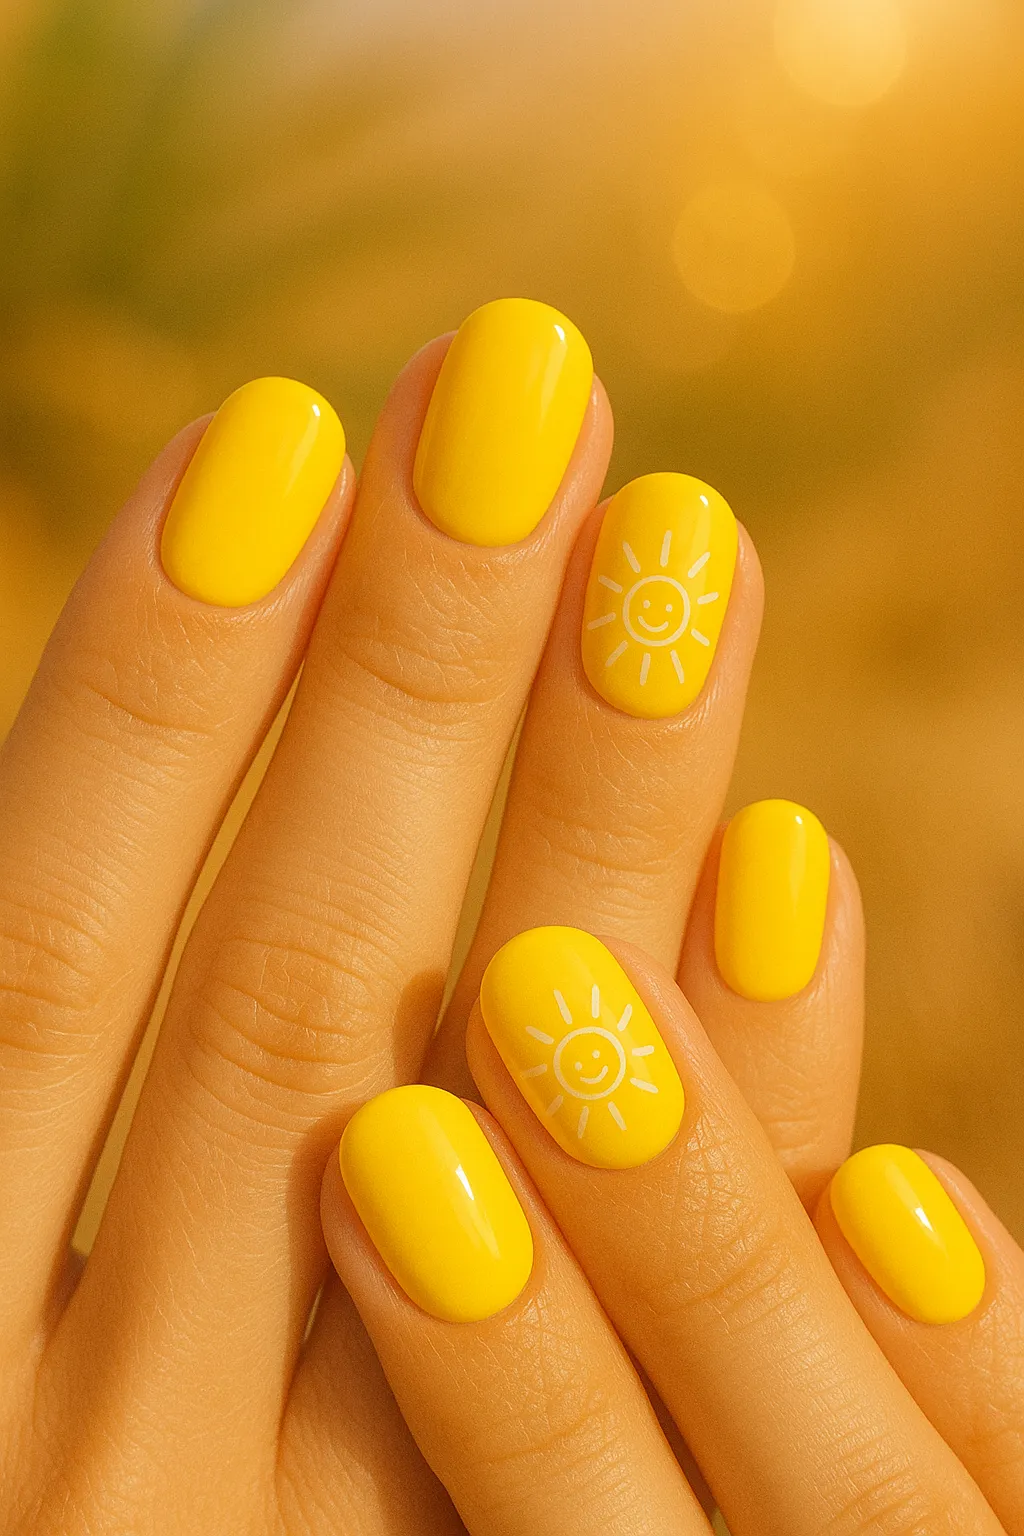
Summer Sunshine Nails (Easy): Bright yellow (#FFEB3B) base with hand-painted or stamped sun designs. Adds instant happy vibes! 25–35 minutes.
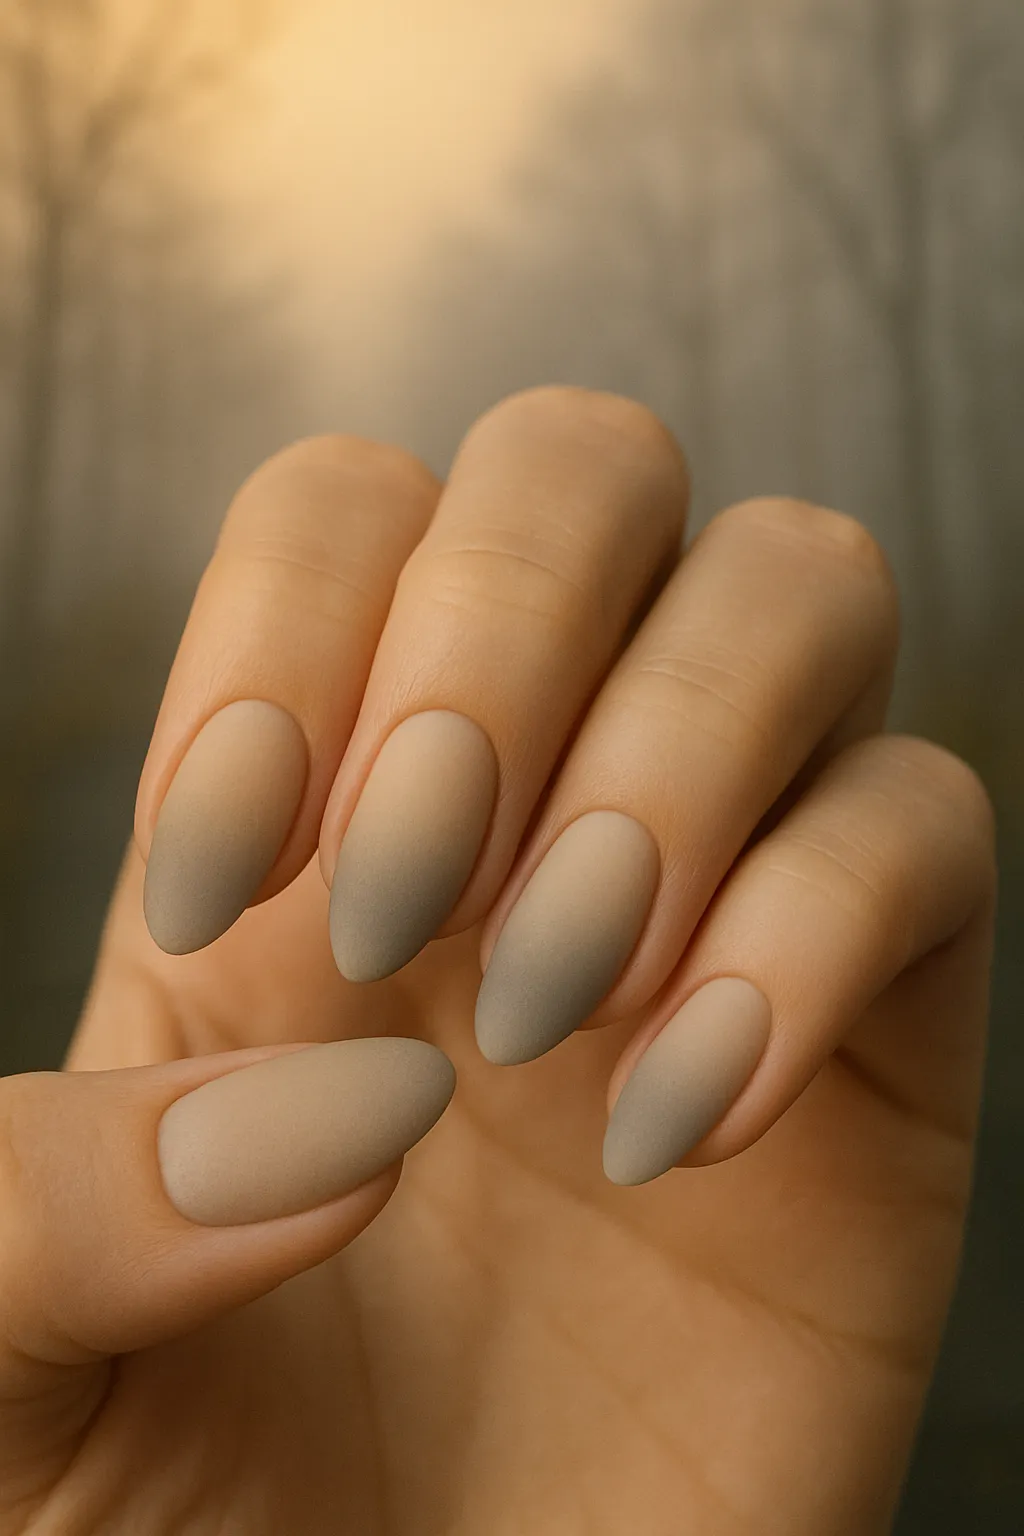
Autumn Foggy Nails (Medium): Beige to gray gradient (#F5F5DC to #A9A9A9) for that misty, mysterious fall morning effect. Use sheer layers for realistic fog. 40–50 minutes.
Icy Frost Nails (Medium): Light blue base with white crackle top coat or hand-painted frost patterns. Perfect for winter weddings or holidays! 35–45 minutes.
Tornado Swirl Nails (Hard): Dramatic swirling gray and black design mimicking tornado movement. Requires gel marbling or precise brush work. 60–75 minutes.
Pro Tip: Screenshot your top 3 favorite designs before you start shopping for supplies. This makes it so much easier to match polish colors at Ulta or Sally Beauty!
How to Create Cloud Nails (Step-by-Step Tutorial)
Cloud nails are the perfect beginner-friendly weather design for 2025. This tutorial creates soft, dreamy clouds on a pastel sky base using simple dotting techniques—no advanced skills required! I’ve made this design at least 20 times, and it never fails to get compliments.
Materials Needed:
- Base coat (any quality brand)
- Sky blue gel polish—try OPI “Reach for the Sky” or Beetles Gel Polish #B001 (~$8–12)
- White gel polish with opaque formula—Beetles Pure White works perfectly (~$7–10)
- Makeup sponge or nail art sponge (dense, fine-pore works best)
- Dotting tool set or a toothpick
- Small detail brush for blending (optional)
- Glossy gel top coat—Modelones or OPI (~$8–15)
- UV/LED lamp (48W minimum for proper curing, ~$25–35)
- Nail prep essentials: file, buffer, cuticle pusher, alcohol wipes
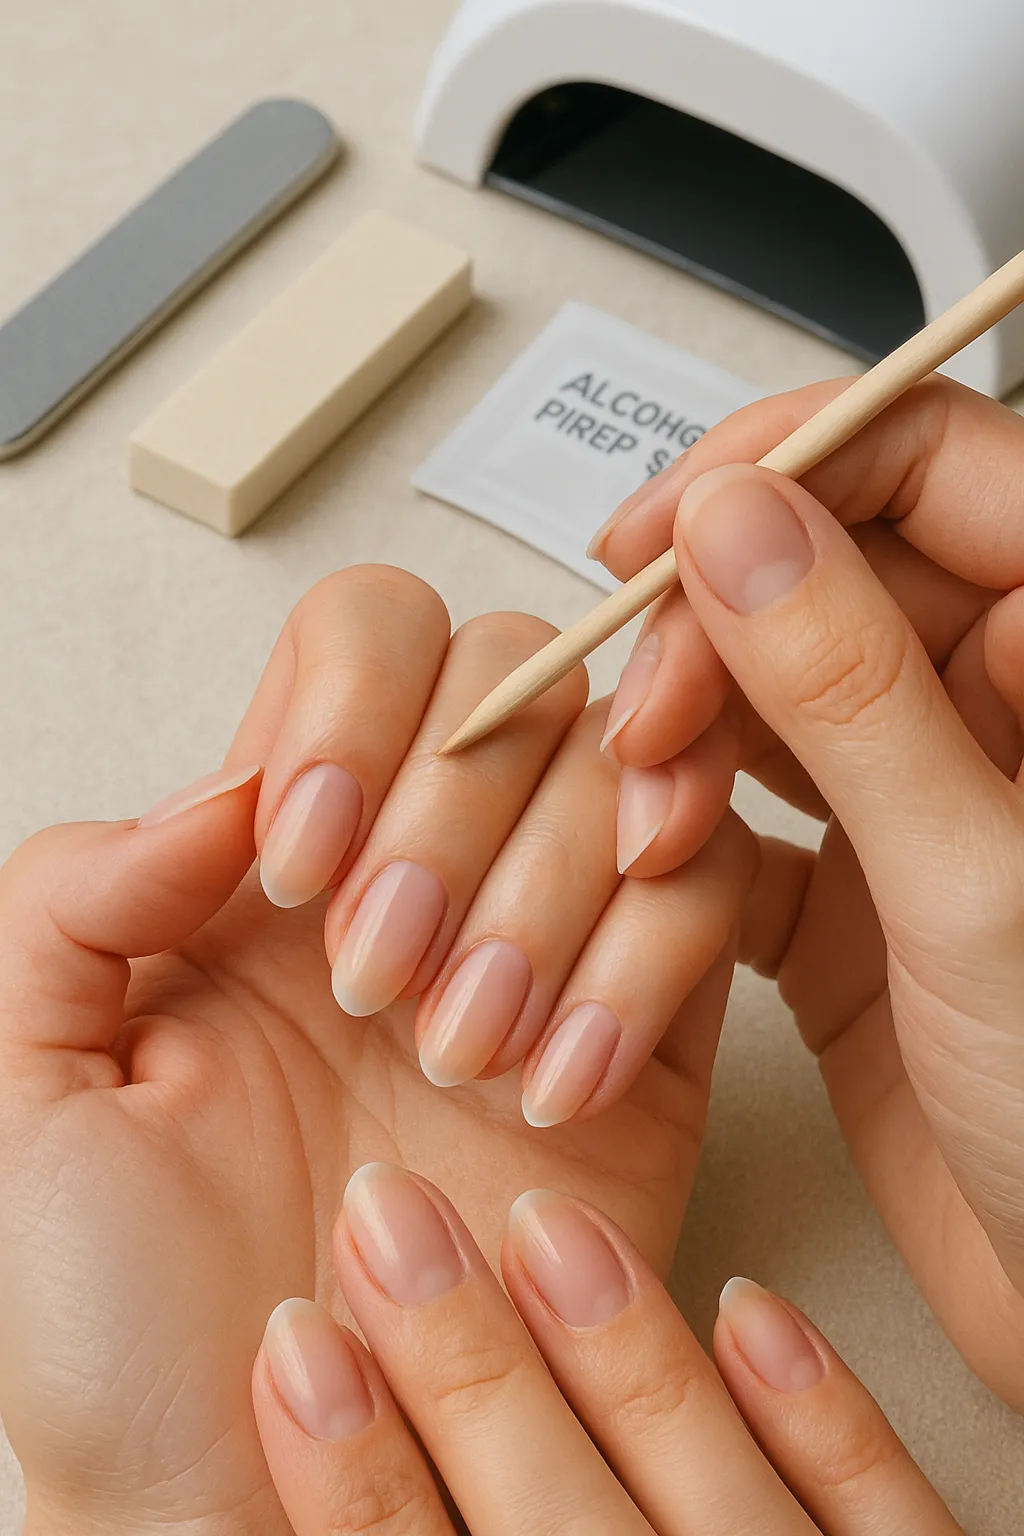
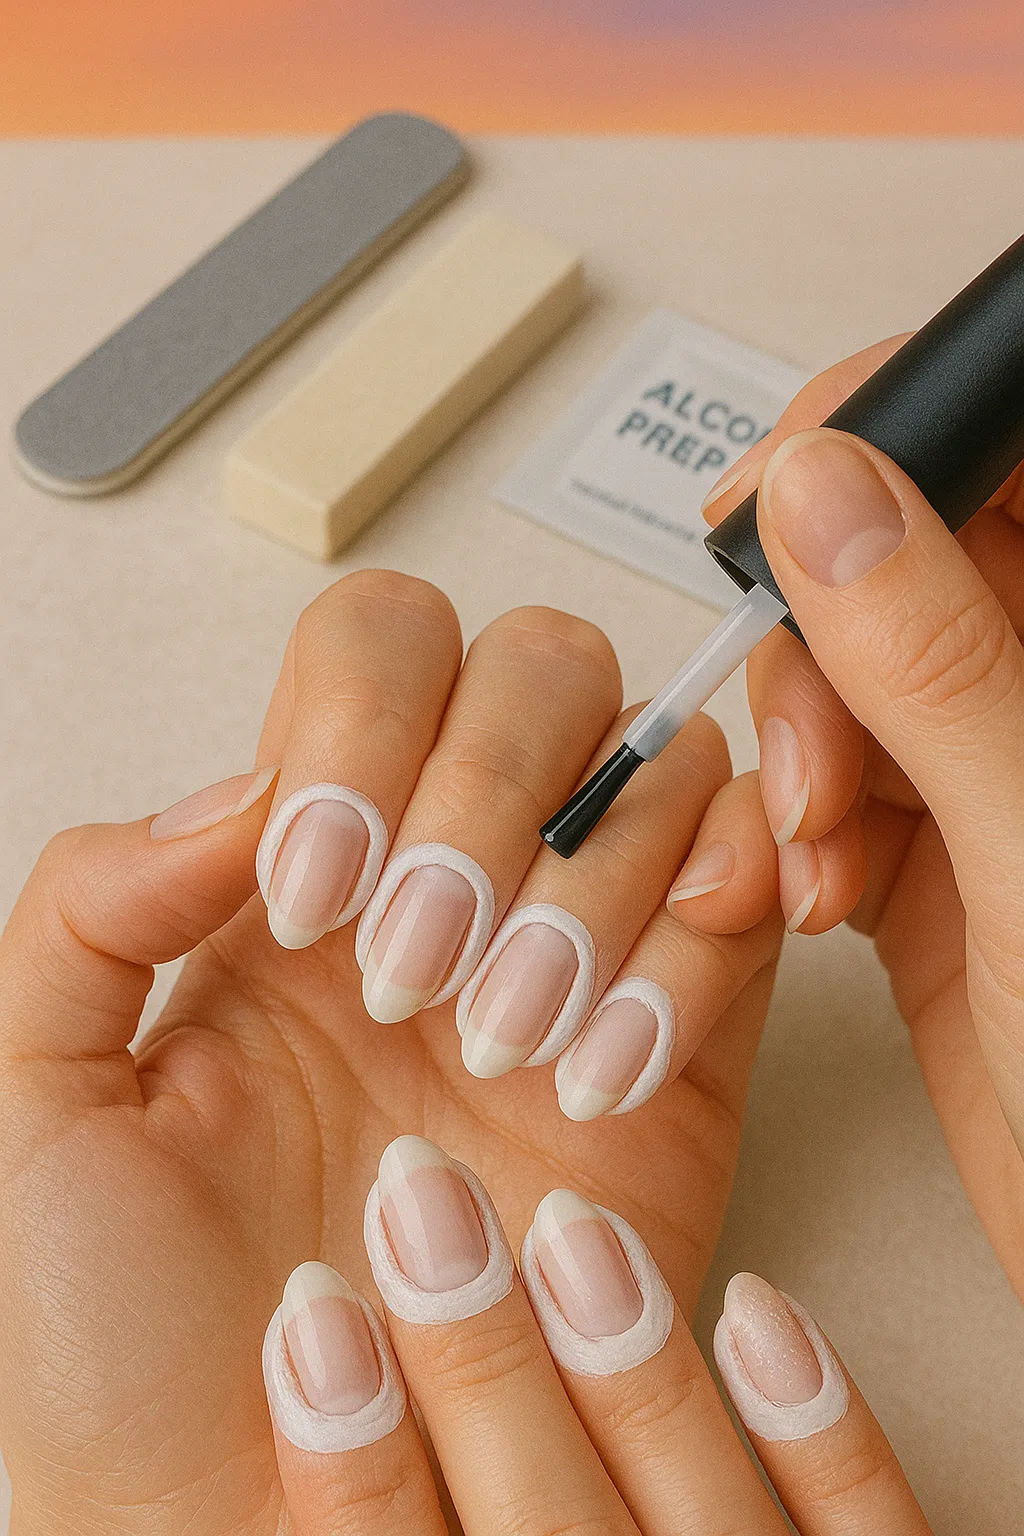
Step 1: Prep Your Nails
Clean, file, and buff your nails to your desired shape—almond or square shapes work beautifully for cloud designs. Push back cuticles gently using a wooden cuticle pusher.
Wipe nails with alcohol or nail prep solution to remove any oils or residue. This step prevents lifting and ensures your design lasts 2+ weeks! Apply a thin base coat to all nails and cure under UV/LED lamp for 60 seconds.
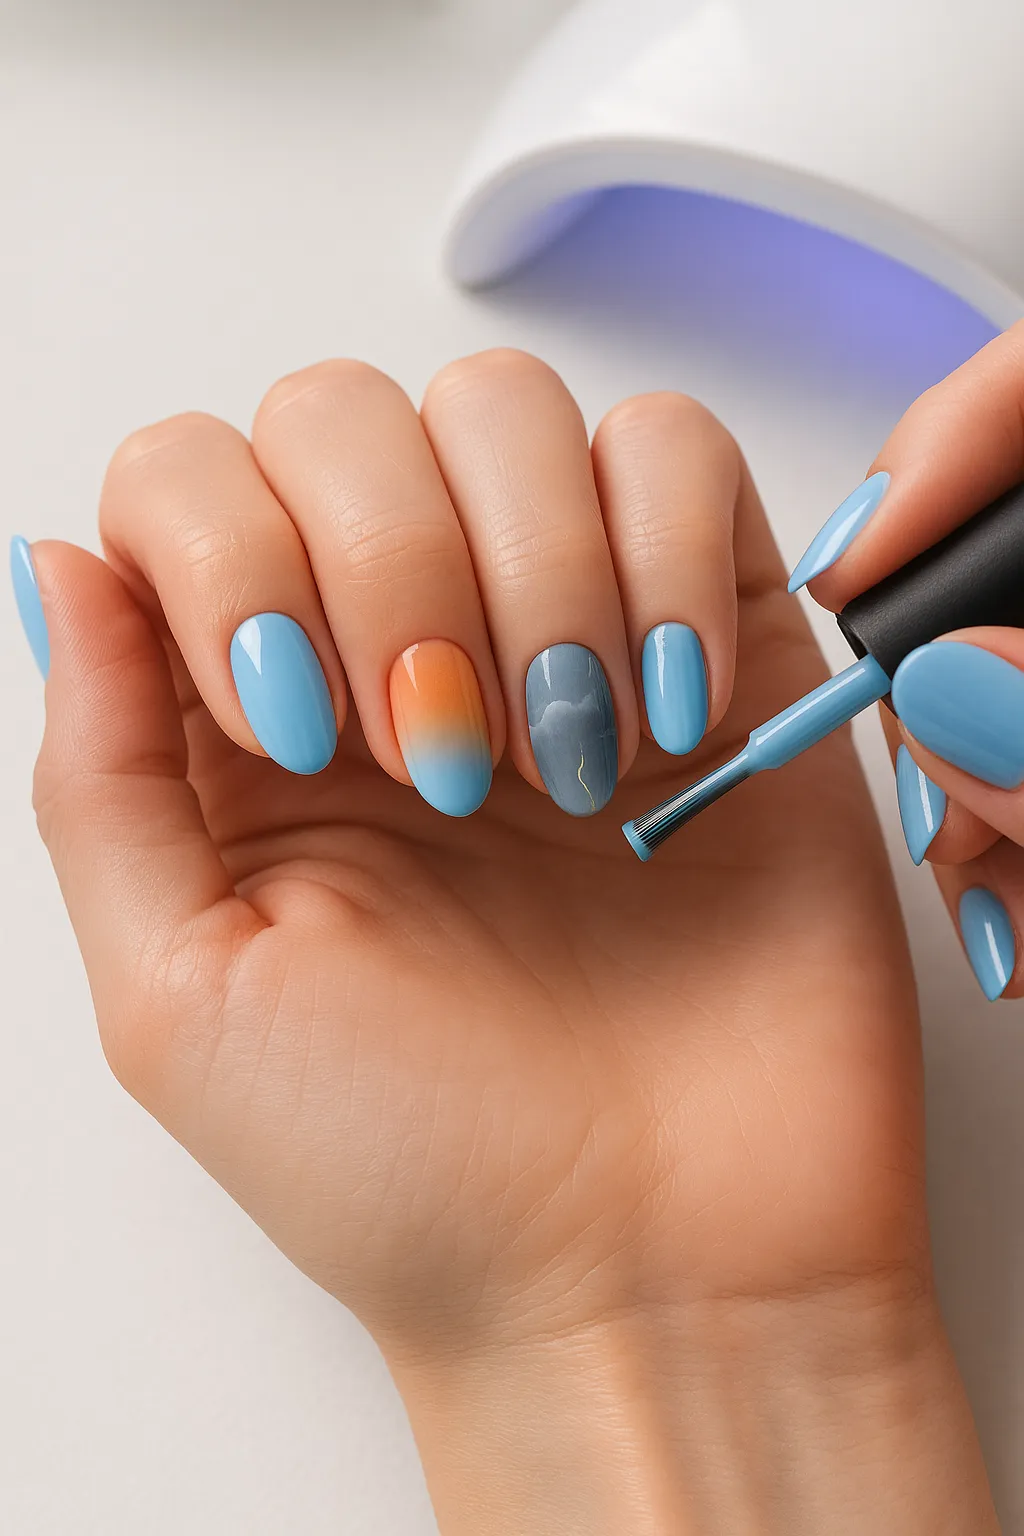
Step 2: Apply Sky Blue Base Color
Apply one thin coat of sky blue gel polish to all nails using smooth, even strokes. Cure for 60 seconds under your lamp.
Apply a second coat for full, rich opacity—make sure coverage is completely even with no streaks or bald spots. The base color is your “sky,” so you want it perfect! Cure again for 60 seconds.
Step 3: Create Cloud Base Shapes
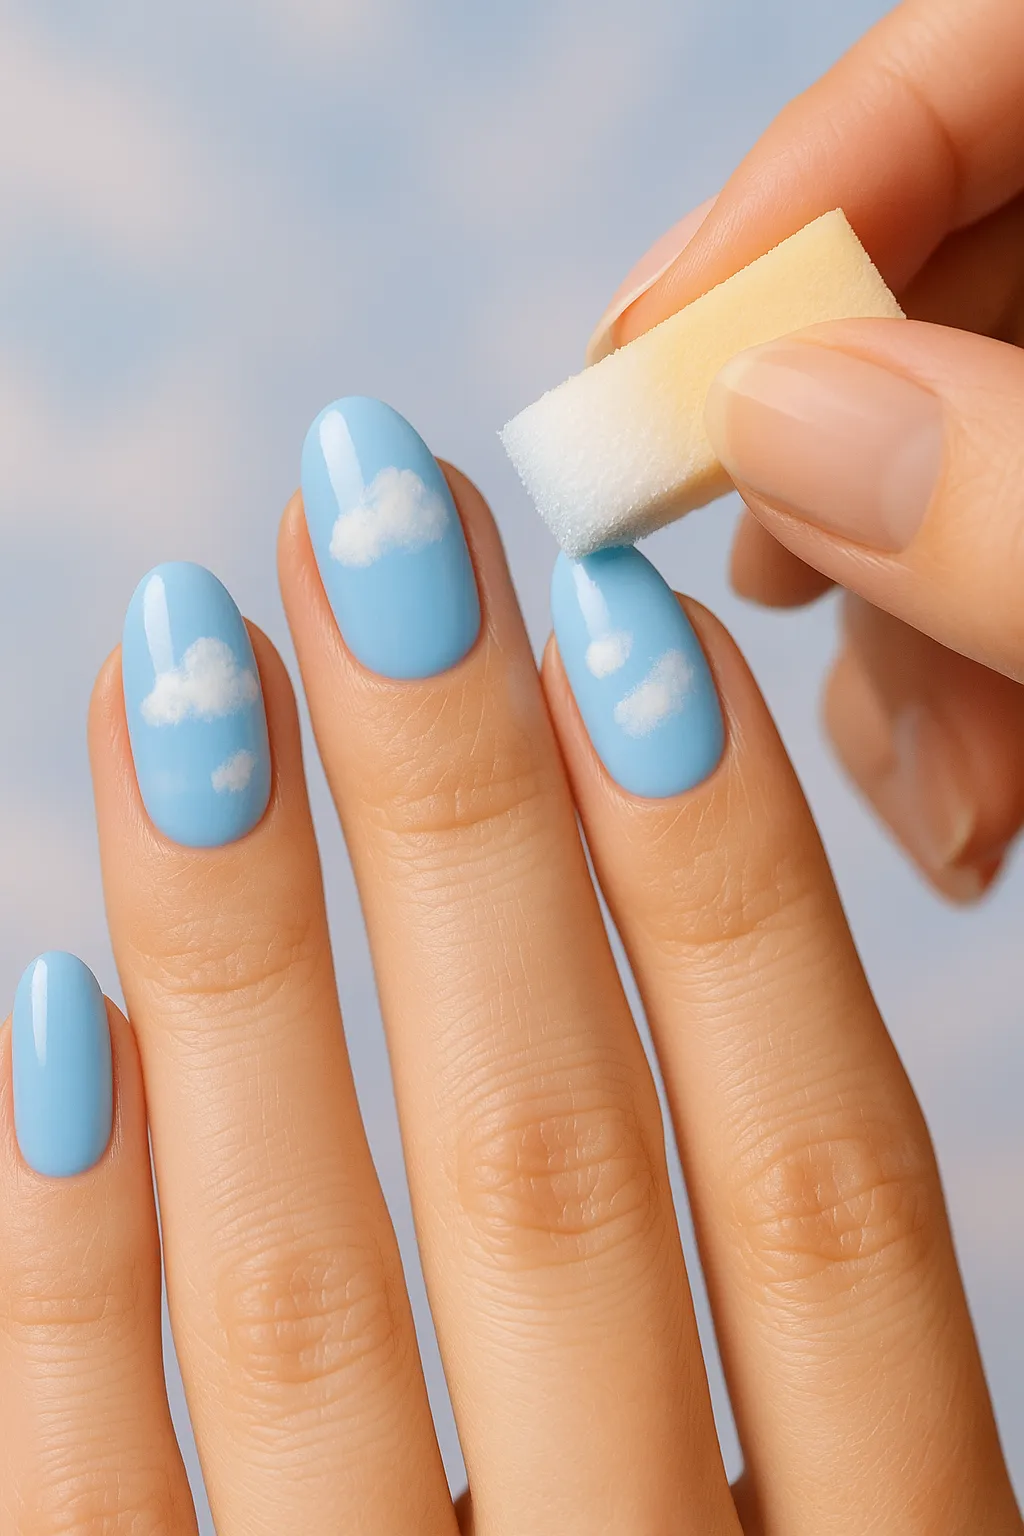
Take your white gel polish and dab small amounts onto your makeup sponge. Lightly bounce the sponge onto your nails in random areas where you want clouds to appear.
Use a dabbing motion (not wiping or dragging) to create soft, irregular cloud shapes. Work on 1–2 nails at a time so the polish doesn’t dry. Don’t stress about perfection—real clouds are imperfect and fluffy!
Step 4: Add Cloud Details with Dotting Tool
Using your dotting tool dipped in white gel polish, add small dots around the edges of your sponged clouds. Layer 2–3 dots of different sizes to create fluffy, dimensional cloud edges.
The goal is a soft, natural cloud appearance—not perfect circles. I like to cluster smaller dots around larger ones for realistic texture!

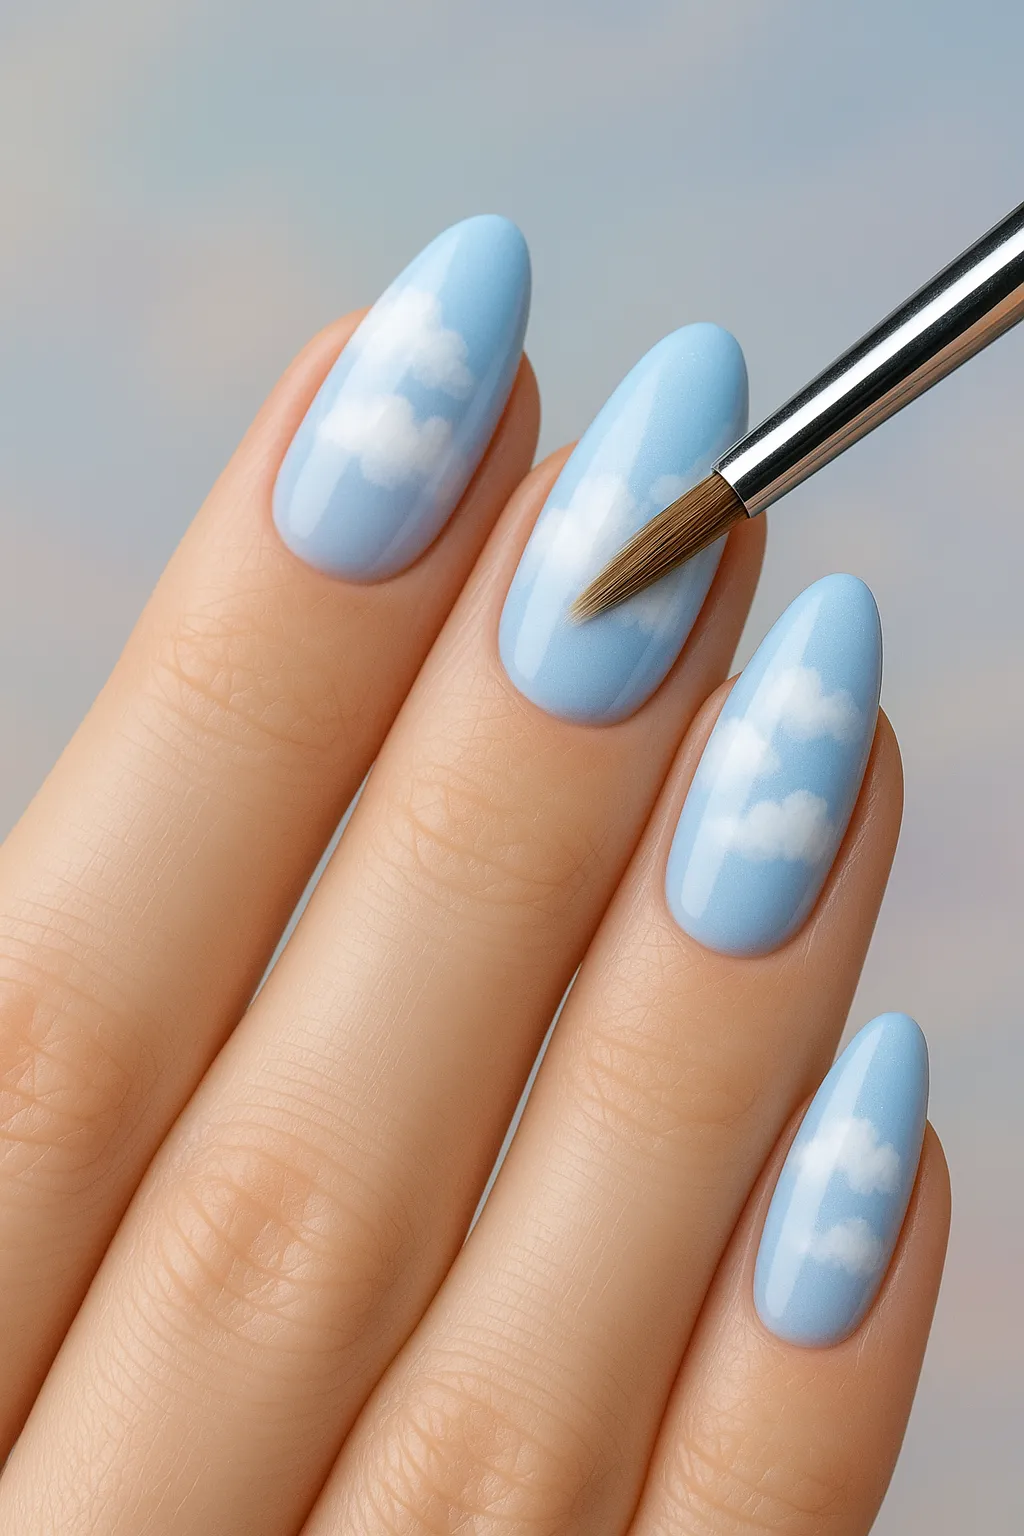
Step 5: Soften and Blend (Optional)
If your clouds look too harsh or choppy, use a clean, dry detail brush to gently pat and blend the edges where white meets blue. This creates a softer, airier sky effect.
Don’t over-blend or you’ll lose the cloud definition completely. Just a few gentle pats does the trick! Cure all nails for 60 seconds.
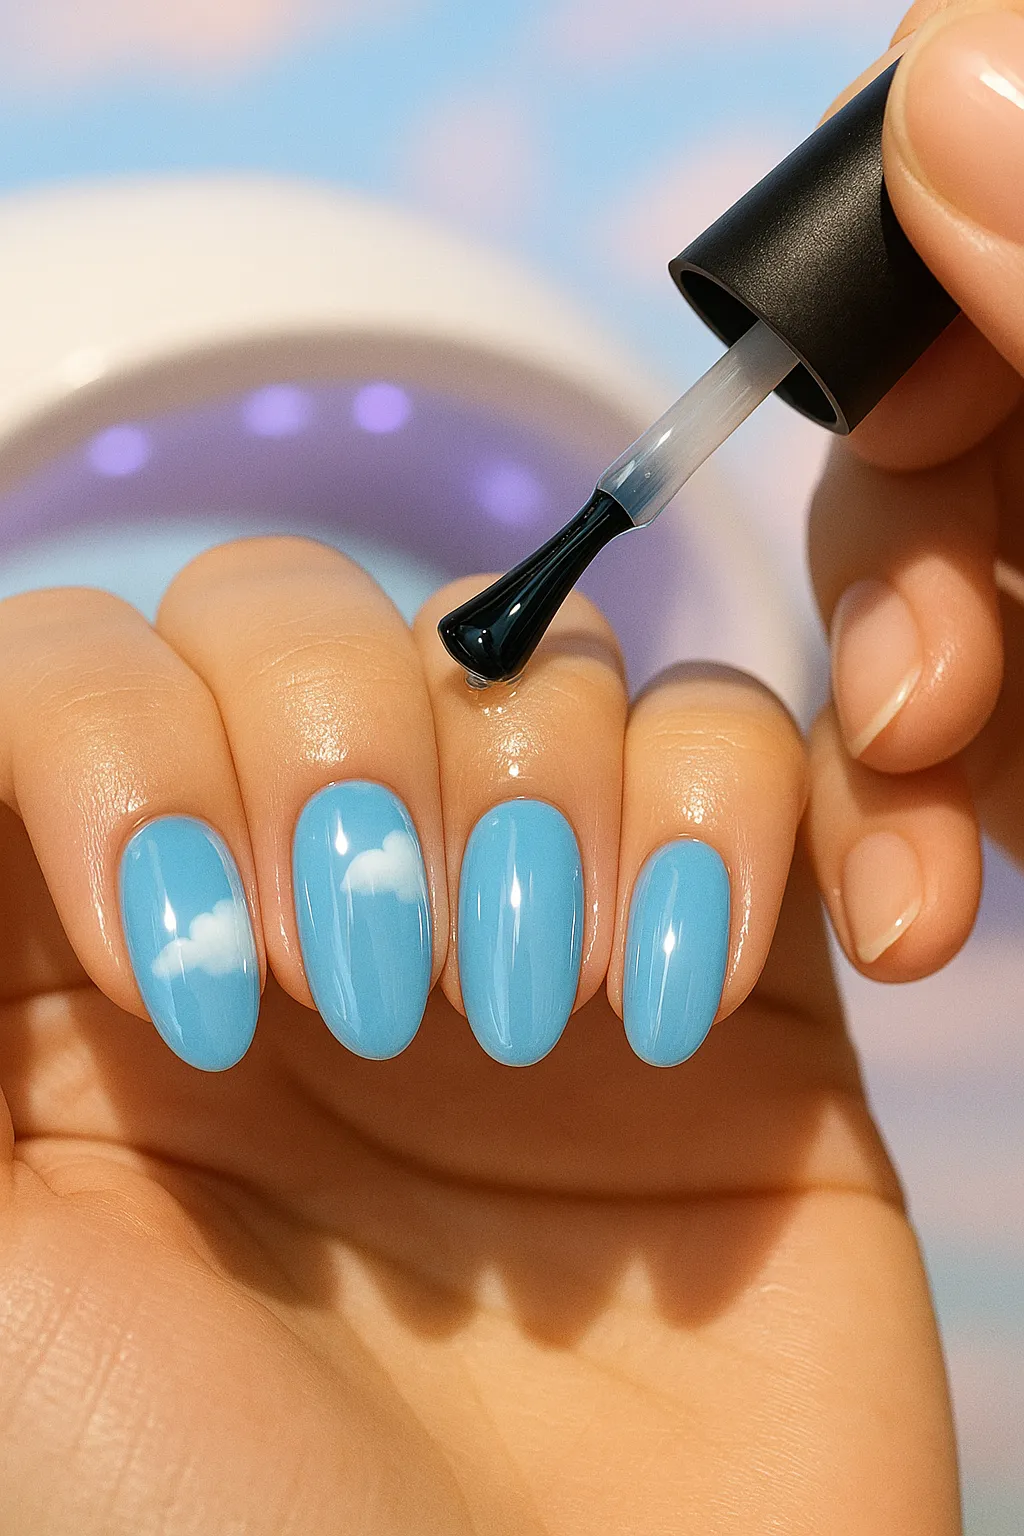
Step 6: Seal with Top Coat
Apply a glossy gel top coat over all nails, making sure to cap the free edge to prevent chipping. Use a slightly thicker layer of top coat to smooth out any texture from the sponging.
Cure for 60 seconds. Wipe off the sticky inhibition layer with alcohol if using a gel top coat. Your dreamy cloud nails are complete and ready to show off!
Quick Tip: New to sponging? Practice your cloud technique on paper or a plastic practice nail wheel before working on your actual nails. This helps you perfect the dabbing motion without wasting polish or time!
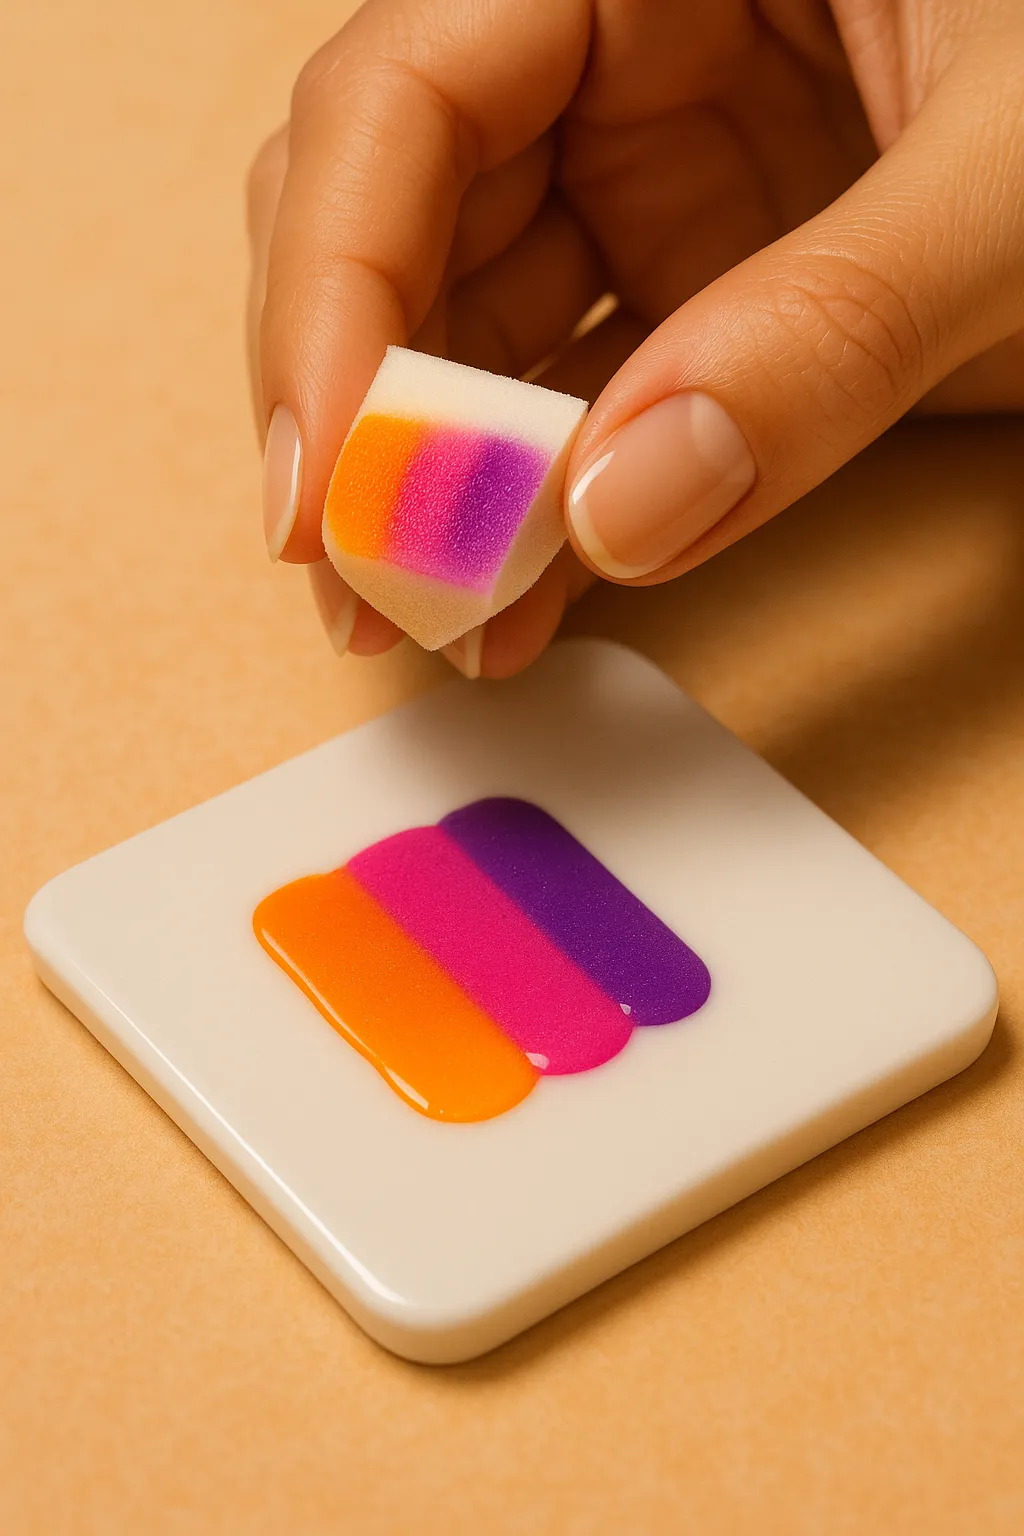
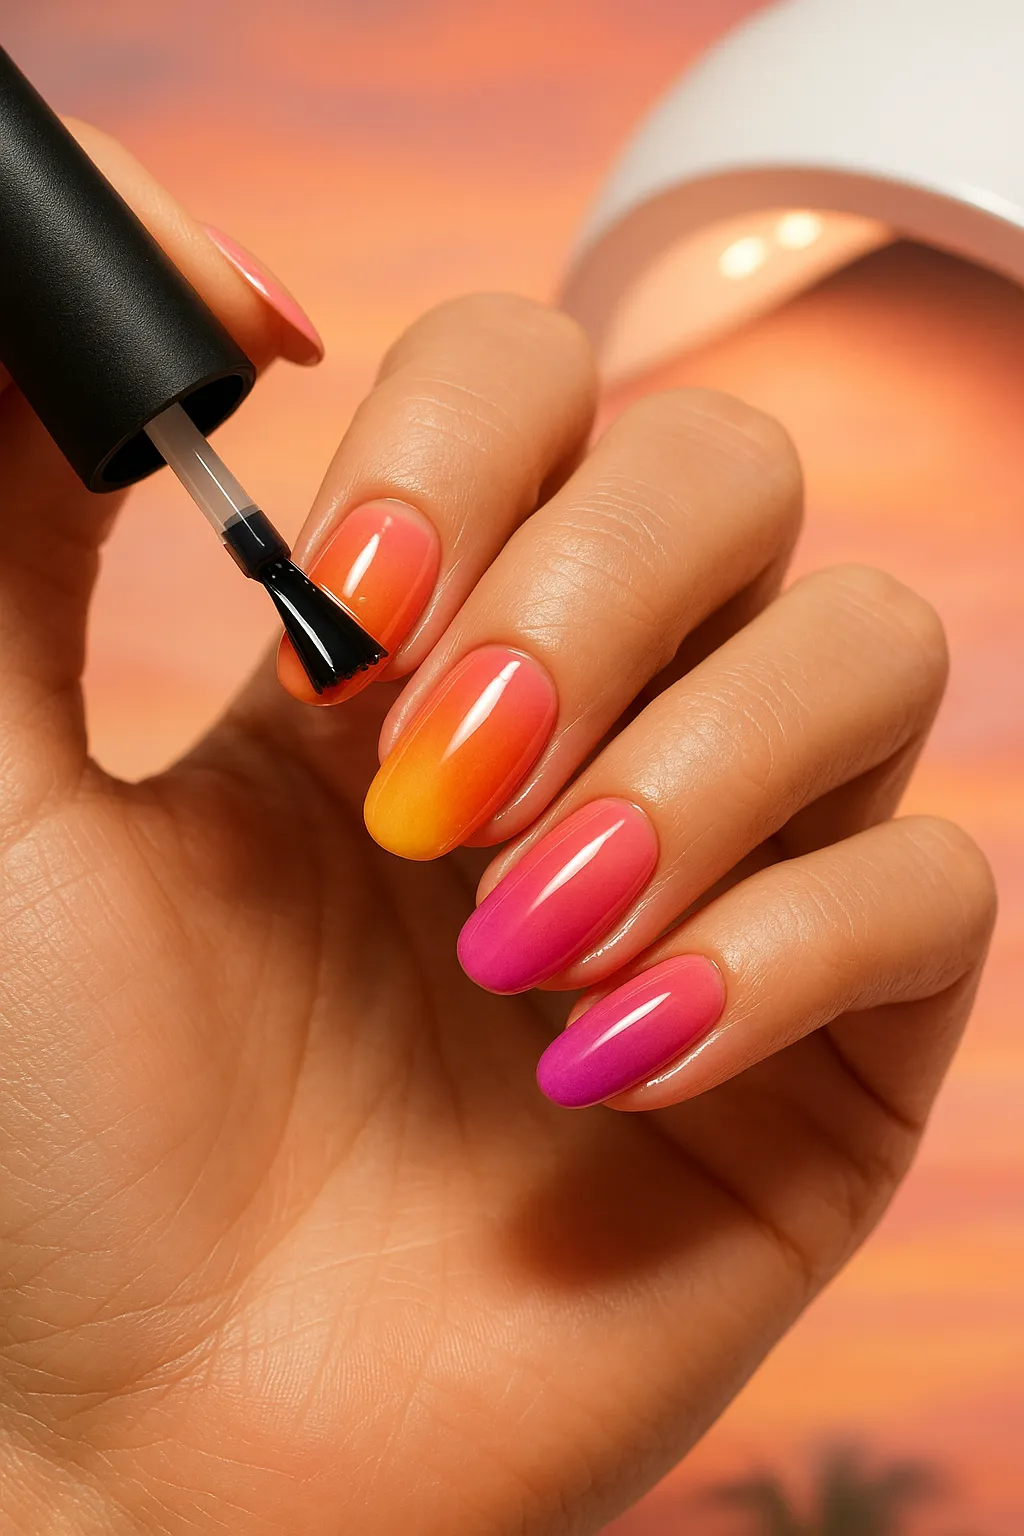
How to Create Sunset Gradient Nails (Step-by-Step Tutorial)
Sunset gradient nails are a 2025 favorite for good reason—they’re vibrant, eye-catching, and surprisingly versatile for all seasons. This tutorial teaches the sponge gradient technique to create seamless color blending that mimics a real sunset sky. Fair warning: this took me three tries to master, but once you get it, it’s SO worth it!
Materials Needed:
- Base coat
- White or nude base polish—creates the most vibrant gradient base
- Orange gel polish—try “Sunset Orange” #F97316 or Beetles Orange Crush (~$8)
- Pink gel polish—hot pink or coral #EC4899, OPI “Pompeii Purple” works great (~$10)
- Purple gel polish—deep purple #9333EA or Essie “Bahama Mama” (~$9–11)
- Makeup sponge (dense, fine-pore sponge gives smoothest blend)
- Small palette, foil, or plastic sheet for mixing colors
- Cotton swabs and acetone for cleanup
- Glossy gel top coat
- UV/LED lamp (48W minimum)
- Liquid latex or tape for mess-free application (optional but saves cleanup time!)
Step 1: Prep and Apply Base
Prep nails as usual—file, buff, push back cuticles, and clean with alcohol. Apply base coat and cure for 60 seconds.
Apply 1–2 coats of white or nude polish as your gradient base. This makes your sunset colors pop vibrantly instead of looking muddy! Cure each coat for 60 seconds. Apply liquid latex or tape around nails to protect skin from messy sponging—this is optional but highly recommended for easy cleanup.
Step 2: Apply Colors to Sponge
On your palette or foil, paint three vertical stripes of polish: orange, pink, and purple, side by side with slight overlapping at the edges. Work quickly so the polish doesn’t dry before you transfer it!
The overlapping areas will create natural, beautiful color transitions. I usually make each stripe about 1/4 inch wide.
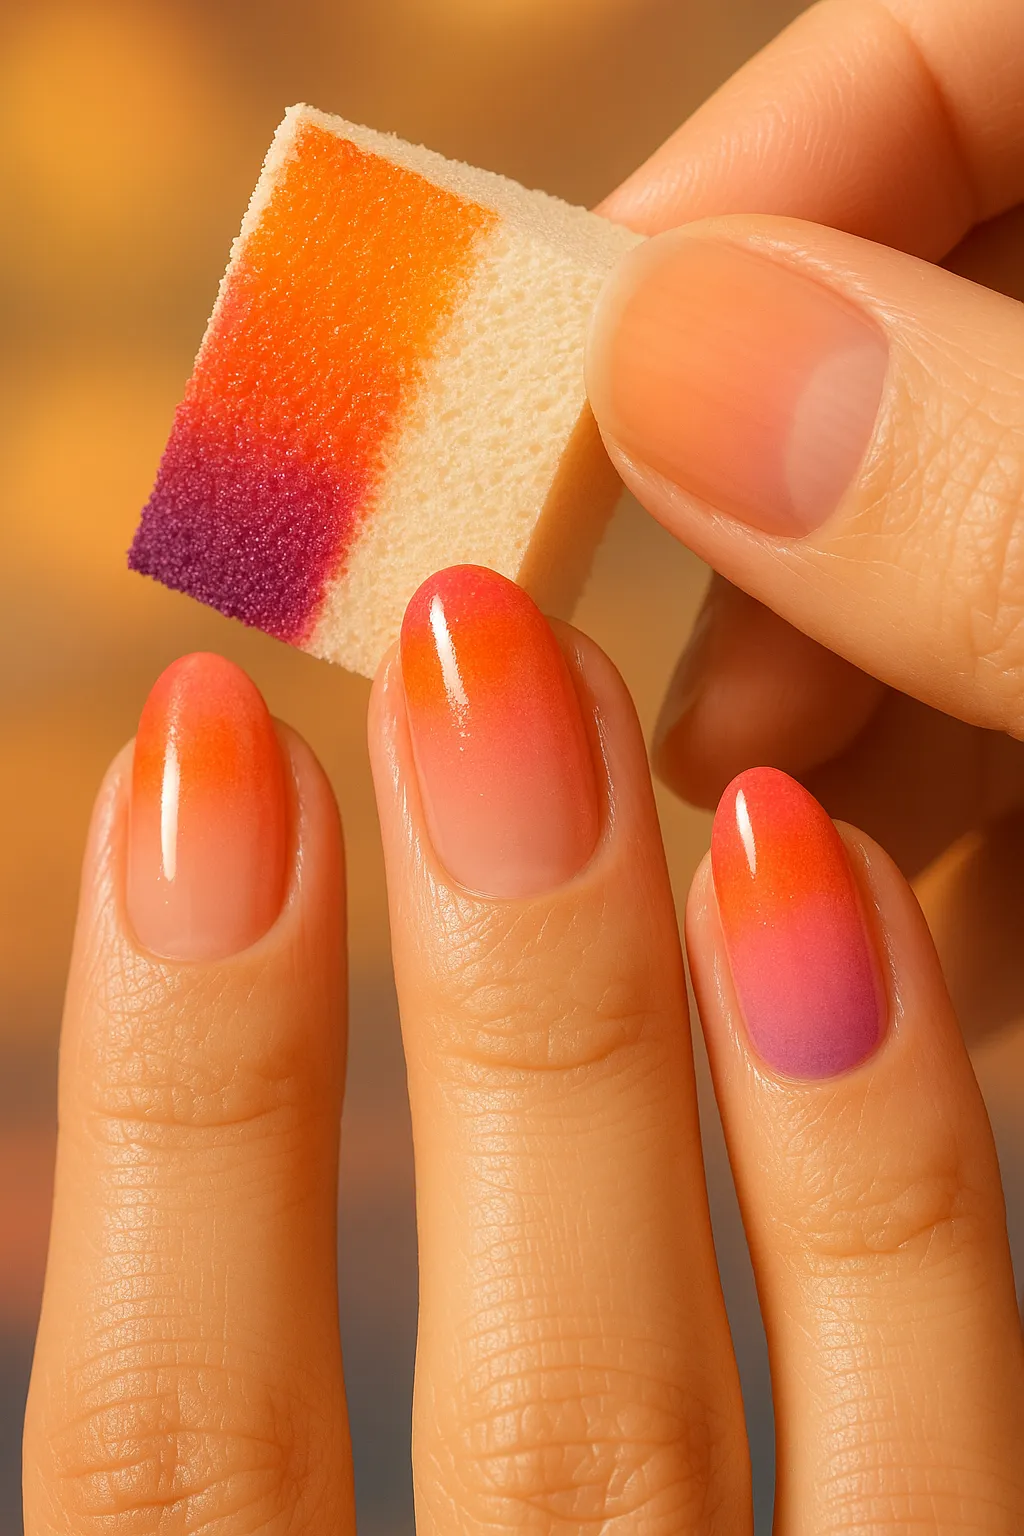
Step 3: Dab Gradient onto Nails
Gently press the sponge onto your nail, positioning the orange near the cuticle area, purple at the tip, and pink in the middle. Use a light bouncing motion—don’t drag or wipe across the nail!
Repeat this dabbing 2–3 times per nail, reloading your sponge with fresh polish each time. The first layer will look sheer and patchy—this is completely normal!
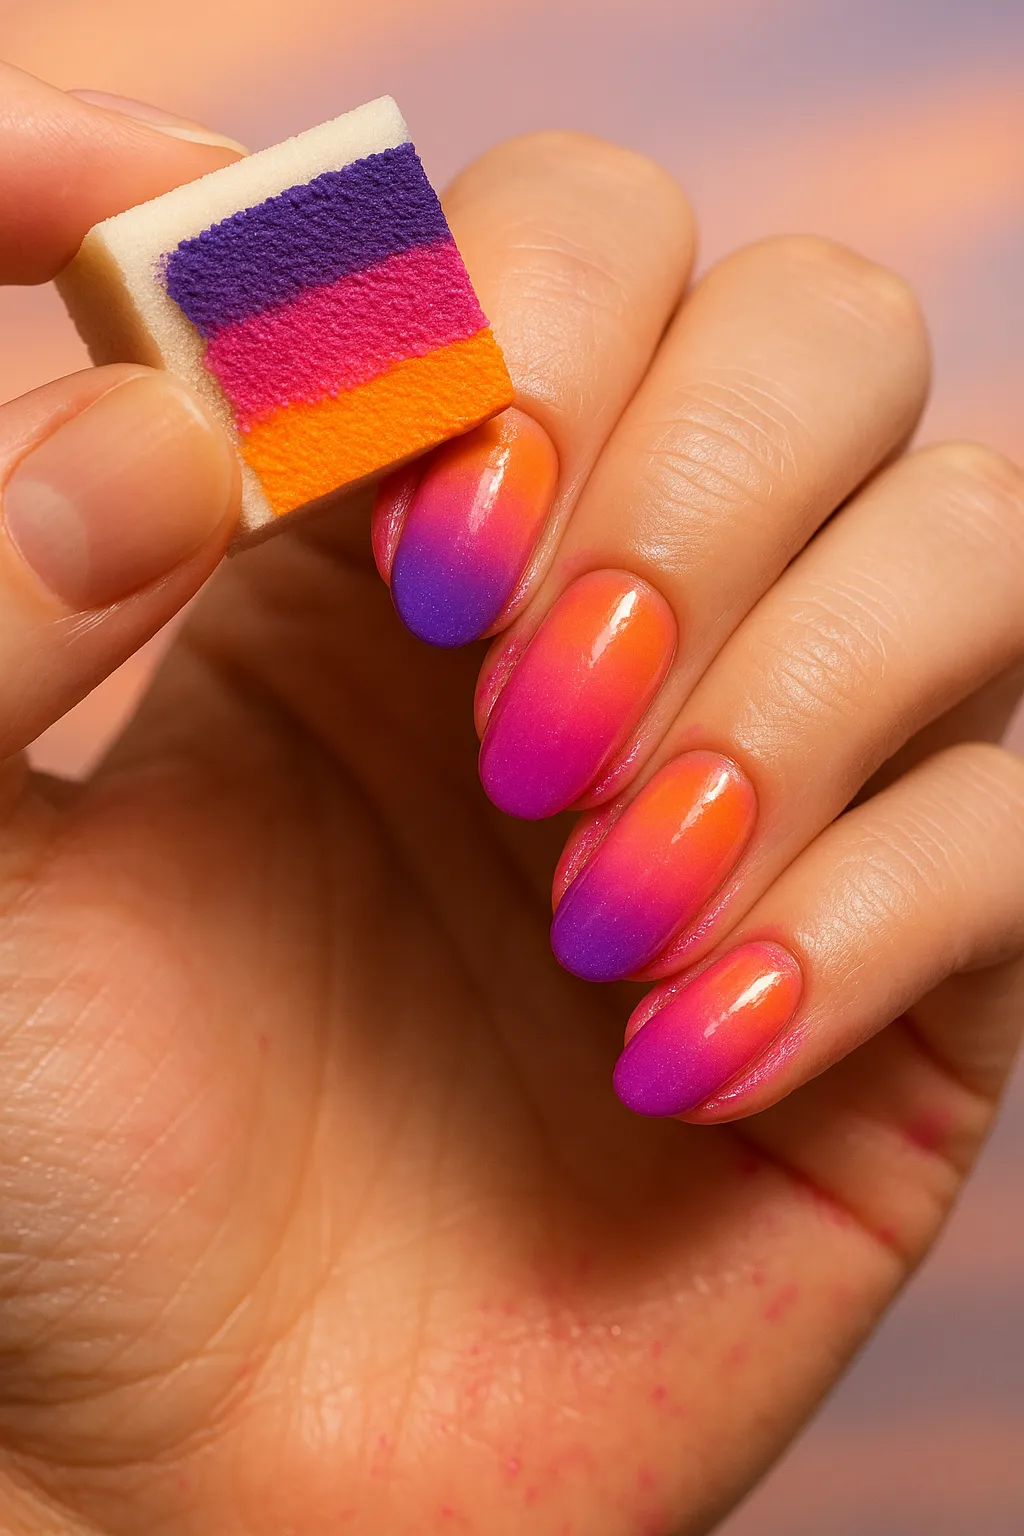
Step 4: Build Color Intensity
The key to vibrant sunsets is layering! Reload your sponge with fresh polish stripes and repeat the dabbing process 2–3 more times.
Each layer builds saturation and smooths the gradient transitions. Let it look a bit messy and imperfect right now—the blending magic happens in the top coat step! I usually do 3–4 layers total for rich, saturated color.
Step 5: Cure and Clean Up
Once you’re happy with the gradient saturation and color depth, cure under lamp for 60 seconds. Remove liquid latex by peeling it away, or carefully remove tape.
Use a cotton swab dipped in acetone to clean polish from your skin and cuticles. Work carefully around the nail edge to maintain clean, professional-looking lines.
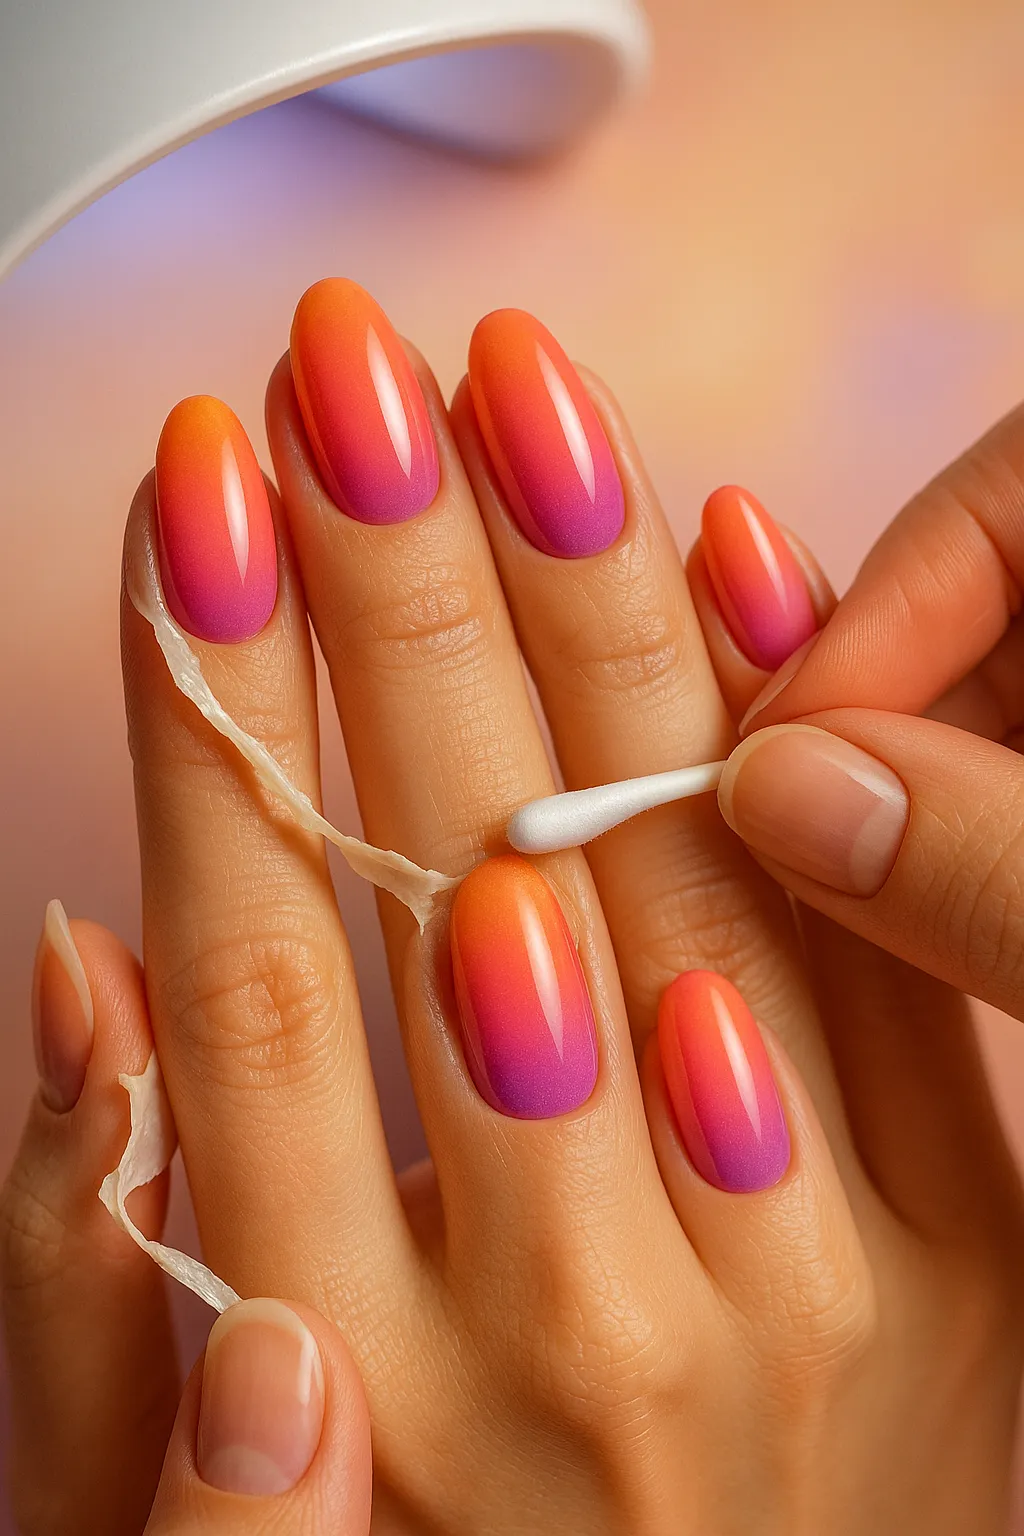
Step 6: Top Coat and Finish
Apply a thick, glossy top coat over all nails. Make sure you apply complete, generous coverage—this smooths out any sponge texture and makes the gradient blend even more seamlessly!
Cure for 60 seconds. The top coat creates that glass-like, professional finish and makes the colors blend beautifully. Wipe the sticky inhibition layer with alcohol if needed. Your sunset nails are done and absolutely stunning!
Avoid This: Don’t cure between sponge layers until you’re completely finished building your gradient! Curing too early will create harsh, visible lines instead of smooth color transitions. Build all your layers first, THEN cure.
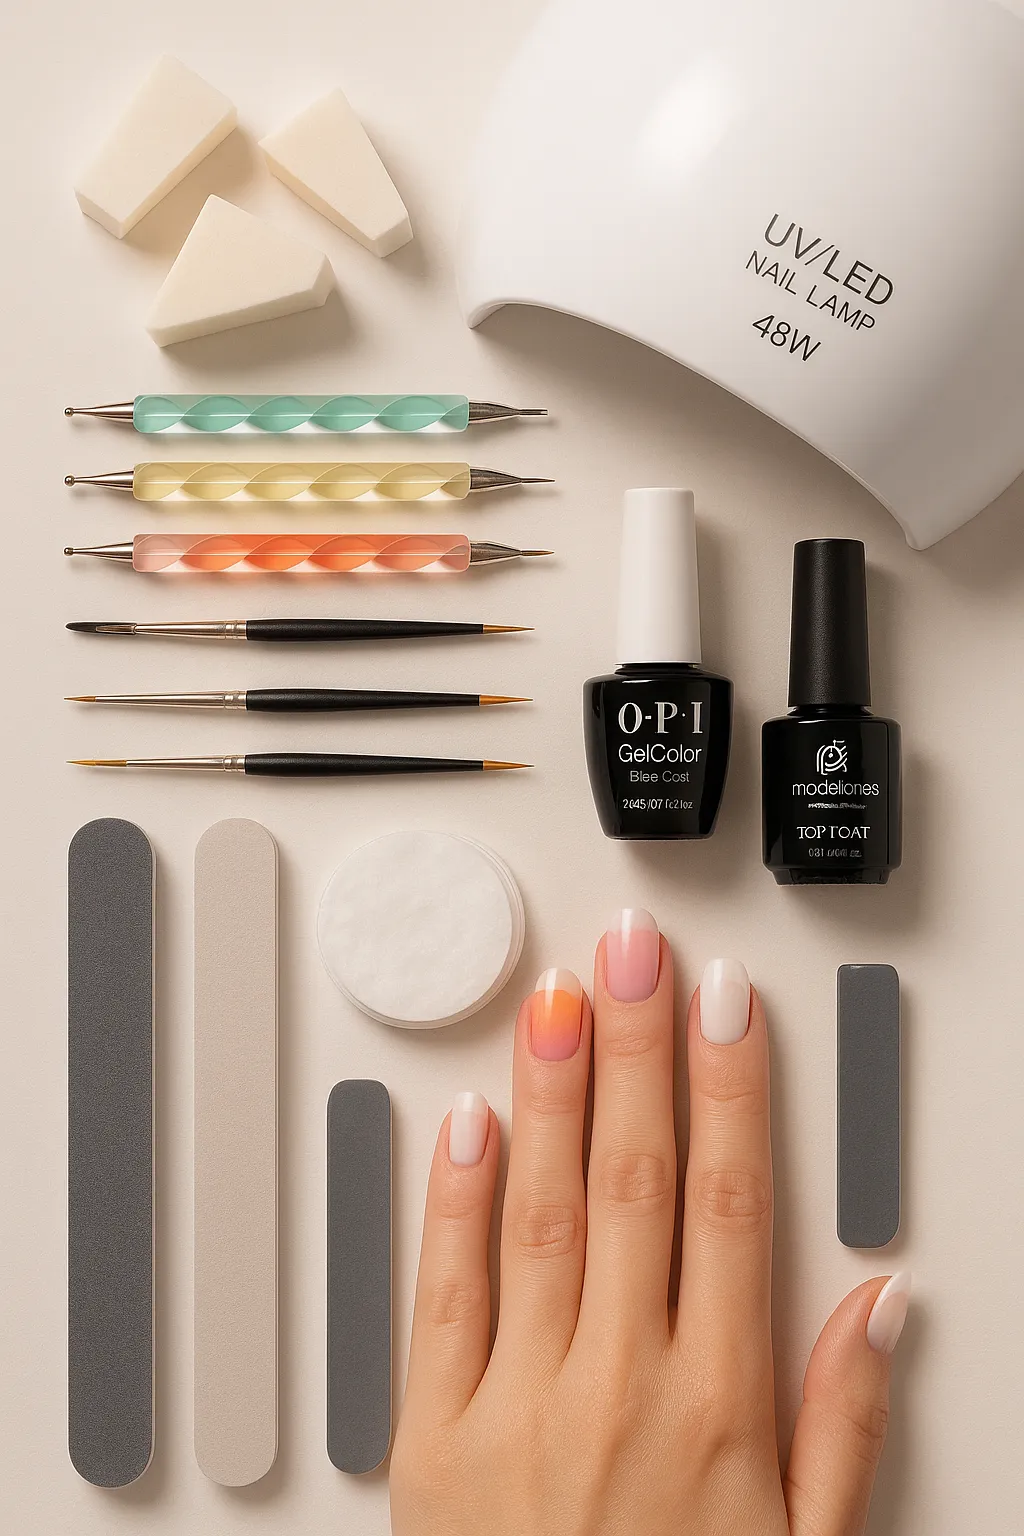
Essential Tools & Products for Weather Nail Designs
Creating professional-looking weather nails at home doesn’t require a huge investment, but having the right tools makes the process SO much easier. Find curated seasonal color palettes and kit ideas to speed up your shopping.
Essential Tools You Need:
- Makeup Sponges: Dense, fine-pore wedge sponges or beauty blenders work perfectly for gradients. Avoid craft sponges—they’re too porous! (~$5–10 for a pack of 10–20, available at Ulta or Amazon)
- Dotting Tools: Get a 5-piece set with various tip sizes for clouds, rain, and details ($3–7 on Amazon or Sally Beauty)
- Detail Brushes: Fine liner brush for painting lightning, rain streaks, and fine details. Makartt nail art brushes are my favorite! (~$8 for a set on Amazon)
- UV/LED Lamp: 48W or higher for proper, fast curing. I use MelodySusie 48W (~$25–35 on Amazon)
- Base & Top Coat: Quality gel formulas prevent chipping and add shine. OPI, Beetles, or Modelones work great (~$8–15 each)

Recommended Polish Colors by Weather Type:
For Cloud Nails:
- Sky blue: OPI “Reach for the Sky” or Beetles #B001 (~$8–12)
- White: Opaque white gel—Beetles Pure White or Modelones White (~$7–10)
- Pastel pink/purple for sunset cloud variations
For Sunset Nails:
- Orange: #F97316 shade or Beetles “Sunset Orange” (~$8)
- Hot pink: #EC4899 or OPI “Pompeii Purple” (~$10–12)
- Deep purple: #9333EA or Essie Gel Couture “Bahama Mama” (~$9–11)
For Storm/Rain Nails:
- Dark gray/charcoal: Beetles “Storm Gray” or similar (~$8)
- Navy blue: OPI “Lincoln Park After Dark” (~$10)
- Silver glitter gel or chrome powder for lightning effects (~$6–12)
Optional Add-Ons That Make Life Easier:
- Liquid Latex: Creates mess-free gradient application by protecting skin. Twinkled T or Bliss Kiss brands (~$6–8)
- Chrome Powder: For lightning storm effects and metallic finishes (~$8–12 on Amazon)
- 3D Gel: For dimensional raindrops or clouds that actually look raised (~$10–15)
- Nail Decals: Quick weather-themed stickers—clouds, raindrops, lightning (~$3–6 per sheet on Amazon)
- Practice Wheels: Nail tips on a wheel for practicing techniques before real application (~$10 for 2 wheels)
I’ve tried dozens of sponges over the years, and dense makeup wedges work SO much better than cheap craft sponges. They create smoother gradients with way less texture!

Budget tip: You don’t need expensive polishes to start! Beetles gel polish sets on Amazon run around $20–30 for 6–8 colors and the quality is honestly amazing for the price.
Pro Tips for Realistic Weather Nail Effects
The difference between amateur and professional-looking weather nails comes down to a few key techniques I’ve learned through lots of trial and error. Here are my top tips for creating realistic, stunning weather effects that actually last!
- Layer Sheer Coats for Depth — Instead of one thick, goopy layer, build your weather effects with 2–3 thin, sheer layers. This creates realistic dimension and depth, especially for clouds and rain effects that shouldn’t look flat and painted-on.
- Use a Damp Sponge for Smoother Gradients — Spray your makeup sponge lightly with water before applying sunset gradients. The moisture helps colors blend more seamlessly and reduces that chunky texture you sometimes get with dry sponges.
- Don’t Over-Blend Your Clouds — Real clouds have defined edges and some contrast! When creating cloud effects, keep some distinction between your white clouds and the colored sky base.
- Add Highlights for Lightning Realism — When painting lightning bolts, add a thin white or pale yellow line down the center of your main lightning strike. This center highlight creates dimension and makes the lightning look like it’s actually glowing!
- Cure Properly to Prevent Chipping — Weather designs involve multiple layers of polish. Make sure each layer fully cures (60–90 seconds depending on your lamp) and always cap the free edge with top coat.
- Use Matte vs. Glossy Strategically — Try matte top coat on storm clouds or foggy weather designs for realistic texture. Use glossy finish on sunset and rain nails to enhance shine and create that “wet” reflective effect.
- Add Glitter Sparingly for Rain/Storm Effects — A light dusting of fine silver glitter over storm nails mimics rain catching light. Less is more for realistic weather effects.
Mistakes to Avoid:
- Applying polish layers too thick (causes bubbling and extended cure times)
- Not cleaning up skin before curing (leaves permanently messy edges)
- Skipping base coat (leads to staining from dark storm colors)
- Using old, thick, gloopy polish (creates texture and uneven application)
Frequently Asked Questions About Weather Nail Designs
Can I create weather nail designs with regular polish?
Yes! While gel polish is popular for weather nails because of its 2–3 week wear time, you can absolutely create these designs with regular polish. Use the same techniques like sponging and dotting, but work faster since regular polish air-dries quickly. Finish with a high-quality quick-dry top coat like Seche Vite for durability. Expect 3–5 days of wear versus 2+ weeks with gel.
How long do weather-inspired nails take to create?
Simple designs like basic cloud nails take 30–40 minutes from start to finish. Intermediate designs like sunset gradients take 45–60 minutes including prep and cleanup. Complex designs with multiple weather elements—like storm clouds with lightning and rain—can take 60–90 minutes. Your time decreases significantly as you practice and get comfortable with the techniques!
What’s the easiest weather nail design for beginners?
Cloud nails are hands-down the most beginner-friendly weather design! They require minimal blending skills—just a dotting tool and a sponge practice run. For quick inspiration and simple patterns, check out simple nail designs.
Conclusion
Weather-inspired nails are a playful, versatile way to express mood and seasonal style in 2025. From easy cloud nails to advanced 3D storm effects, there’s a design for every skill level. Start with one or two beginner looks, practice the sponge and dotting techniques, and gradually add more detail—before long you’ll be creating salon-worthy weather art at home. Happy painting, and don’t forget to save your favorite designs for your next mani session!